MikroTik User Cleanup Script
Introduction to MikroTik RouterOS
Getting Started with RouterOS
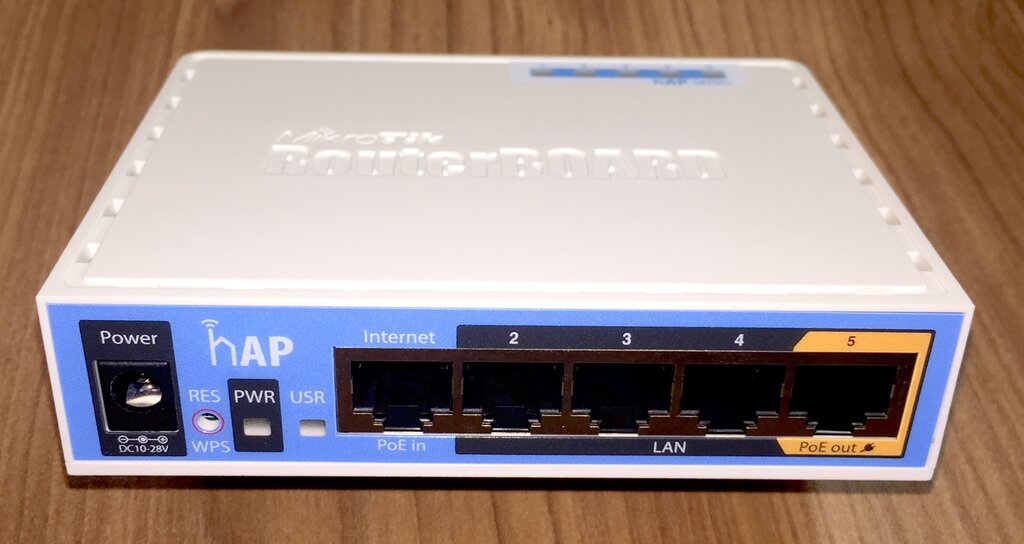
MikroTik devices run on a powerful operating system called RouterOS. Think of it as the brain of the router, built on a Linux kernel. It gives you incredible control over your network, from simple home setups to complex enterprise systems. Unlike the simplified interfaces on many consumer routers, RouterOS exposes nearly every networking feature you can imagine.
There are three primary ways to interact with RouterOS:
- WinBox: A small, standalone application for Windows that provides a full graphical user interface (GUI).
- WebFig: A web-based interface that you can access from any browser.
- Command Line Interface (CLI): A powerful text-based interface accessible via SSH or Telnet for advanced users and automation.
Navigating the Interface
For most users, WinBox is the preferred tool. When you first connect, you'll see a clean layout. On the left is a main menu listing all the major functions like Interfaces, IP, Queues, and Files. Clicking on any of these opens a new window showing a list of relevant items. For example, clicking IP and then Addresses will show you all the IP addresses configured on the router.
Almost everything in RouterOS is managed through these lists. You can add, remove, or double-click items to edit their properties.
WebFig offers a very similar experience directly in your web browser, making it convenient when you don't have WinBox handy. The CLI is where the real power lies for scripting and automation, but it has a steeper learning curve. Every action in the GUI has a corresponding command in the CLI.
Basic Network Configuration
At the most basic level, two IPs are required on the router to successfully connect users behind a Mikrotik router to the internet.
To get a network online, a router needs to know where the internet is and where your local devices are. This is handled with two key IP address setups:
- The WAN Address: This is the public IP address your Internet Service Provider (ISP) gives you. The router's WAN port (usually
ether1) needs to get this address. The easiest way is using a DHCP Client, which automatically asks your ISP for an address. - The LAN Address: This is the private IP address for your local network. It acts as the 'gateway' for all your devices. You'll assign a static IP, like
192.168.88.1, to your LAN interface.
Once the addresses are set, two more services are essential:
- DHCP Server: This service runs on your LAN interface and automatically hands out IP addresses to devices that connect (like your phone or laptop), so you don't have to configure each one manually.
- NAT (Network Address Translation): This is the magic that lets all your private devices share one single public IP address to access the internet. In RouterOS, this is usually a 'masquerade' rule in the firewall.
# Connect to router and open a terminal

# 1. Setup the client on the WAN port (ether1)
/ip dhcp-client add interface=ether1 disabled=no

# 2. Create a bridge for all LAN ports
/interface bridge add name=bridge-lan
/interface bridge port add bridge=bridge-lan interface=ether2
/interface bridge port add bridge=bridge-lan interface=ether3
# ... add other LAN ports

# 3. Assign a static IP to the LAN bridge
/ip address add address=192.168.88.1/24 interface=bridge-lan

# 4. Create a DHCP server for the LAN
/ip pool add name=dhcp-pool ranges=192.168.88.10-192.168.88.254
/ip dhcp-server add name=dhcp-server interface=bridge-lan address-pool=dhcp-pool disabled=no
/ip dhcp-server network add address=192.168.88.0/24 gateway=192.168.88.1

# 5. Configure NAT (masquerade)
/ip firewall nat add chain=srcnat action=masquerade out-interface=ether1
These steps form the foundation of a working internet connection. With the WAN port getting an IP from the internet and the LAN side providing IPs to your devices, the router is ready to manage traffic between them. This basic setup is the starting point for all other configurations, including user management and security rules.