Migrating Raspberry Pi to NixOS
Hardware and SDK
Building for a Different Architecture
You're ready to move your Raspberry Pi from Raspbian to the reproducible world of NixOS. The first step is to create a bootable SD card image. Since you're likely working on an x86_64 machine (a standard desktop or laptop) and the Raspberry Pi uses an ARM64 processor, you can't just build the system directly. This process is called cross-compilation.
Fortunately, Linux provides a powerful tool that makes this process almost invisible. By enabling binfmt_misc support, your system can automatically recognize ARM64 executables and run them through an emulator. This lets the Nix build process work as if it were running on native ARM hardware, without any complex configuration on your part.
# Run these commands as root to enable ARM emulation
# This allows your x86 machine to run ARM binaries seamlessly
sudo systemctl start systemd-binfmt

# To make it permanent across reboots
sudo systemctl enable systemd-binfmt

# If you're not on a systemd-based distro, you can use docker:
docker run --rm --privileged multiarch/qemu-user-static --reset -p yes
With that simple step, your machine is now capable of building a complete NixOS system for your Raspberry Pi.
Handling Hardware Quirks
Every piece of hardware has its own unique requirements, and the Raspberry Pi is no exception. It has a specific boot process that differs from a typical PC. Instead of a standard BIOS or UEFI, it relies on a proprietary bootloader stored on the GPU that looks for firmware files on a special VFAT partition.
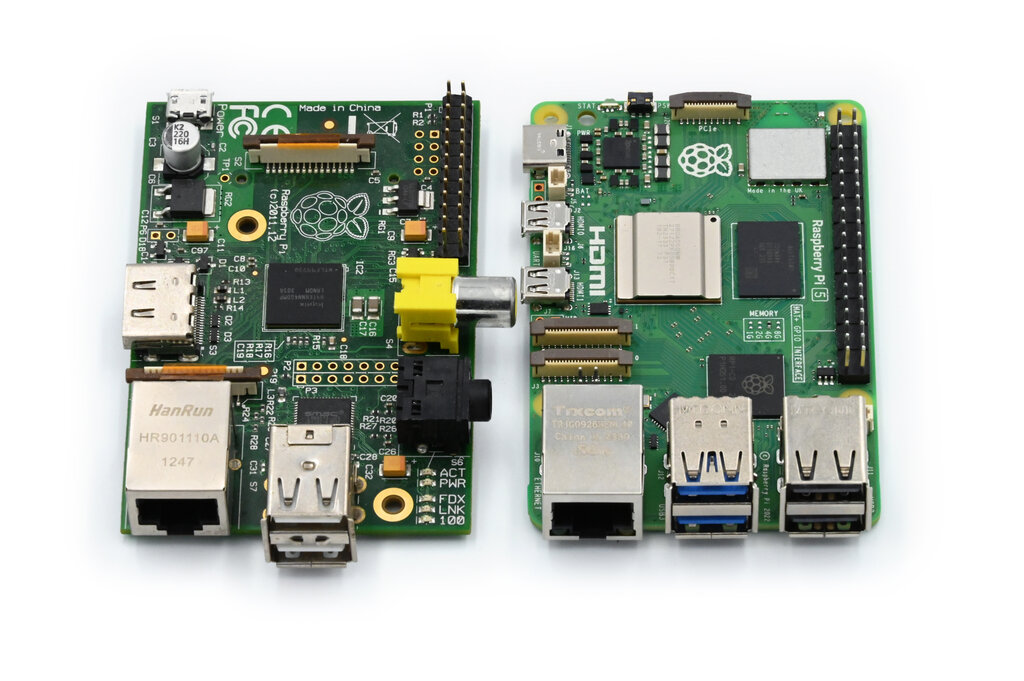
This boot partition must contain the Pi's firmware, the Linux kernel, and a crucial file named config.txt which controls low-level hardware settings like display resolution and overclocking. The rest of the system resides on a standard ext4 partition.
Managing these details manually would be tedious. This is where the nixos-hardware repository becomes invaluable. It's a community-maintained collection of NixOS modules that pre-configure systems for specific devices. By importing the module for your Raspberry Pi model, you automatically get the correct kernel, firmware, and boot settings without having to configure them yourself.
Building Your First Image
Now, let's create a flake.nix file to define and build our system. This file will pull in nixpkgs and nixos-hardware, combine them, and produce a bootable SD card image. We specify aarch64-linux as the system architecture to trigger our cross-compilation setup.
{
  description = "A NixOS configuration for Raspberry Pi";

  inputs = {
    nixpkgs.url = "github:NixOS/nixpkgs/nixos-unstable";
    nixos-hardware.url = "github:NixOS/nixos-hardware";
  };

  outputs = { self, nixpkgs, nixos-hardware }: {
    nixosConfigurations.raspberry-pi = nixpkgs.lib.nixosSystem {
      system = "aarch64-linux";
      specialArgs = { inherit nixos-hardware; };
      modules = [
        # Import the hardware-specific configuration
        nixos-hardware.nixosModules.raspberry-pi-4

        # Your custom configuration goes here
        ./configuration.nix
      ];
    };
  };
}
This Flake imports the module for a Raspberry Pi 4. You would change raspberry-pi-4 to match your specific model. Your personal system settings, like users and packages, live in a separate configuration.nix file, keeping your hardware and software definitions clean and separate.
To build the image, run the following command:
# This command builds the configuration named 'raspberry-pi' defined in your Flake.
# The result is a compressed SD card image.
nix build .#nixosConfigurations.raspberry-pi.config.system.build.sdImage
After the build completes, you'll have a compressed image file in the result/ directory. You can write this file to an SD card using a tool like dd or the official Raspberry Pi Imager. Once you boot your Pi from this card, it will be running your very own, custom-configured NixOS system.