Method Statement for Ceiling Loudspeaker Installation
Ceiling Mapping and Marking
From Blueprint to Ceiling
The first step in any commercial audio installation is translating the plan from paper to the physical space. You'll work from a specific type of architectural drawing called a (RCP). Unlike a floor plan, which looks down, an RCP is a view looking up at the ceiling as if you were seeing its reflection in a giant mirror on the floor. This plan shows everything mounted on or recessed into the ceiling: lights, diffusers, sprinkler heads, and of course, our speakers.
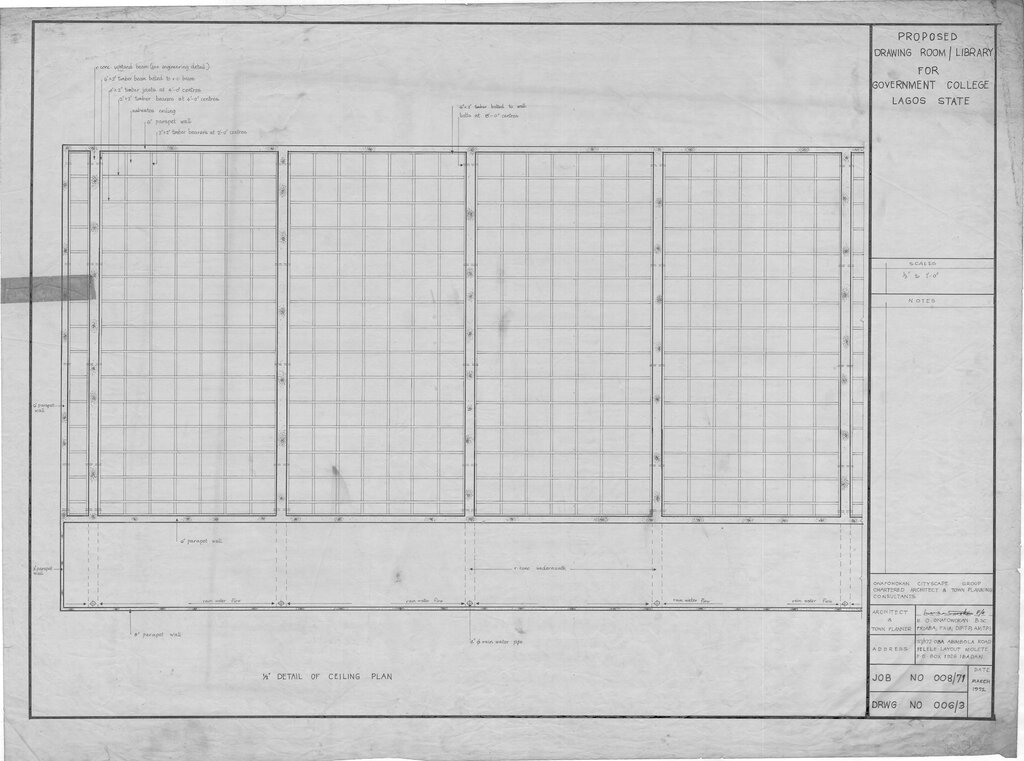
Your job is to align this drawing with the actual ceiling grid. Start by finding a fixed reference point, like a corner of the room or a structural column, that exists on both the plan and in the physical space. From there, you can measure out the locations for each speaker according to the RCP's dimensions. Every speaker location on the plan corresponds to a specific ceiling tile in the room.
Navigating Obstructions
Unlike laying out switches on a clear wall, ceilings are crowded. The RCP provides a map, but you must always verify the space above the ceiling tile. Before you mark a single tile for cutting, pop it out of the grid and look into the plenum space above. You're checking for hidden obstructions not detailed on the plan, like plumbing lines, electrical conduit, or HVAC ducts that could interfere with the speaker's housing.
It's much easier to adjust a speaker's position by a few inches now than to cut a hole and discover a massive pipe in the way. Always check for at least 12 inches of vertical clearance and ensure there are no obstructions within the speaker's diameter.
Acoustic treatment and system positioning work together to control room response and maximize speech intelligibility.
Finding the True Center
Once you've confirmed a tile is clear, you need to find its center. But there are two 'centers' to consider: the mechanical center and the . The mechanical center is the physical middle of the tile, easily found by drawing lines from corner to corner. The acoustic center, however, is the point from which the sound actually emanates, which is the center of the speaker cone itself.
For aesthetic reasons, we mount the speaker so its flange is centered on the tile. But for performance, we want the acoustic centers of all speakers to be symmetrically placed throughout the room. For a standard round ceiling speaker, the mechanical and acoustic centers are the same. For speakers with offset tweeters or other irregular designs, you must account for this difference to maintain the integrity of the sound design.
With the center point marked, you'll use a circular cutout template. These templates are essential because they are sized for the speaker housing, not the visible speaker grille. The diameter of your cut must be large enough for the speaker's body but small enough for the flange to cover the edge completely. A proper cut in the prevents visible gaps and ensures the tile's structure isn't compromised, which could lead to the speaker eventually falling.
Let's review the key terms from this section.
Now, check your understanding of the process.
What is a Reflected Ceiling Plan (RCP)?
Before marking a ceiling tile for a speaker cutout, what is the most critical step?
Careful measurement and verification at this stage are crucial. Taking the time to accurately translate the RCP and clear each location prevents costly mistakes and ensures the final installation is both sonically and visually perfect.