Mastering Your Bambu A1 3D Printer
Bambu A1 Overview
Meet the Bambu A1
The Bambu Lab A1 is a 3D printer designed to make high-quality printing accessible to everyone. It arrives almost fully assembled, removing much of the complex setup that can intimidate new users. Its main appeal lies in its combination of speed, reliability, and the ability to print in multiple colors right out of the box with the optional AMS lite unit.
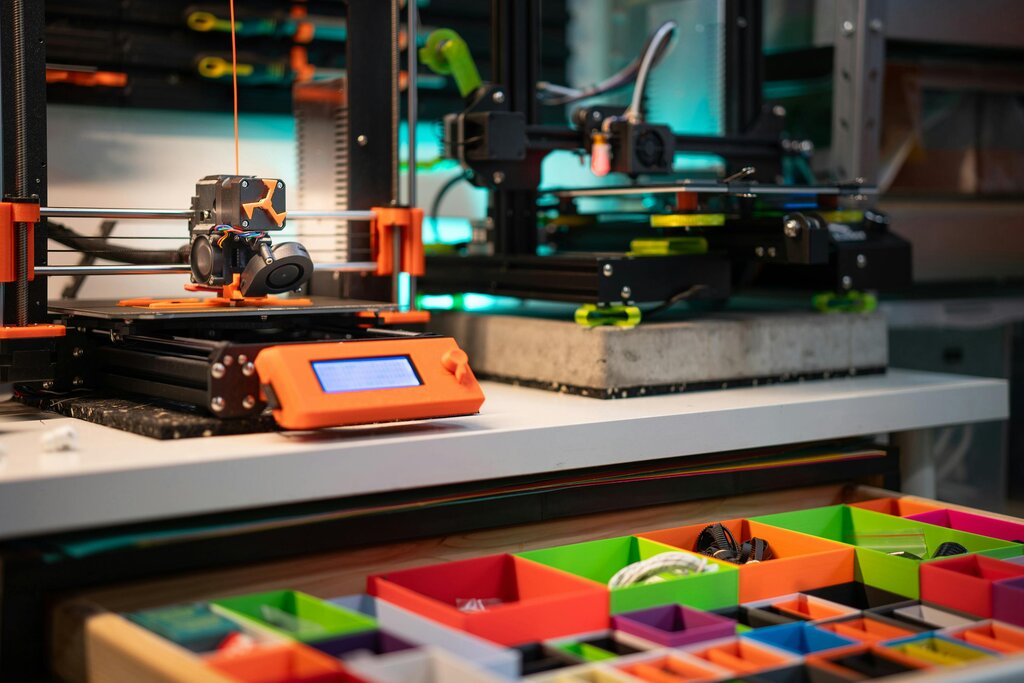
Unlike many hobbyist printers that require hours of tinkering to get a good result, the A1 automates most of the difficult parts. This focus on user experience helps you get to the fun part, printing, much faster.
Bambu’s printers (and those like them) are capable of turning out fairly high-quality prints with minimal fuss, and nothing will draw you into the hobby faster than a few successful prints.
Key Features and Specs
The A1 packs impressive technology into a compact frame. Understanding its specifications helps you know what it's capable of.
| Feature | Specification |
|---|---|
| Build Volume | 256 × 256 × 256 mm³ |
| Max Print Speed | 500 mm/s |
| Max Nozzle Temp | 300 °C |
| Build Plate | Textured PEI Plate |
| Multi-color | Yes (with AMS lite) |
| Connectivity | Wi-Fi, Bambu Bus, MicroSD |
The Build Volume tells you the maximum size of an object you can create. The A1's cubic 256 mm build space is generous for most hobbyist projects. The printer's high Max Print Speed is a major advantage, significantly reducing the time you have to wait for your prints to finish.
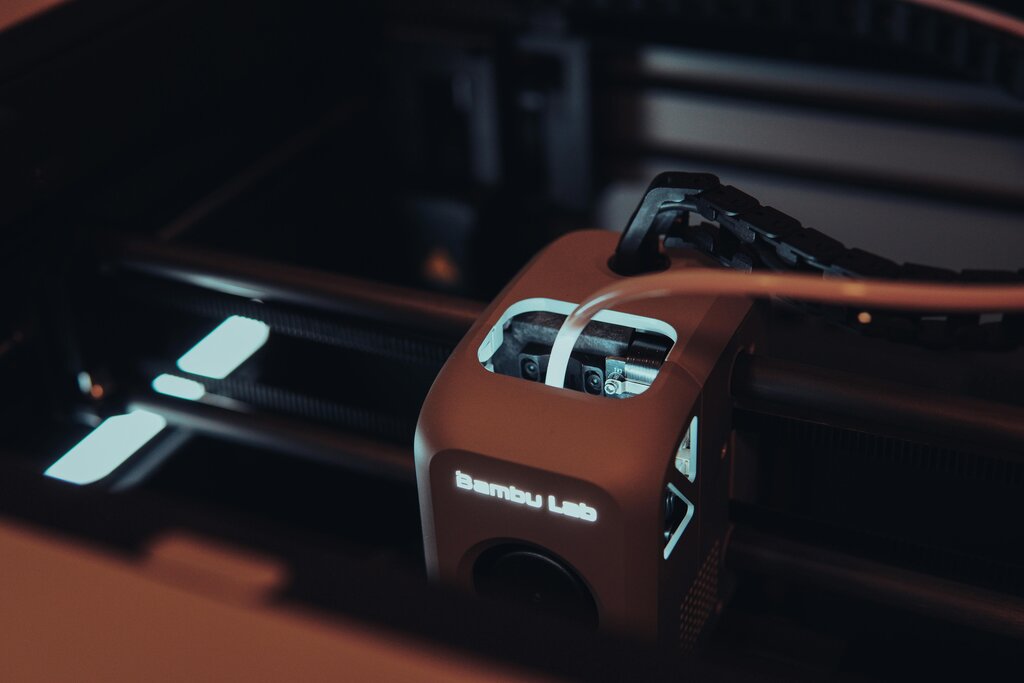
It also features a quick-swap nozzle system. The entire hotend, which is the part that melts and extrudes the plastic, is held in by a single clip. This makes changing nozzles for different materials or maintenance incredibly simple.
Setup and First Calibration
Getting the A1 running is straightforward. The printer ships mostly assembled. Your main task is to remove a few shipping screws and locks designed to protect the machine during transit. The on-screen guide walks you through each step.
Once unpacked, the printer will guide you through its automated calibration process. This is where the A1 really shines. It performs several checks on its own:
Motor Noise Cancellation: The printer actively listens to its own motors and adjusts them to run more quietly. Vibration Resonance: It checks for and compensates for vibrations to maintain print quality at high speeds. Nozzle Height & Bed Leveling: It automatically sets the perfect distance between the nozzle and the print bed, a critical step for a successful first layer. Nozzle Flow: It even prints a few test lines to fine-tune how much filament flows through the nozzle, ensuring accuracy.
You don't need to manually adjust knobs or use pieces of paper to set the nozzle height. Just follow the prompts on the touchscreen, and the printer handles the rest. This entire process typically takes about 15 minutes.
Getting started with the A1 Combo was remarkably intuitive, thanks to the integration of Bambu Studio on my Mac and the Bambu Handy mobile app.
Important Safety Precautions
While the Bambu A1 is designed to be user-friendly, it's still a piece of machinery that uses high heat and moving parts. Always keep safety in mind.
First, the nozzle gets extremely hot, up to 300°C (572°F). Never touch the nozzle or the metal block around it, especially during or immediately after a print. The heated bed can also be hot enough to cause burns.
Second, keep your hands clear of the printer's moving parts while it's in operation. The print head and build plate move quickly and quietly, and can be dangerous if obstructed.
Finally, ensure the printer is on a stable, level surface with plenty of ventilation. Some plastics can release fumes when melted, so it's best to use the printer in a well-aired room.
Now, let's test your understanding of the Bambu A1's features and setup.
What is a primary goal of the Bambu Lab A1's design?
Which feature of the Bambu A1 simplifies the process of changing materials or performing maintenance on the hotend?
With the printer calibrated and safety in mind, you're ready to move on to preparing your first 3D model for printing.