Mastering Visual Basic for DOS
Environment Setup
Setting Up the Time Machine
Before you can write a single line of Visual Basic 1.0 for DOS, you have to recreate its native habitat. This isn't like installing a modern application. We're stepping back into an era of tight memory constraints and text-based interfaces. Our main tool for this journey will be a DOS emulator like DOSBox, which creates a virtual 16-bit environment on your modern computer.
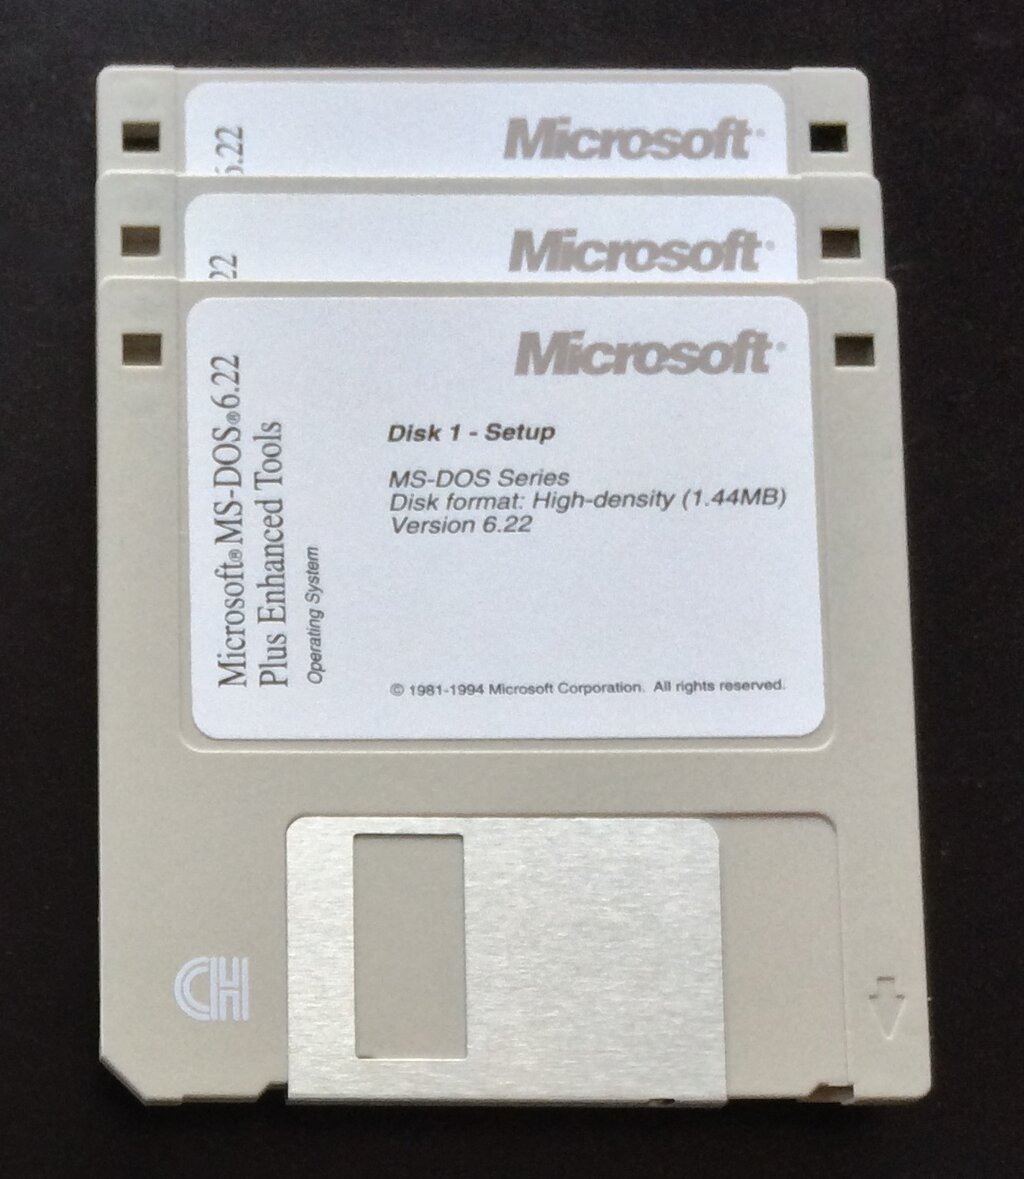
The first task is installing the software from its original distribution medium: 1.44MB floppy disks. Since physical floppies are long gone, we'll use digital copies called disk images. The process involves telling DOSBox where to find these virtual floppies and where to create a virtual hard drive for the installation.
# Create a folder for your virtual hard drive, e.g., C:\VBDOS
# Place your VB for DOS disk images in a subfolder, e.g., C:\VBDOS\Disks

# In DOSBox, mount the virtual C: drive
MOUNT C C:\VBDOS

# Mount the first floppy disk image to the virtual A: drive
MOUNT A C:\VBDOS\Disks\DISK1.img -t floppy

# Switch to the A: drive and run the installer
A:
INSTALL
The installer is a simple, text-based affair. It will guide you through the process, asking you to swap disks as needed. In DOSBox, you can swap disks by mounting the next image file to the A: drive. For example, when prompted for Disk 2, you would mount DISK2.img.
The 640KB Barrier
Now for the real challenge: memory management. Early PCs were limited to 1MB of total addressable memory, with the first 640KB reserved for the operating system and user programs. This is the infamous . Visual Basic for DOS is a demanding program for its time. It needs enough conventional memory to load its compiler and the character-based Form Designer simultaneously. Without proper configuration, you'll run into frustrating "Out of memory" errors.
The solution was a clever workaround called the (EMS). EMS allowed DOS programs to access memory beyond the 1MB limit through a small 64KB window in the upper memory area. We enable this by loading a special memory manager, EMM386.EXE, through the CONFIG.SYS file. This file, along with AUTOEXEC.BAT, runs automatically when DOS boots, setting up the system environment.
Properly configuring these two files is the most critical step for a stable VB-DOS development environment.
REM --- In CONFIG.SYS ---
DEVICE=C:\DOS\HIMEM.SYS
DEVICE=C:\DOS\EMM386.EXE RAM
DOS=HIGH,UMB
FILES=30
BUFFERS=20

REM --- In AUTOEXEC.BAT ---
@ECHO OFF
PROMPT $p$g
PATH C:\DOS;C:\VBDOS
SET TEMP=C:\TEMP
Navigating the IDE
With the environment configured, you can finally launch the Integrated Development Environment. Navigate to the installation directory and run the main executable.
C:
CD VBDOS
VBDOS.EXE
You can also pass parameters to VBDOS.EXE to fine-tune its memory usage. For example, /L forces the IDE to load libraries into conventional memory, which can sometimes resolve conflicts. The IDE itself is entirely text-based. Forget the mouse; navigation relies on keyboard shortcuts. The menu bar at the top is accessed with the Alt key, and you move between windows like the Form Designer, Properties, and Code Editor using Tab and F6. It's a stark contrast to modern graphical interfaces, but it's remarkably efficient once you learn the keys.
Let's review the key terms from this setup process.
Now, test your understanding of setting up the DOS environment.
What is the primary tool needed to create a virtual 16-bit environment for Visual Basic 1.0 for DOS on a modern computer?
What was the primary problem that the Expanded Memory Specification (EMS) was designed to solve?
With your environment set up and configured, you're ready to start exploring the world of event-driven programming in Visual Basic for DOS.