Mastering Video Tutorial Creation
Introduction to Screen Recording
Capturing Your Screen
A great video tutorial starts with a clean screen recording. This is the raw footage you'll later edit into a polished final product. The software you use for this step can make a big difference in the quality of your recording and the ease of your workflow.
There are many screen recording tools available, each with its own strengths. Some are free and open-source, offering powerful features for those willing to learn, while others are paid applications with user-friendly interfaces and built-in editing suites.
Choosing Your Tool
Your choice of software depends on your budget, operating system, and what you need the tool to do. Let's look at a few popular options.
| Software | Cost | Platforms | Key Feature |
|---|---|---|---|
| OBS Studio | Free | Windows, macOS, Linux | Highly customizable, great for live streaming |
| Camtasia | Paid | Windows, macOS | All-in-one recorder and powerful video editor |
| ScreenFlow | Paid | macOS | Sleek interface with excellent editing tools |
Free tools like OBS Studio are incredibly powerful but can have a steeper learning curve. Paid options like Camtasia and ScreenFlow often combine recording and editing into one package, which can simplify the process. Many operating systems also have built-in recorders, like the Xbox Game Bar on Windows or the Screenshot tool on macOS. These are great for quick, simple recordings but lack advanced features.
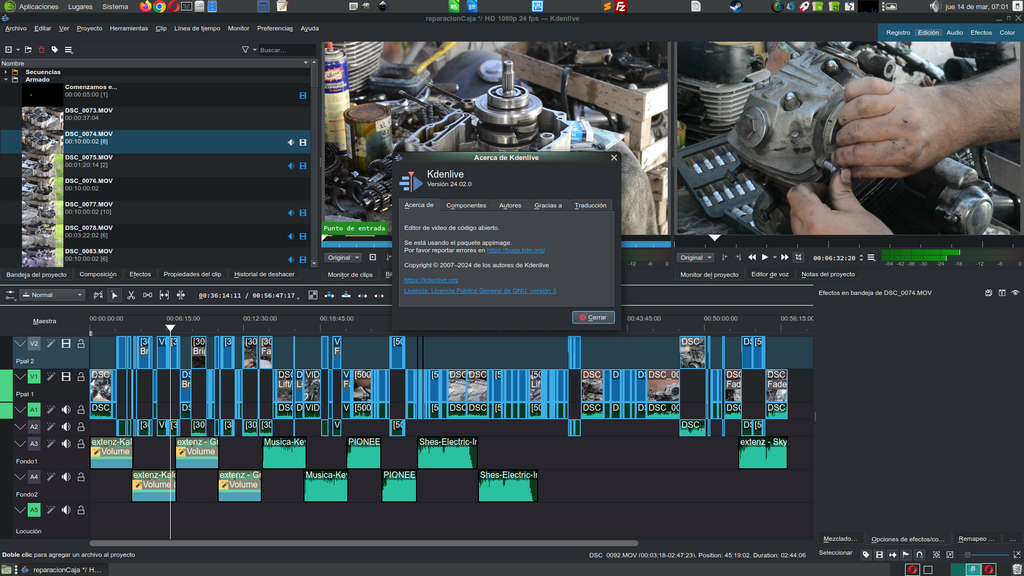
Regardless of the tool, look for a few key features. You'll need the ability to record your entire screen, a specific window, or a custom region. You'll also want to capture your computer's audio (system audio) and your own voice from a microphone. Many tools also let you record your webcam simultaneously, which is great for adding a personal touch.
Setting Up for Success
Before you hit record, take a moment to configure your settings. This ensures you get a high-quality recording and saves you headaches during the editing phase.
First, set your recording resolution. A good standard is 1920x1080 pixels (1080p). This provides a clear, high-definition image that looks great on most displays. Next, check the frame rate, measured in frames per second (FPS). For most screen recordings, 30 FPS is perfectly smooth. If you're recording fast-paced motion, like in a video game, you might want to use 60 FPS.
Audio is just as important as video. Make sure your software is set to capture both your microphone and your system audio if you need to record sounds from your computer. Finally, consider your cursor. Most tools have options to highlight the cursor or show visual clicks, which helps guide your viewer's attention.
Always do a short test recording. Check your video for clarity and your audio for volume and background noise. It's better to find a problem in a 10-second clip than after a one-hour recording session.
To get the cleanest possible take, prepare your workspace. Close any applications and notifications that aren't part of the tutorial. A clean, uncluttered desktop background is also a good idea. When you're ready, speak clearly and at a steady pace. Don't worry about small mistakes; you can always edit them out later.
Now, let's review what you've learned about screen recording.
A user needs to create a simple, quick screen recording on their Windows computer without installing new software. Which type of tool would be most suitable?
What is the standard recommended resolution and frame rate for a clear, high-definition tutorial video?
With these fundamentals, you're ready to capture the raw footage for your tutorial.