Mastering Tile Installation
Tools and Materials
Tiles The Foundation
The first choice in any tiling project is the tile itself. While the options are vast, most projects use one of two workhorses: ceramic or porcelain. They look similar, but their internal structures are quite different.
Ceramic tiles are made from a softer, less dense clay. They are easier to cut and more budget-friendly, making them a great choice for walls, backsplashes, and low-traffic floor areas. They are typically finished with a durable glaze that carries the color and pattern.
tile is a different beast. It's fired at much higher temperatures and made from a more refined, denser clay. This process, called vitrification, makes it incredibly strong, scratch-resistant, and less porous. This makes porcelain ideal for high-traffic floors, countertops, and wet environments like shower floors.
| Feature | Ceramic | Porcelain |
|---|---|---|
| Durability | Good for walls, low-traffic floors | Excellent for all floors, high-traffic |
| Water Resistance | Good (if glazed) | Excellent (less than 0.5% absorption) |
| Cost | Generally lower | Generally higher |
| Ease of Cutting | Easier to cut manually | More difficult, requires sharp scorer |
Adhesives and Application
Once you've chosen your tiles, you need to stick them down. The two main adhesives you'll encounter are thin-set mortar and mastic.
Your choice of adhesive depends entirely on the location. Using the wrong one can lead to total project failure.
is a cement-based product you mix with water. It cures through a chemical reaction and forms a rigid, powerful bond. It's the only choice for floors, shower walls, or any area exposed to moisture. It also helps fill minor imperfections in the subfloor. Mastic, on the other hand, is a pre-mixed, organic glue that air-dries. It’s convenient but should only be used for dry, interior wall applications like kitchen backsplashes. It never fully hardens like cement and will re-emulsify if it gets wet.
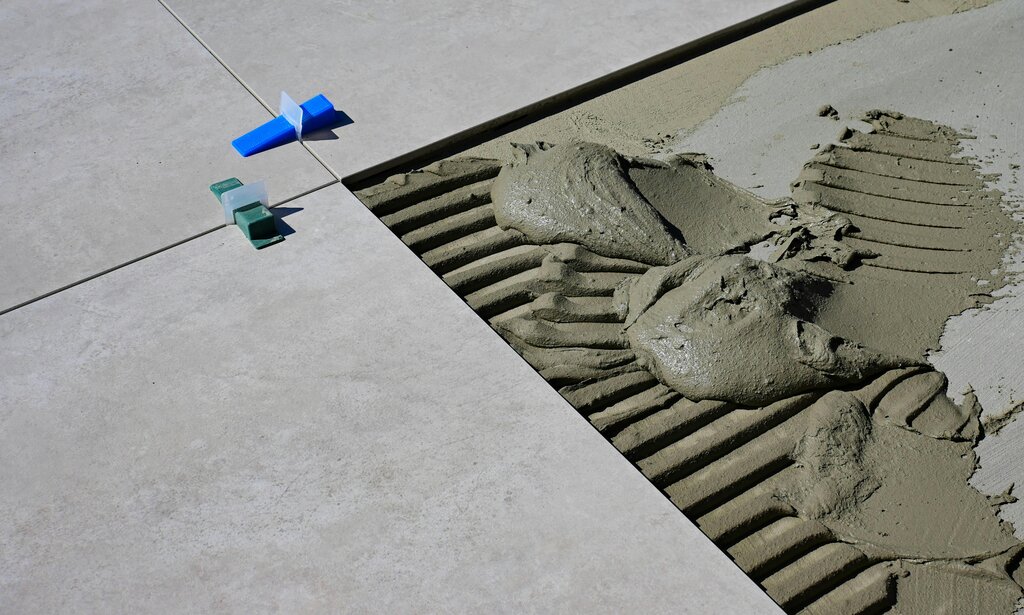
You'll apply your adhesive with a notched trowel. The notches are critical; they comb the adhesive into uniform ridges. When you press a tile into these ridges, they flatten out to create consistent coverage without trapping air. The size of the tile determines the size of the trowel's notches. Larger tiles need deeper notches to ensure enough mortar gets underneath.
To keep the lines between your tiles uniform, you'll use tile spacers. These small plastic crosses or T-shapes are placed at the corners of each tile during installation and removed before grouting. They are essential for a professional-looking result.
Grout and Final Tools
After the adhesive has fully cured, the final step is to fill the joints with This locks the tiles together, prevents dirt and water from getting underneath, and completes the look. The two primary types are sanded and unsanded.
| Grout Type | Joint Size | Common Use | Why? |
|---|---|---|---|
| Sanded | 1/8" (3mm) or wider | Most floors and walls | Sand provides bulk and prevents shrinkage and cracking in wider joints. |
| Unsanded | 1/8" (3mm) or narrower | Polished stone, delicate tile | The lack of sand prevents scratching on sensitive surfaces. It's also stickier, which helps it adhere in narrow gaps. |
Applying grout requires a few simple tools: a rubber grout float to press it into the joints, and two buckets and a sponge for cleanup. One bucket is for the initial, heavy rinse and the other is for the final, clean rinse to remove the last of the haze from the tile face.
Beyond these specific items, a few general tools are non-negotiable. You'll need a measuring tape and a level to ensure your layout is square and your tiles are flat. A manual tile cutter, often called a snap cutter, is used to score and break tiles for straight cuts. For pressing tiles firmly into the mortar, a rubber mallet is used to gently tap them into place.
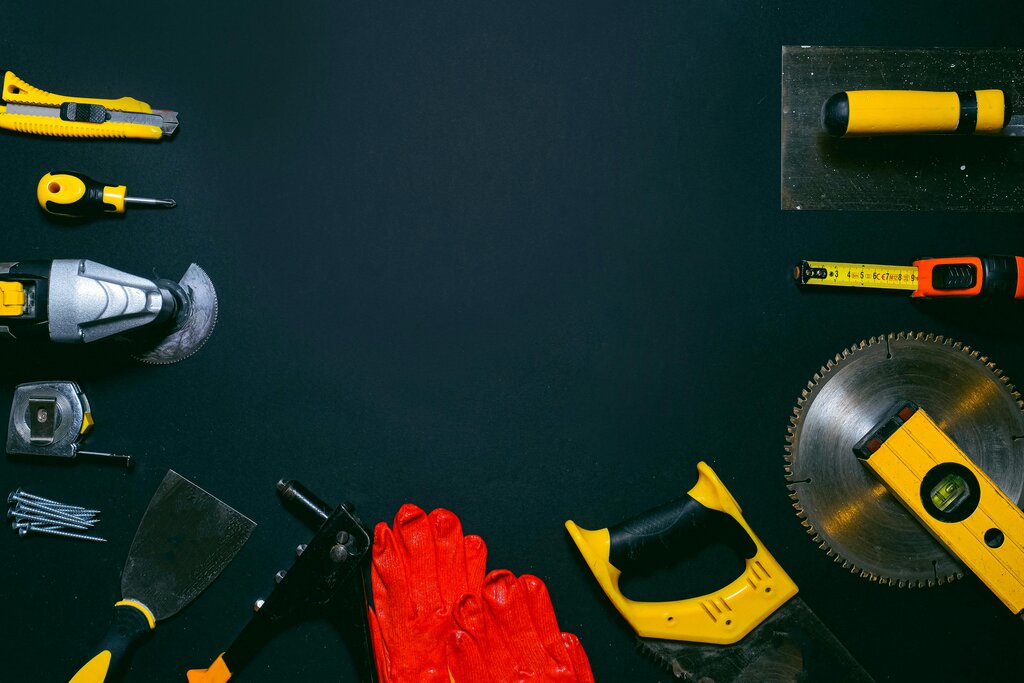
Finally, don't forget safety gear. Tiling involves sharp edges, cement dust, and a lot of time on your knees. A good pair of gloves, safety glasses, and comfortable knee pads are essential.
Time to check your knowledge on the basics.
For which of the following projects would porcelain tile be the most suitable choice due to its strength and low porosity?
You are tiling a shower floor. Which adhesive is the only appropriate choice for this application?
With the right materials and tools, you have the foundation for a successful project.