Mastering the OpenClaw Engine
Source Code Compilation
Acquiring the Source Code
First, you need a local copy of the OpenClaw source code. Since the project relies on other repositories for specific functionalities, a standard clone isn't enough. You need to clone it recursively to pull in all the necessary Git submodules at the same time.
git clone --recursive https://github.com/OpenClaw/OpenClaw.git
If you've already cloned the repository without the --recursive flag, you can initialize the submodules manually from within the project directory:
git submodule update --init --recursive
Configuring the Build
OpenClaw uses CMake to manage the build process. CMake doesn't compile the code itself; instead, it generates the native build files for your specific environment, like Makefiles for Linux or a Visual Studio solution for Windows. This makes the project portable across different operating systems and compilers.
The standard practice is to create a separate directory for the build files to keep them isolated from the source code.
# Create and navigate to a build directory
mkdir build
cd build

# Run CMake to configure the project
cpackage ..
When you run the cmake .. command, it inspects your system for the required tools and libraries, including a C++17-compatible compiler and the necessary libraries. If it can't find something, it will fail with an error message telling you what's missing.
Handling Dependencies
The most common point of failure during configuration is missing development libraries. Compiling a program requires not just the library files themselves, but also the header files that describe how to use them. These are typically packaged separately.
On Linux, you can install these dependencies using your system's package manager. The package names usually end with a
-devor-develsuffix.
# For Debian/Ubuntu-based systems
sudo apt-get install libsdl2-dev libsdl2-image-dev libsdl2-mixer-dev libsdl2-ttf-dev libsfml-dev

# For Fedora-based systems
sudo dnf install SDL2-devel SDL2_image-devel SDL2_mixer-devel SDL2_ttf-devel SFML-devel
On Windows, there's no central package manager. You'll need to download the development libraries for SDL2 and SFML yourself. After unzipping them, you must tell CMake where to find them. You can do this by setting a CMake variable from the command line.
# Example for pointing CMake to a local SDL2 library on Windows
cpackage -DSDL2_DIR=C:/path/to/SDL2-2.28.5 ..
This command directs CMake to look inside the specified folder for the files it needs to link against the SDL2 library.
Compiling and Running
Once CMake finishes configuring without errors, you'll have a set of native build files in your build directory. Now you can compile the engine. The command depends on the build system CMake generated.
| Platform | Build System | Compilation Command |
|---|---|---|
| Linux | Makefiles (default) | make |
| Linux | Ninja | ninja |
| Windows | Visual Studio | cmake --build . or open .sln file in the IDE |
The cmake --build . command is a convenient, platform-agnostic way to trigger the compilation. It works by calling the underlying native build tool for you.
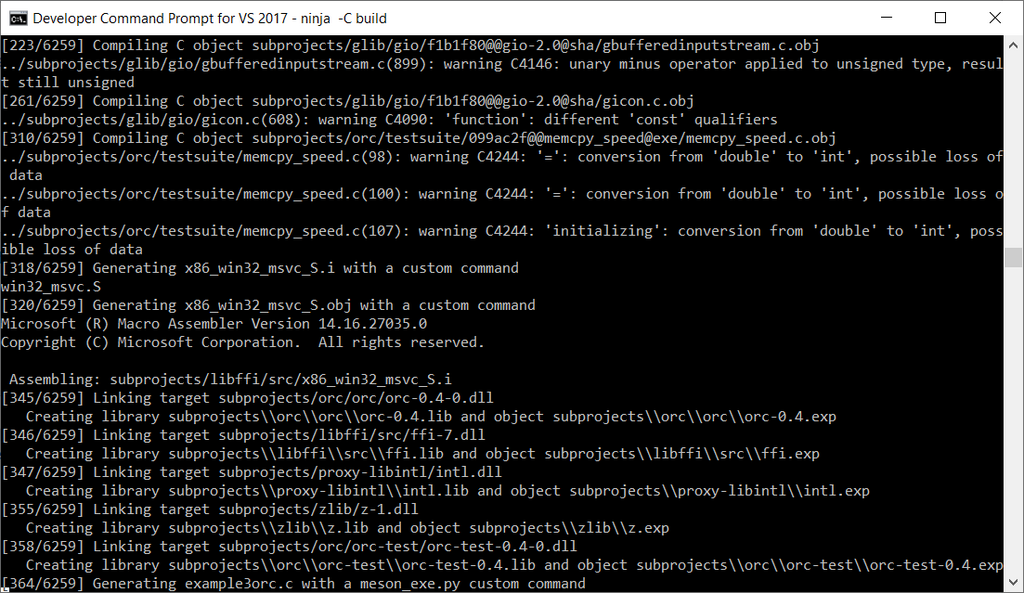
After a successful compilation, the executable binary will be located inside the build directory. Before you can run the game, you need to copy the original game's data file, CLAW.REZ, into the same directory as the new executable.
For all platforms you will need original CLAW.REZ game archive in Build_Release directory from original game
With the executable and the data file in place, you are ready to run your self-compiled version of OpenClaw.