Mastering the Oboe
Oboe Assembly
Putting Your Oboe Together
Before you can make a sound, you need to assemble your oboe. The instrument comes in three main wooden sections: the bell (the flared end), the lower joint (the longest piece), and the upper joint (where your left hand will go). There's also the reed, which is what actually produces the sound.
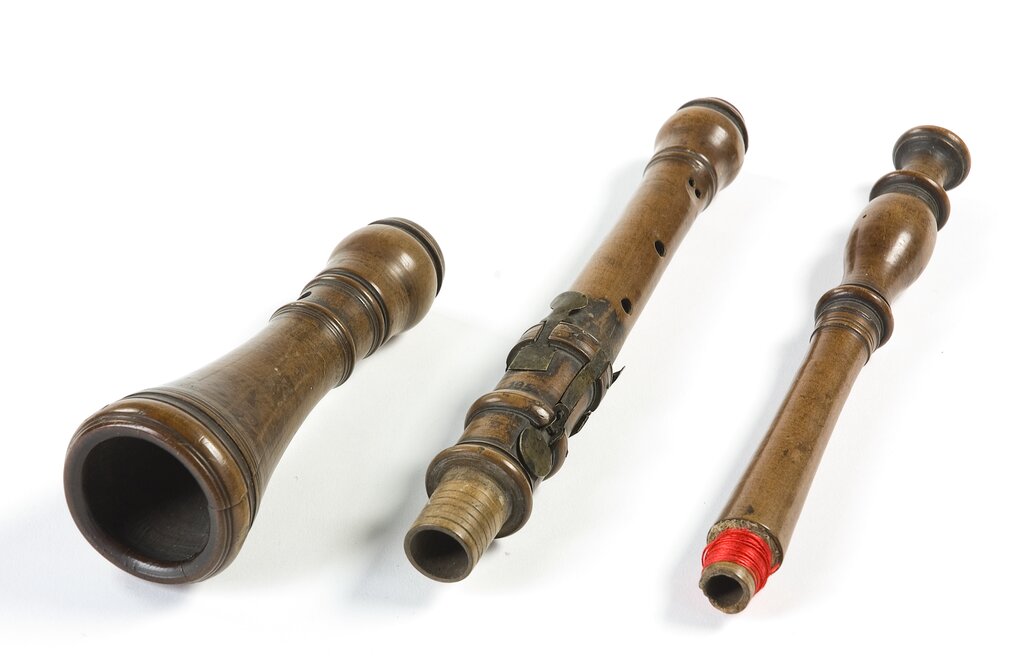
Handle each piece carefully. The oboe has a complex system of keys, pads, and rods that can be bent easily. Always grip the sections where there are no keys. A good rule of thumb is to hold them near the joints, where the cork is.
Connecting the Joints
Start with the two largest sections: the upper and lower joints. Hold the upper joint in your left hand and the lower joint in your right. Gently twist them together, don't just push. A slight rocking motion can help ease them into place. Be careful not to force it, as you could damage the cork or bend the keys.
The most important step here is aligning the bridge keys. These are the overlapping metal levers that connect the key systems of the two joints, allowing keys on one section to control pads on the other. If they aren't lined up correctly, some notes won't play.
Look for the sets of keys that reach across the connection point. As you press the two joints together, make sure the bridge key on the lower joint sits directly underneath its counterpart on the upper joint. Once they're aligned, you can attach the bell to the bottom of the lower joint with the same gentle twisting motion.
The Reed and Aftercare
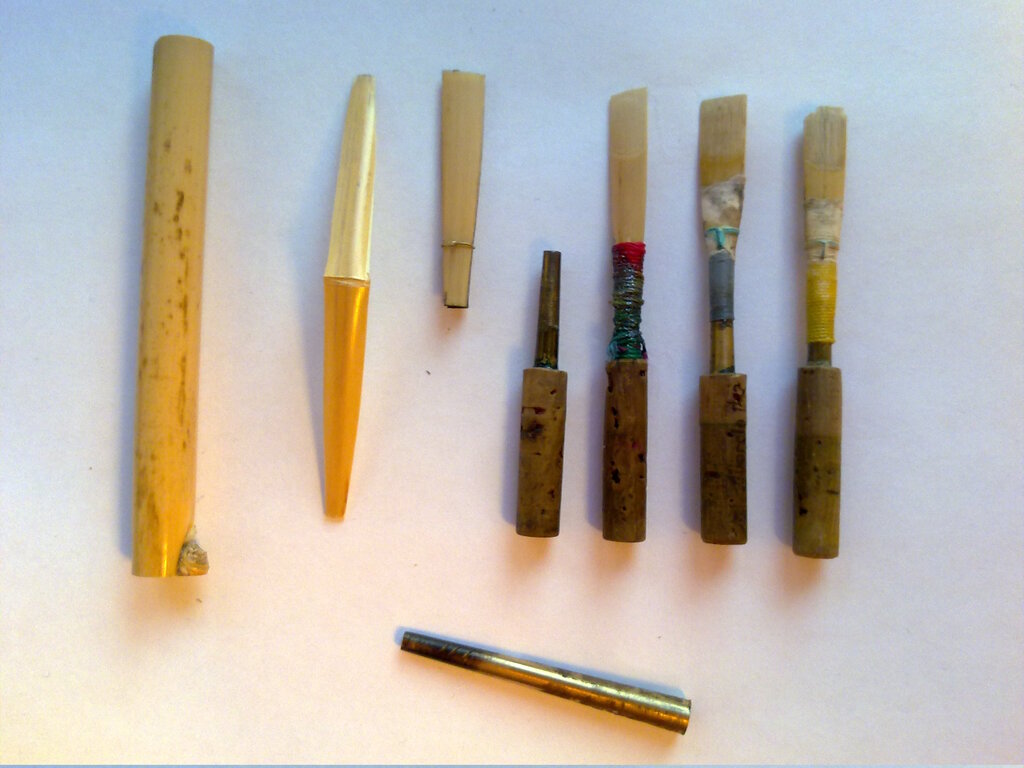
The reed is the most delicate part of the oboe. Before playing, you should soak the tip in a small amount of water for a minute or two. This helps it vibrate properly.
Once soaked, hold the reed by its cork base and gently insert it into the top of the upper joint. Push and twist it in until it feels snug. The two thin blades of cane at the tip are extremely fragile, so never touch them.
After you're done playing, it's critical to clean your instrument. Disassemble it in the reverse order you put it together. Then, take a silk or microfiber swab, drop the weighted end through the largest section, and gently pull it through to absorb all the moisture. Swab each of the three wooden sections a couple of times.
Cleaning your oboe prevents moisture from damaging the wooden body and keeps the pads in good condition, ensuring your instrument plays well for years to come.
Now that you know how to assemble and care for your instrument, let's test your knowledge.
What are the three main wooden sections of an oboe?
When connecting the upper and lower joints, what is the most critical alignment step?