Mastering the Oboe
Oboe Basics
A Quick Look Back
The oboe's story begins with an instrument called the shawm, a loud, conical woodwind popular in Europe from the Middle Ages through the Baroque period. Think of it as the oboe's boisterous ancestor, mostly used for outdoor music and ceremonies because of its powerful, piercing sound.
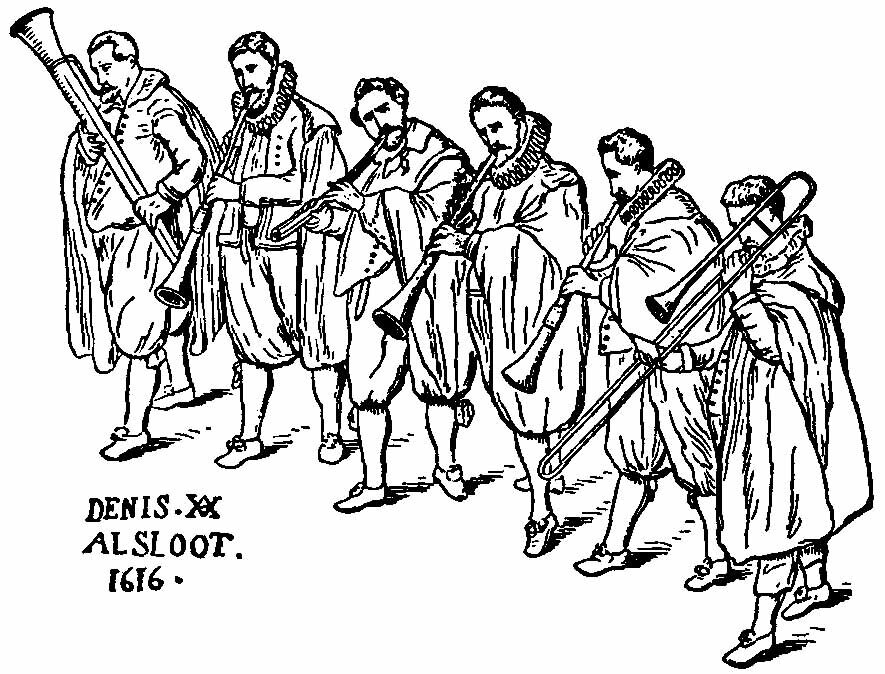
In the mid-17th century, French court musicians began refining the shawm. They made the instrument narrower, divided it into three sections, and added more keys. This new version, called the hautbois (French for "high wood"), had a sweeter, more controlled tone suitable for indoor orchestral music. This was the birth of the oboe we know today.
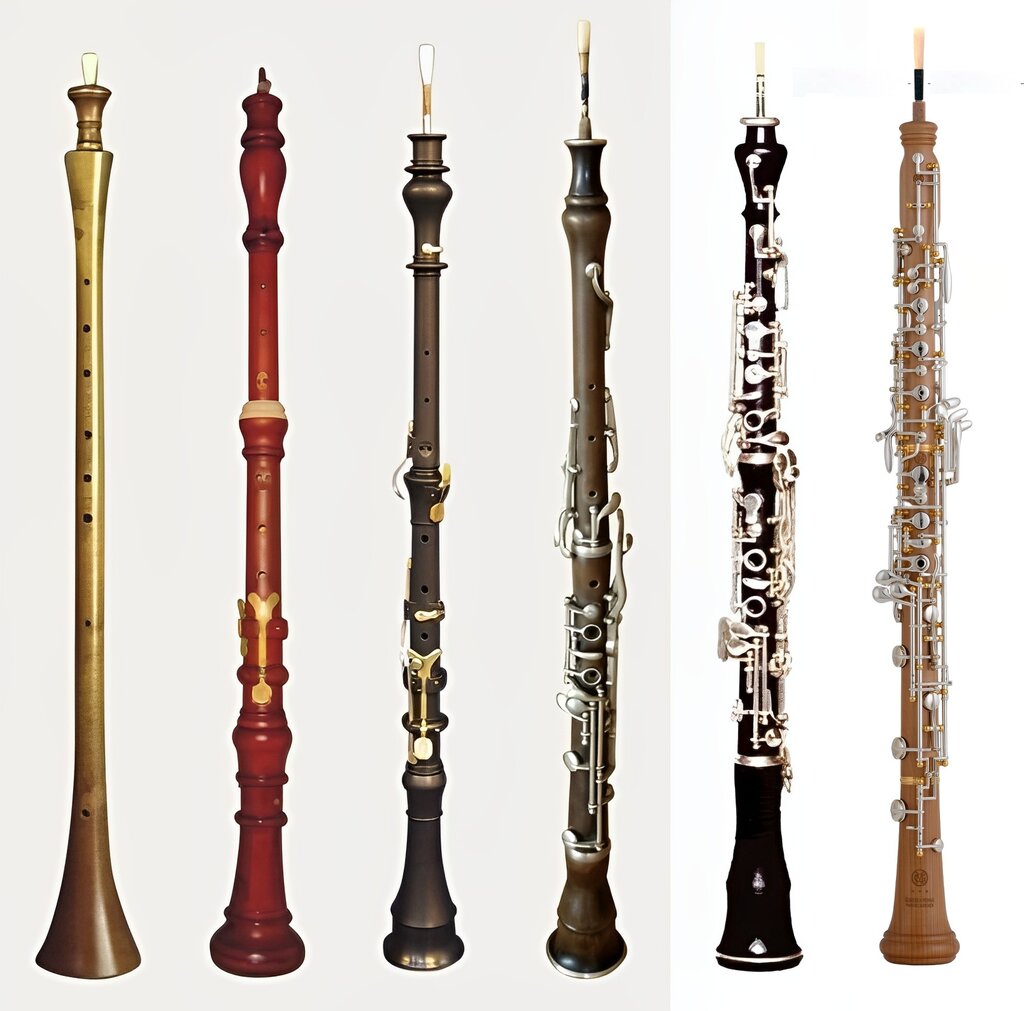
Anatomy of an Oboe
A modern oboe looks complex, but it's made of just a few main pieces. Most professional oboes are crafted from Grenadilla, a dense, dark wood from Africa. This wood gives the instrument its characteristic warm, rich tone. Student models are often made of durable plastic resin.
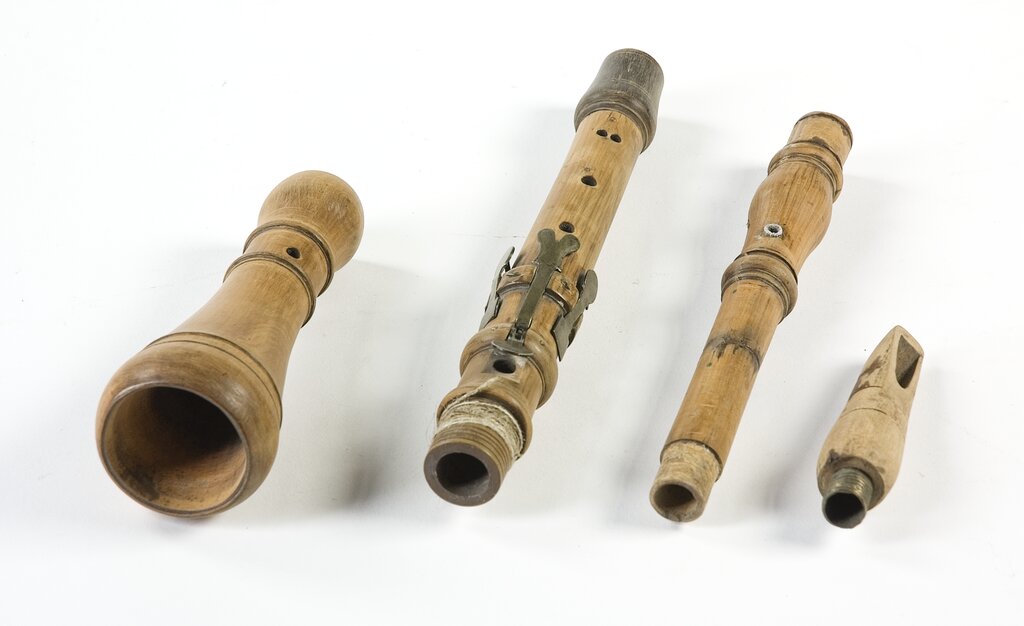
Let's break down the parts from bottom to top:
- The Bell: This flared end helps project the sound and affects the tone of the lowest notes.
- The Lower Joint: The longest section, controlled by your right hand. It connects to the bell.
- The Upper Joint: This piece connects to the lower joint and is played with your left hand. It has the most complex keywork.
- The Reed: This isn't technically part of the oboe's body, but it's the most crucial part for making a sound. It consists of two thin pieces of cane tied together. When you blow through it, the canes vibrate to produce the oboe's unique sound.
Putting It All Together
Assembling your oboe correctly is vital to avoid damaging its delicate keywork. Always handle the parts carefully, gripping them where there are no keys.
First, take the bell and the lower joint. Gently twist them together. There's no need to force it; a slow, steady push and turn is all you need.
Next, connect the upper joint to the lower joint. This is the trickiest part. You need to align the connecting levers, called bridge keys, so they meet perfectly. To do this, press down on the keys on the upper joint that lift the bridge key. This raises the connecting parts so they can slide over the corresponding keys on the lower joint without getting bent. Twist the sections together slowly until they are fully connected, then release the keys.
Never force the pieces together. If they don't connect smoothly, you may need a tiny bit of cork grease on the tenon corks (the corky parts that join the sections).
Finally, you'll insert the reed. Before playing, you should soak the cane part of the reed in a small cup of water for about a minute. This helps it vibrate properly. Once soaked, gently insert the corked end of the reed into the top of the upper joint. It should fit snugly, but don't push it in so far that you can't get it out.
Keeping Your Oboe Happy
Proper care will keep your oboe playing beautifully for years. The most important daily task is removing moisture after you play.
Your oboe should come with a swab, which is usually a piece of silk or microfiber cloth with a weighted string. After disassembling the instrument, drop the weighted end of the string through each joint (except the reed!) and pull the cloth through a few times. This absorbs the condensation from your breath, which can damage the wood and pads over time.
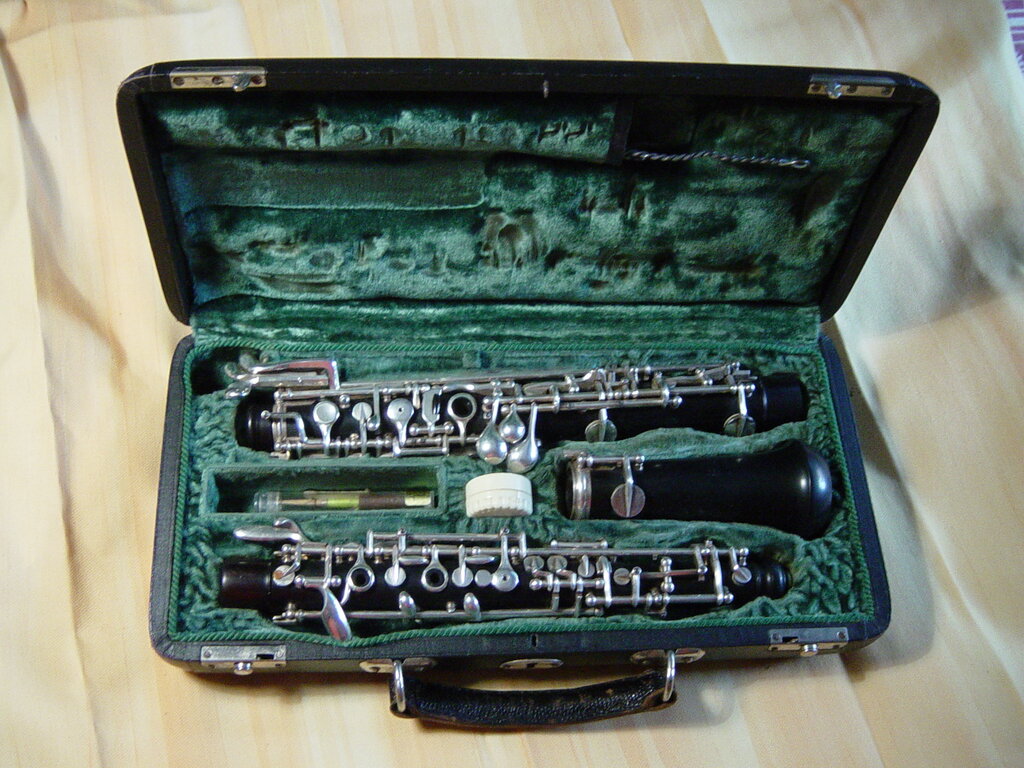
Store your reed in a dedicated reed case that allows air to circulate, which prevents mold and helps the reed last longer. When you're done, always put your oboe back in its case. Leaving it out on a stand risks it being knocked over, which can lead to costly repairs.
With these basics down, you have a solid foundation for your journey with this wonderful instrument.
Time to test what you've learned.
What was the name of the oboe's louder, outdoor ancestor, popular during the Middle Ages?
What is the primary function of the oboe's reed?