Mastering the Handstand
Handstand Fundamentals
Building Your Foundation
Before you can even think about kicking up into a handstand, you need to know where to put your hands. This is your foundation. Get this wrong, and everything else will be a struggle.
Place your hands on the floor about shoulder-width apart. Spread your fingers wide, as if you're trying to palm a basketball. This creates a larger base of support and gives you more control. Your index fingers should point straight ahead or slightly outward. Avoid letting them turn inward.
Your arms should be completely straight, with your elbows locked. Think of them as strong pillars. Any bend in your elbows creates instability, making it much harder to balance.
The fundamental position of balance in handstand is stacking the hips over the shoulders over the wrists.
This idea of 'stacking' is crucial. When your joints are aligned vertically, you use your bone structure for support, which is far more efficient than relying purely on muscle. Imagine a tower of blocks. It's most stable when the blocks are stacked directly on top of one another.
Prepare Your Body
Your entire body weight will be supported by your hands, so your wrists need to be both strong and flexible. Without proper conditioning, you risk injury. Spend a few minutes warming up your wrists before every practice session.
Try these simple stretches:
- Wrist Circles: Clasp your hands together and gently roll your wrists in circles, 10-15 times in each direction.
- Prayer Stretch: Press your palms together in front of your chest. Slowly lower your hands toward your waistline until you feel a gentle stretch. Hold for 20-30 seconds.
- Reverse Prayer Stretch: Do the same, but with the backs of your hands pressed together and fingers pointing down.
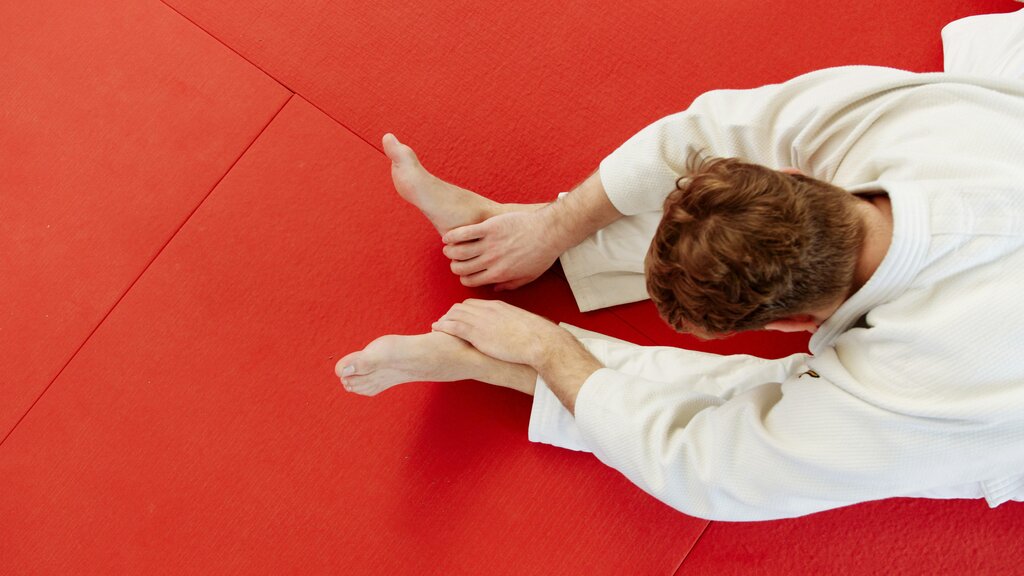
Shoulder mobility is just as important. If your shoulders are tight, your body will compensate by arching your back, leading to the dreaded 'banana back'. To open up your shoulders, try wall stretches. Stand facing a wall, place your hands on it at shoulder height, and walk your feet back, lowering your chest toward the floor until you feel a stretch in your shoulders and upper back.
Engage Your Core
A straight handstand isn't achieved by pushing your chest forward. It's achieved by engaging your core to create a straight line from your hands to your feet. The shape you're aiming for is called a 'hollow body'.
To feel this, lie on your back. Press your lower back into the floor, eliminating any space. Then, lift your shoulders and feet a few inches off the ground. Your body should form a shallow C-shape. That feeling of tightness in your abs is what you need to replicate while upside down.
The secret to a straight handstand is a strong, engaged core. It locks your ribs to your hips, preventing your back from arching.
One of the most common beginner mistakes is the 'banana back', where the body forms a deep arch. This is an unstable and inefficient position. It often happens because of tight shoulders or a weak core. The fix is to actively think about pulling your ribs in and tucking your pelvis, just like in the hollow body exercise. Squeezing your glutes can also help straighten the line.
Ready to test what you've learned about the fundamentals?
When setting up for a handstand, what is the correct placement for your hands?
The common 'banana back' error in a handstand is primarily caused by what?
Mastering these fundamentals takes time and consistent practice. Focus on form over hold time, and you'll build a solid foundation for a strong, stable handstand.