Mastering the Art of Mixed Martial Arts Integration
Strike to Clinch Transitions
Closing the Distance
The gap between striking range and clinch range is often called “no man’s land” for a reason. Crossing this space exposes a fighter to the most powerful counter-strikes. The key to a safe entry is to create a smokescreen, using your own strikes to obscure your movement and disrupt your opponent's vision and timing.
A long, stiff jab can serve this purpose perfectly. It forces your opponent to react defensively, momentarily blinding them or forcing a guard, which creates a window to close the distance. Similarly, a lead-hand hook can wrap around their peripheral vision, making them shell up. This isn't about landing a knockout blow; it's about using the punch as a key to unlock the door to the clinch.
The Crash vs. The Dip
Once you've created your opening, there are two primary ways to enter: the crash and the level change. The crash is a more direct, explosive entry. You maintain your posture and drive forward, absorbing or deflecting any incoming strikes with a high guard, aiming to physically overwhelm the opponent and immediately establish a clinch. This is a high-risk, high-reward tactic that relies on forward momentum and pressure.
The alternative is the level change entry, often called 'the dip.' Instead of crashing in upright, you lower your center of gravity by bending at the knees and hips as you move forward. This presents a smaller target, takes your head off the centerline, and positions you to drive up into the clinch from below. It's a more technical entry that often sets up wrestling-style takedowns.
Regardless of the entry method, head positioning is non-negotiable. You must control your opponent's posture, and that starts with their head. The ideal placement is the head-slot position, where your forehead is pressed firmly into the side of their jaw or chin. This accomplishes two things: it breaks their posture, forcing their gaze downwards, and it acts as a physical block, preventing them from turning in to land short-range strikes like hooks or uppercuts.
Securing the Tie
Once you've made contact, the immediate goal is to establish a dominant grip. This initial phase is called hand fighting. You're jockeying for control, looking to secure a tie that gives you leverage. Your choice of clinch depends on your objective. Are you trying to control and strike, or take the fight to the ground?
For striking, the Muay Thai clinch, or double collar tie, is king. Securing both hands behind the opponent’s head gives you immense control over their posture, opening them up for powerful knees and elbows. However, it can be difficult to achieve against a skilled opponent and leaves you vulnerable to certain wrestling counters.
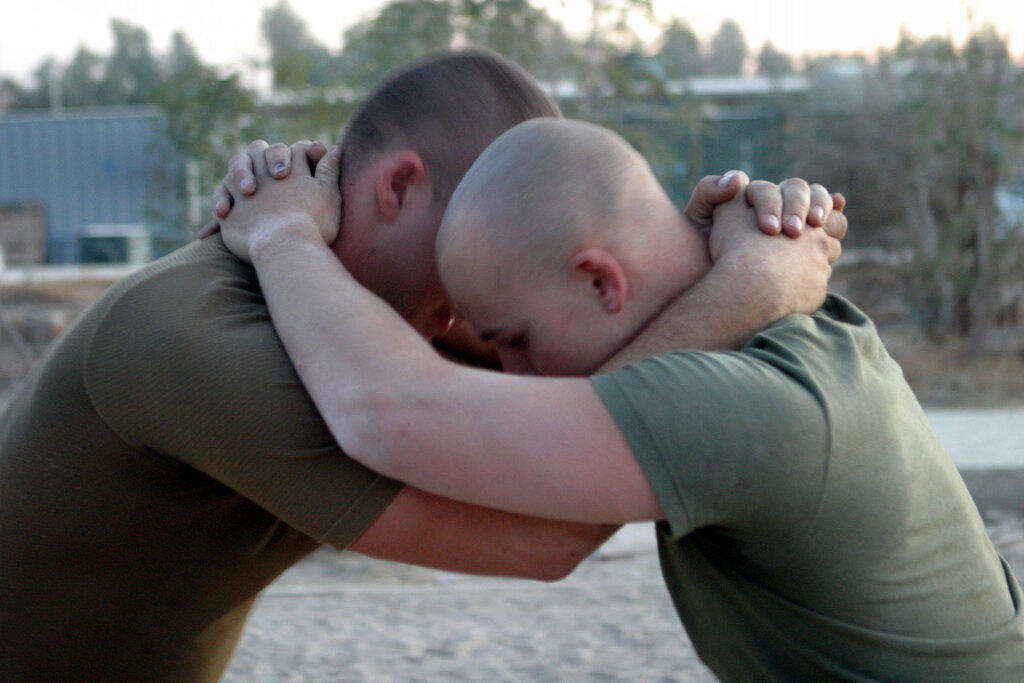
For takedowns, a wrestling clinch is superior. The goal here is often to secure double or a body lock. An underhook involves placing your arm under your opponent's arm and around their back. This grip provides powerful leverage for lifting and turning, which are essential for many throws and takedowns. The trade-off is that it generally provides fewer striking opportunities than the Thai clinch.
The final piece is maintaining relentless forward pressure. Your opponent will be actively trying to reset the distance by pushing you away and circling out. Your job is to stay connected, using your head position and active hand fighting to deny them space. Think of it as sticking to them like glue, constantly working to improve your grip and control as they try to escape.
Practice fluid transitions from punches and kicks into the clinch.
According to the text, what is the primary purpose of throwing a jab or hook when trying to close the distance for a clinch?
A fighter who wants to prioritize takedowns over striking once in the clinch would be better off seeking which type of clinch?
Understanding how to bridge the gap safely is a skill that separates seasoned fighters from novices. It turns a dangerous transition into a strategic advantage.