Mastering the Art of Drawing
Line Control
The Building Blocks of Drawing
Every drawing, from a simple doodle to a complex masterpiece, is built from lines. Mastering the line is the first real step to drawing well. It's like a musician practicing scales or a chef practicing knife cuts. It might not feel exciting, but this fundamental skill makes everything else possible.
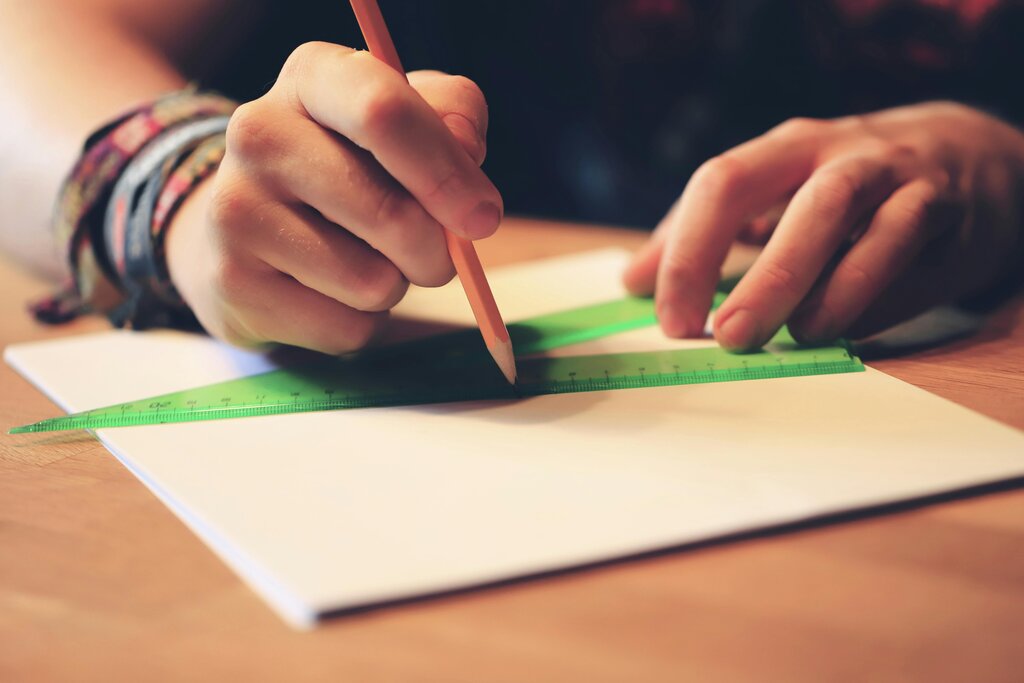
Start with the basics: straight and curved lines. Find a piece of paper and fill it with parallel lines, first horizontal, then vertical, then diagonal. Don't use a ruler. The goal is to train your arm to make a confident, steady stroke. Your first attempts might be wobbly, but with practice, they'll straighten out.
Next, draw circles and ovals. Fill another page with them. Try to make them smooth and consistent. Then, move on to S-curves and waves. These exercises build muscle memory and give you a feel for how the pencil moves across the paper.
Your goal isn't perfect lines right away. The goal is to get comfortable making marks and to build control over your hand and arm.
Giving Lines Life
Not all lines are created equal. A line can be faint and delicate, or it can be bold and heavy. This variation in thickness and darkness is called line weight, and it’s one of the most powerful tools in drawing. Varying your line weight can make a flat drawing feel three-dimensional and full of energy.
Think about how you use your voice. Sometimes you whisper, and other times you speak loudly for emphasis. Line weight does the same thing for a drawing. Heavier, darker lines can suggest weight, shadow, or importance. Lighter, thinner lines can indicate distance, delicate textures, or areas hit by light.
To practice this, take your pencil and try drawing a single, long line that goes from light to dark. Start with very little pressure, barely touching the paper, and gradually press harder as you move your pencil across the page. Then try the opposite, going from dark to light. This simple exercise helps you develop a sensitivity to pressure.
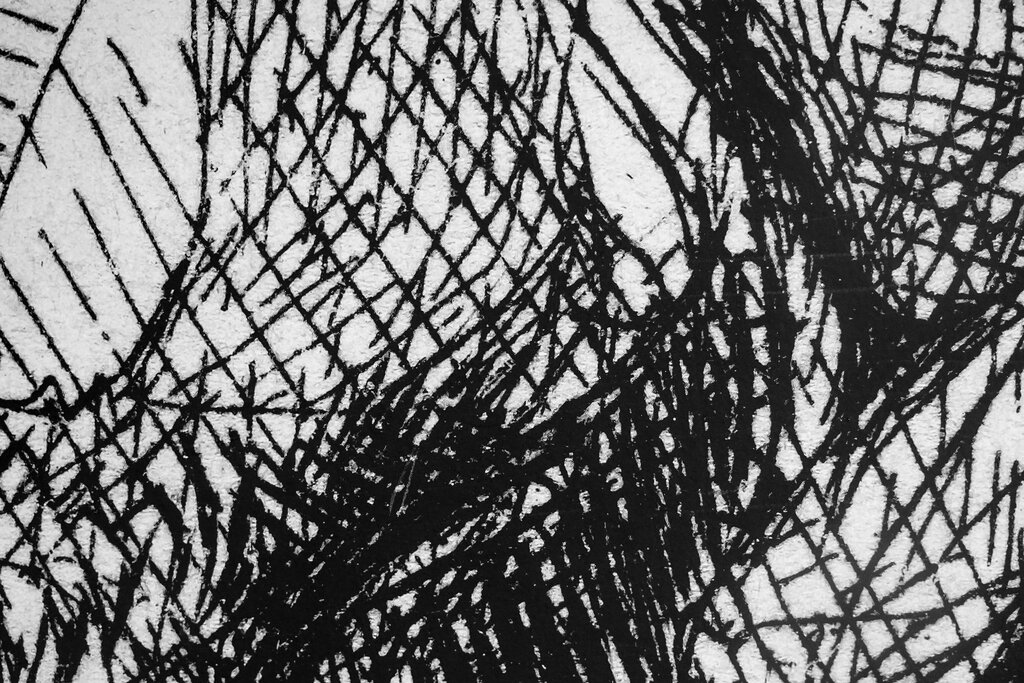
Once you're comfortable with that, try drawing simple shapes, like a cube or a sphere. Use a heavier line for the edges that are closer to the viewer or are in shadow, and a lighter line for the edges that are further away or in the light. This simple change will make your shapes pop off the page.
Drawing What You See
Contour drawing is the art of drawing an object's edges. It’s less about creating a realistic image and more about truly seeing the object in front of you. It's a drawing exercise that trains your eyes and your hand to work together.
Find a simple object, like a coffee mug, a piece of fruit, or your own hand. Place it in front of you and, looking only at the object, draw its outline. Try to capture every little bump and curve. Let your eye slowly trace the edge of the object, and let your hand follow that same path on the paper. The key is to draw slowly and observe carefully.
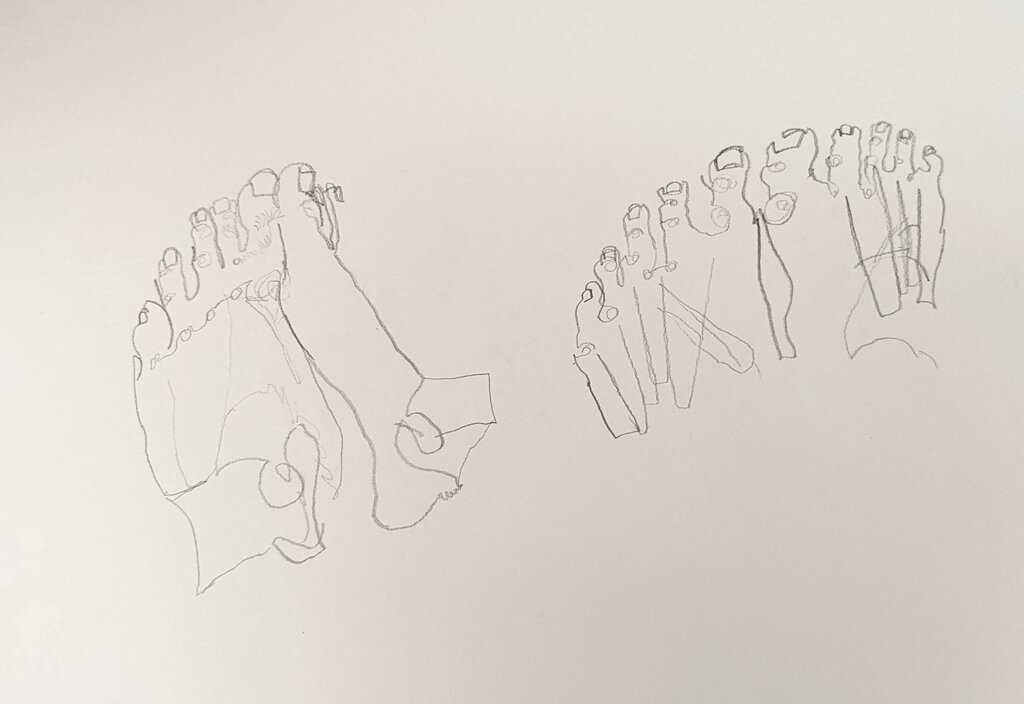
For a more intense version of this exercise, try blind contour drawing. The rules are the same, but with one addition: you are not allowed to look at your paper while you draw. At all. Your drawing will likely look strange and distorted, but that’s not the point.
Blind contour drawing forces you to concentrate deeply on observing the subject rather than fixating on achieving flawless proportions.
This exercise builds a powerful connection between what you see and what you draw. It improves your hand-eye coordination and teaches you to trust your observations. Regular practice with these line exercises will build a strong foundation for all of your future drawings.
What is the primary purpose of practicing drawing basic straight and curved lines without a ruler?
In drawing, 'line weight' refers to the variation in a line's thickness and darkness. How can a lighter, thinner line be used effectively?