Mastering the 3x3 Rubik's Cube
Cross Construction
Building the White Cross
The first step in most layer-by-layer solving methods is building a cross. We'll focus on the white face. The goal isn't just to get four white edge pieces around the white center. Each of those white edge pieces also has another color, and that color must match the center piece of the adjacent face. This creates a solid foundation for the rest of the solve.
Before starting, check the center pieces. They are fixed relative to each other. On a standard cube, if white is on top and red is facing you, blue will always be to your right, orange to your left, and green behind. Yellow will be on the bottom. This never changes, no matter how much you scramble the cube. Understanding this spatial relationship is key to solving the cross efficiently.
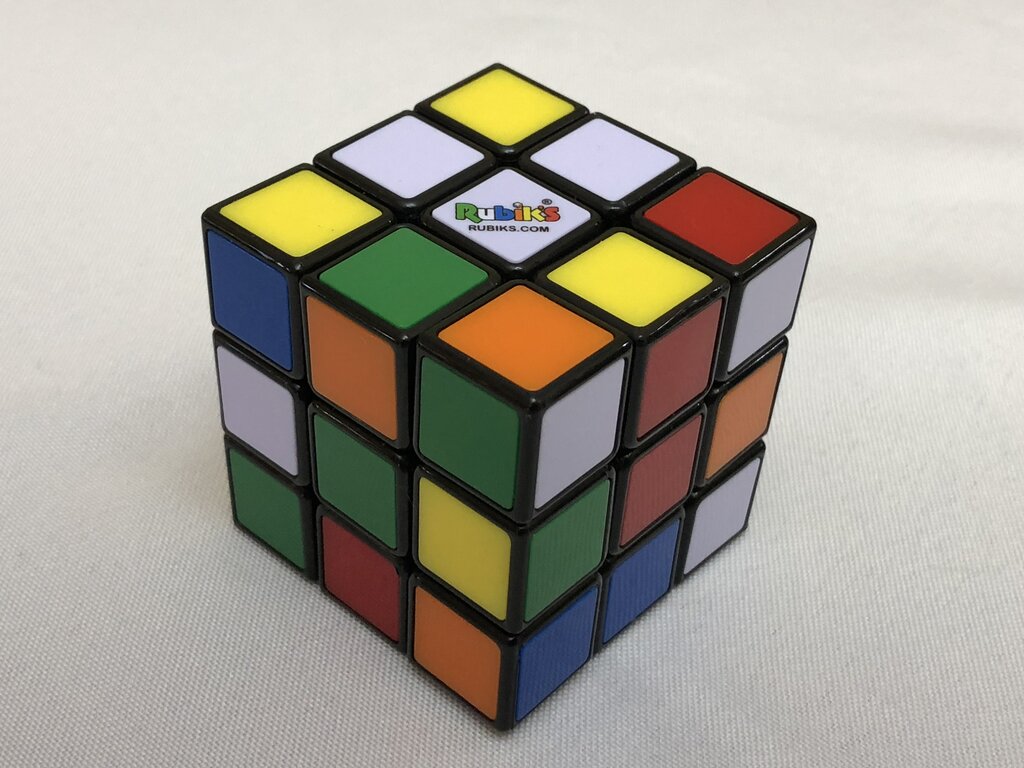
The Daisy Method
A simple way to start is the 'Daisy Method'. It's a two-stage process that breaks down the cross into more manageable steps. It might not be the fastest, but it's very reliable for beginners.
First, find the yellow center piece and hold the cube so it faces up. Your goal is to bring all four white edge pieces to surround the yellow center, creating a daisy-like shape. Don't worry about the other colors on the edge pieces just yet. Just get the white 'petals' around the yellow 'center'.
Once you have the daisy, the second stage is to align each white petal with its correct side-center and move it to the white face. Here’s how:
- Look at the color on the front of a white edge piece on the top (yellow) layer. Let's say it's red.
- Rotate the top layer until that red-white edge piece is above the red center piece. Now the edge is correctly aligned.
- Turn the front face 180 degrees ( in move notation). This sends the aligned edge piece down to the white face, perfectly positioned.
- Repeat this for the remaining three white edge pieces. Rotate the top layer to align each one, then flip its corresponding face twice to move it to the bottom.
After moving all four 'petals' down, flip your cube over. You should now have a perfect white cross.
Direct Placement
The Daisy Method is great for learning, but it adds extra moves. The goal is to build the cross directly on the white face from the start. This requires looking at a white edge piece and planning its path to the white face in a way that aligns it with its side center piece. The aim is to solve the cross in eight moves or fewer.
Let's consider an example. The white face is on the bottom ( face). You find the white-blue edge piece in the middle layer, on the front-right position.
To get this piece into the blue-white spot on the bottom, you have a few options. A simple, but inefficient, way is to move it to the top layer first, then align and insert it. A more direct approach is better.
- The piece is on the right face. The blue center is also on the right face. The piece is 'badly' oriented because the white sticker isn't facing up or down.
- Rotate the right face clockwise (). This moves the piece to the top layer.
- Rotate the top face counter-clockwise (). This positions the white-blue edge over the orange center.
- Now rotate the right face counter-clockwise () to return the other pieces on that face.
- Finally, rotate the top face twice () to place the white-blue edge over the blue center, then do a front face 180-degree turn () to solve it.
This seems long. A better way involves recognizing patterns. If the white-blue piece is at the front-right, with blue facing you:
It helps to remember that the piece you want to insert to form the cross must appear on or be moved to the middle layer i.e. the layer below the upper face.
This kind of thinking, finding short move sequences for specific cases, is the heart of becoming a fast solver. Practice recognizing where the white edge pieces are and how to insert them efficiently without disturbing the pieces you've already placed.
Ready to test your knowledge? Let's see what you've learned about building the cross.
What is the primary goal when building the cross on the white face?
If you are holding a standard Rubik's Cube with the white center on top and the red center facing you, where is the blue center piece?
With the cross solved, you've built the foundation for the first layer. The next step will be to correctly place the white corner pieces to complete the first face.