Mastering Studio Photography
Introduction to Studio Photography
Welcome to the Studio
Studio photography is all about control. Instead of relying on the sun and weather, you create the entire environment from scratch. It’s like being a painter, but your medium is light itself. In a studio, you decide where the light comes from, how bright it is, and what kind of mood it creates.
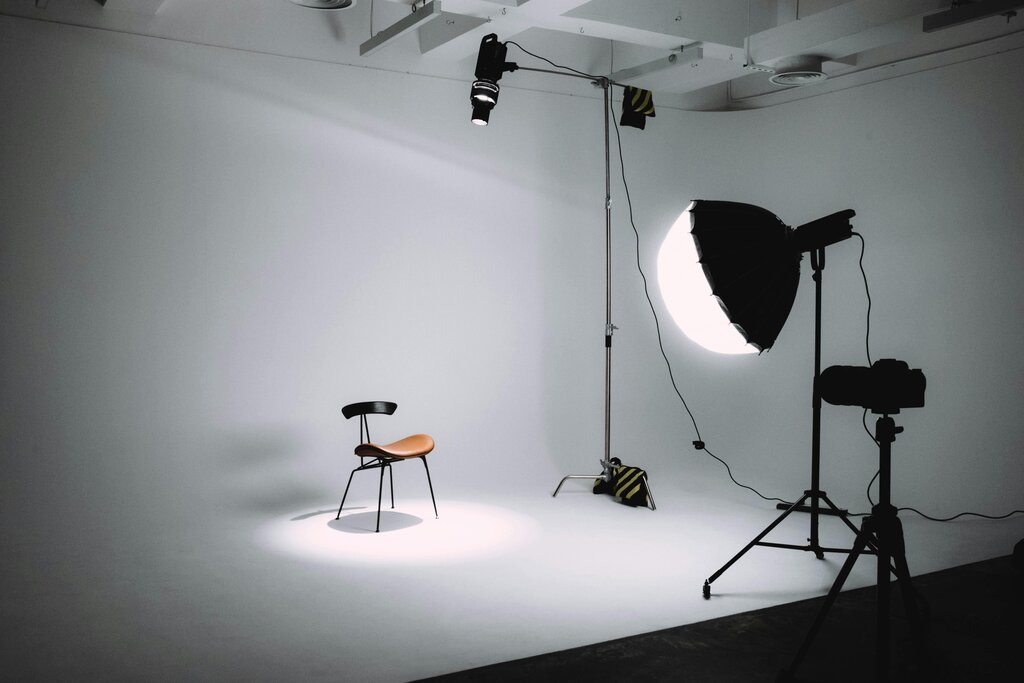
This control is the biggest advantage over shooting in natural light. When you're outdoors, the light changes constantly. Clouds move in, the sun sets, and shadows shift. In a studio, you can take a hundred photos that look perfectly consistent, which is essential for things like product catalogs or professional headshots. You're free from the constraints of time and weather, allowing you to focus purely on your subject and your creative vision.
Shaping the Light
The core of studio work is understanding how to manipulate light. Light from a bare bulb or flash is often harsh and creates sharp, unflattering shadows. To fix this, photographers use light modifiers. These are tools that fit over your lights to change the quality of the light hitting your subject.
Think of a bare flash as a single, tiny sun on a clear day, casting hard shadows. A light modifier acts like a layer of clouds, scattering that light to make it softer and more even.
The goal of a light modifier is simple: to change the size and quality of your light source to achieve a desired look.
Three of the most common modifiers are umbrellas, softboxes, and reflectors.
- Umbrellas are simple and portable. They spread light over a wide area, creating a soft, broad light source. They're great for lighting groups or creating even, bright scenes.
- Softboxes are boxes made of fabric that enclose the light source. They provide a more controlled, directional light than umbrellas, mimicking the soft light from a window.
- Reflectors don't create light; they bounce it. A simple white, silver, or gold panel can be used to fill in shadows or add a warm glow to your subject by redirecting light from your main source.
Your Basic Toolkit
You don’t need a room full of expensive gear to get started. The essentials are fairly simple.
First, you need a camera that allows manual control over settings like aperture, shutter speed, and ISO. A DSLR or mirrorless camera is perfect for this. For lenses, a versatile zoom or a prime lens like a 50mm or 85mm is a great starting point for portraits and general studio work.
Next, a sturdy tripod is non-negotiable. It keeps your camera perfectly still, which is crucial for sharp images and ensures your framing is consistent from one shot to the next. This allows you to focus on adjusting your lighting and directing your subject without worrying about the camera moving.
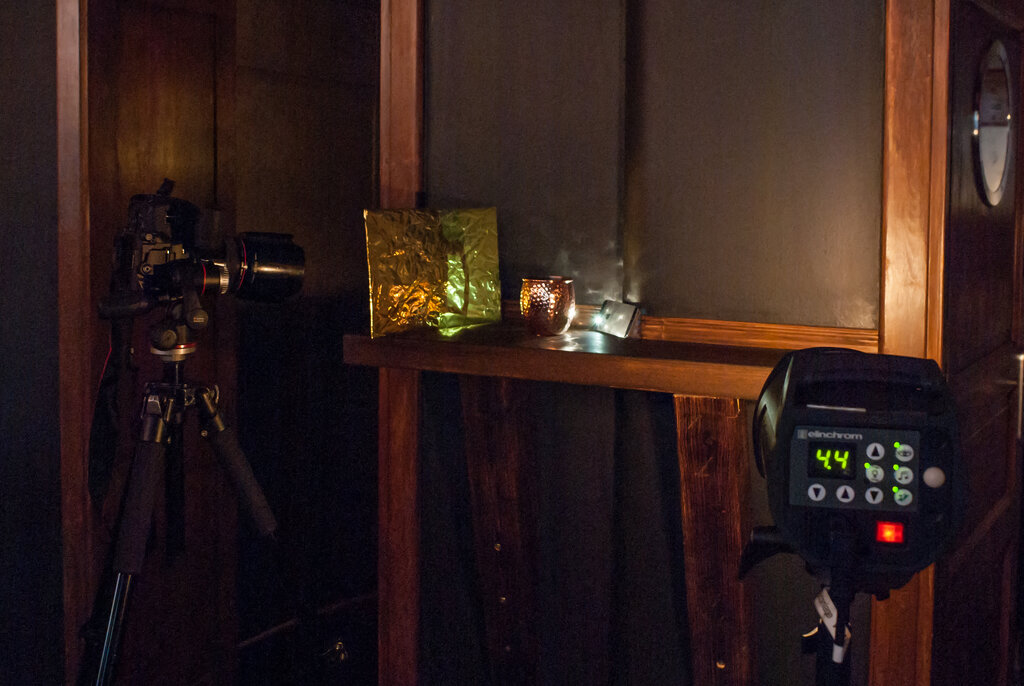
Finally, you need at least one artificial light, such as a studio strobe or even a simple external flash (speedlight). This will be your primary tool for creating and shaping light. From there, you can begin adding the modifiers we discussed to sculpt the light and bring your vision to life.
What is the primary advantage of studio photography compared to shooting with natural light?
Which light modifier is best described as a tool that doesn't create its own light, but instead bounces existing light to fill in shadows?
With these basic elements—a camera, a tripod, a light, and a modifier—you have everything you need to begin exploring the world of studio photography. It's a space where you can experiment, learn, and create images that are limited only by your imagination.