Mastering SketchUp 3D Modeling
Getting Started
Setting Up Your Workspace
First, you'll need to install SketchUp. Head to their official website and download the version that suits you. There are a few options, but for now, we'll focus on the core features you'll find in any version. The installation process is straightforward; just follow the on-screen instructions.
When you launch SketchUp for the first time, you'll be greeted by a welcome screen. This is where you can choose a template for your project. Templates set up the background, units of measurement, and starting view. For beginners, the "Simple" template is a great place to start. Select it and click "Start using SketchUp".
Your screen is now the SketchUp workspace. The large central area with the red, green, and blue lines is your drawing area. These lines are the axes of your 3D world: red for the X-axis, green for the Y-axis, and blue for the Z-axis (height). You'll also see a toolbar with icons, usually at the top or left of the screen. This is where you'll find all your tools.
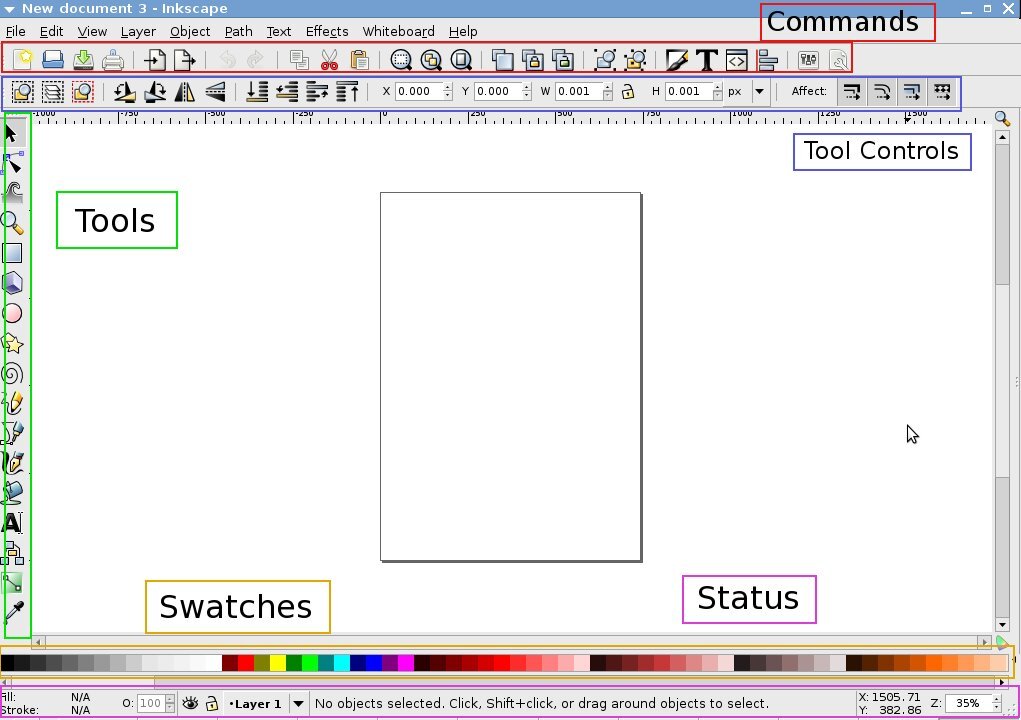
You can customize this toolbar to fit your workflow. On Windows, go to View > Toolbars. On a Mac, go to View > Customize Toolbar. From here, you can drag and drop tools to add or remove them. For now, the default set is all you need. We'll explore these tools as we go.
Navigating in 3D Space
Moving around in a 3D environment is different from working with a 2D image. SketchUp has three essential navigation tools to help you view your model from any angle: Orbit, Pan, and Zoom.
| Tool | Icon | Function |
|---|---|---|
| Orbit | Two arrows chasing each other in a circle | Rotates your view around the model. |
| Pan | A hand with fingers spread | Moves your view left, right, up, or down. |
| Zoom | A magnifying glass | Moves your view closer to or farther from the model. |
These tools are often used together. You might orbit to see the side of an object, pan to center it on your screen, and then zoom in to see a detail. The person standing in your new file is a good reference point. Try orbiting around them, then panning to look up at the sky.
Pro tip: If you have a mouse with a scroll wheel, you can use it for quick navigation. Press and hold the scroll wheel to Orbit, hold Shift while pressing the wheel to Pan, and roll the wheel forward and backward to Zoom.
Your First Drawing Tools
Now it's time to draw. The most fundamental tools are for creating 2D shapes, which you can later turn into 3D objects. We'll start with the Line, Rectangle, and Circle tools.
The Line Tool This is your most basic tool, used for drawing straight lines. Select the Line tool (it looks like a pencil). Click once in the drawing area to set the starting point of your line. Move your mouse, and you'll see a line extending from that point. Click again to set the endpoint. You can continue clicking to draw connected lines, forming a shape. When you complete a closed loop of lines on a single plane, SketchUp automatically fills it in to create a face.
The Rectangle Tool To draw a four-sided shape, the Rectangle tool is much faster than drawing four separate lines. Select the Rectangle tool, click once to set the first corner, move your mouse to define the size and shape, and click a second time to finish.
The Circle Tool This tool works similarly. Select the Circle tool, click to define the center point, move your mouse outward to set the radius, and click again to complete the circle.
Notice the lines changing color as you draw? SketchUp is helping you align with the red, green, and blue axes. This is called inference, and it's incredibly helpful for drawing accurately.
Key Interface Elements
Besides the drawing area and toolbars, there are two other parts of the interface you should know: the Default Tray and the Status Bar.
The Default Tray, usually on the right side of the screen on Windows, holds panels with more advanced information and controls. You'll see things like "Entity Info," which gives you details about whatever you have selected, and "Materials," for applying colors and textures. You can expand or collapse these panels by clicking on their title bars. For Mac users, these panels are individual floating windows found under the "Window" menu.
The Status Bar is the thin strip at the very bottom of the screen. It's your guide. On the left, it provides tips on how to use the currently selected tool. Pay attention to this area, as it often tells you about special functions you can access by holding keys like Shift or Ctrl/Option. On the right, you'll find the Measurements box, where you can type in precise dimensions for your lines and shapes. For example, after clicking to start a line, you can type 5' and hit Enter to make the line exactly five feet long.
That's it for the basics. Practice moving around and drawing simple shapes. Getting comfortable with navigation and these core tools is the first step to creating anything you can imagine in SketchUp.
What do the red, green, and blue lines in the main SketchUp drawing area represent?
Which navigation tool allows you to rotate your viewpoint around a model?