Mastering React Fundamentals
Development Environment Setup
Setting Up Your Workspace
Before you can build a React application, you need a development environment. This is just a set of tools that help you write, manage, and run your code efficiently. We'll use two main tools: Node.js and Vite.
Node.js is a JavaScript runtime that lets you run JavaScript outside of a web browser. It comes with npm (Node Package Manager), which you'll use to install and manage project dependencies, including React itself. Vite is a modern build tool that creates your project structure and runs a fast development server, making the coding process much smoother.
Install Node.js
The first step is to install Node.js if you don't already have it. Head over to the official Node.js website and download the LTS (Long-Term Support) version. The installer will handle the setup and also install npm automatically.
Once the installation is complete, you can verify that both Node.js and npm are ready to go. Open your terminal or command prompt and run the following commands.
# Check Node.js version
node -v

# Check npm version
npm -v
If you see version numbers for both, you're all set. If you get an error, something went wrong with the installation, and you should try it again.
Create a React Project with Vite
With Node.js and npm installed, you can now use Vite to generate a new React project. Vite is a popular choice because it's incredibly fast.
Vite is the modern standard for React scaffolding—offering faster builds and instant updates.
In your terminal, navigate to the directory where you want to create your project. Then, run this command:
npm create vite@latest my-react-app -- --template react
This command tells npm to use the latest version of Vite to create a new project. my-react-app is the name of your project folder, and the -- --template react part specifies that you want a React project. Vite will create the directory and fill it with all the necessary boilerplate files.
Run the Development Server
Your project is created, but there are a couple more steps before you can see it in your browser. First, navigate into the new project directory. Then, install the project's dependencies, which are listed in the package.json file.
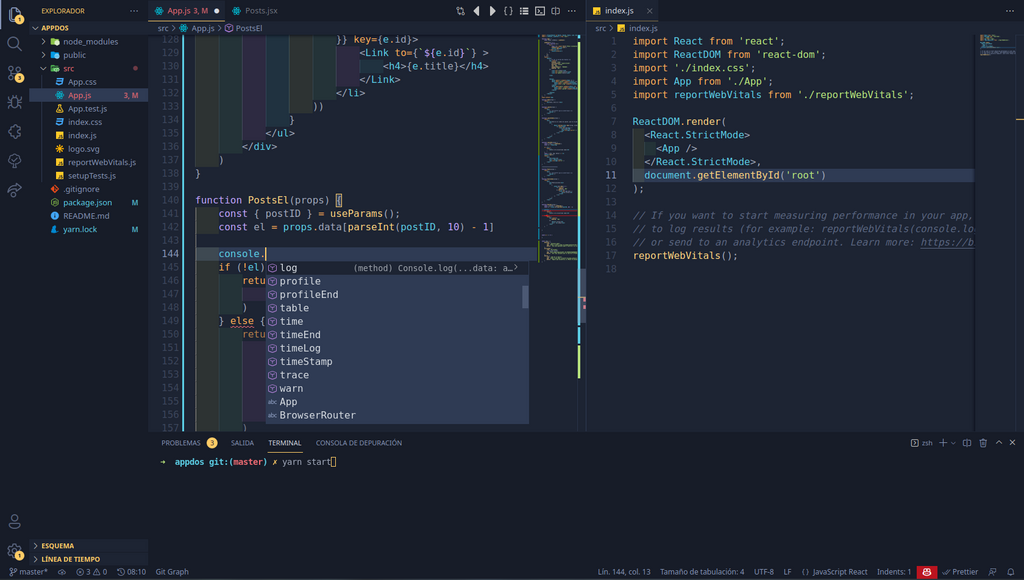
Finally, you can start the development server.
# Navigate into your new project folder
cd my-react-app

# Install the necessary packages
npm install

# Start the development server
npm run dev
After running npm run dev, the terminal will show you a local URL, usually http://localhost:5173. Open this URL in your web browser, and you should see the default React application running. Your environment is now ready for you to start building.