Mastering Power Automate
Power Automate Basics
The Power Automate Canvas
When you first open Power Automate, you'll land on the Home screen, which serves as your dashboard. It suggests templates and shows your recent flows. The left-hand navigation bar is your main tool for getting around.
Here’s a quick rundown:
- My flows: This is where all the flows you've built or have access to will live.
- Create: Your starting point for building a new flow from scratch or from a template.
- Templates: A library of pre-built flows for common tasks. It's a great place to find inspiration or a quick solution.
- Connectors: This page lists all the applications and services you can connect to. Power Automate works by creating bridges between these apps, and a connector is the tool that makes it possible.
Choosing Your Flow
Power Automate offers several types of flows, each designed for a different kind of task. The most common are Cloud Flows, which run entirely online and connect to cloud-based services like Outlook, SharePoint, or Twitter.
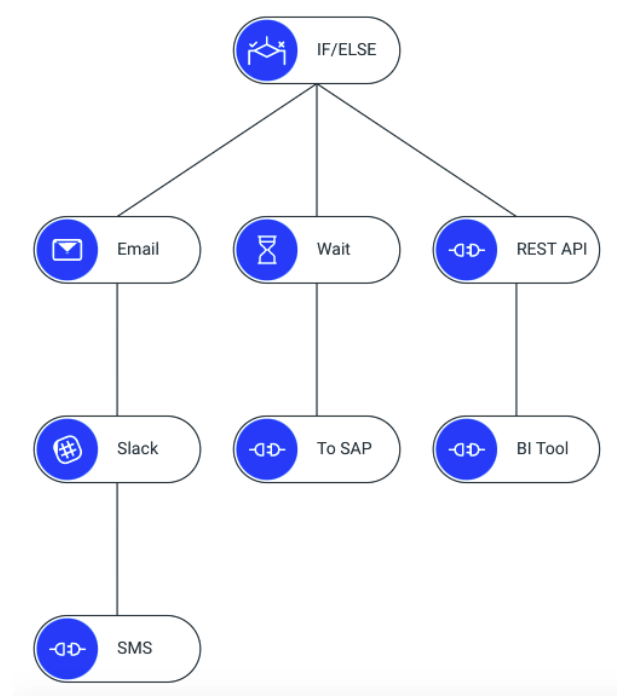
Cloud Flows come in three main flavors:
- Automated flows: These run automatically in the background when a specific event happens. Think, "When I receive an email with an attachment, then save that attachment to OneDrive."
- Instant flows: You trigger these manually with a click. They're perfect for tasks you need to run on-demand, like sending a reminder to your team from a Power Automate button on your phone.
- Scheduled flows: These run at a specific time. You might set one up to send a weekly report every Friday at 4 PM or to perform a daily data cleanup at midnight.
The key difference is the starting signal: an automated flow waits for an event, an instant flow waits for your click, and a scheduled flow waits for the clock.
Beyond Cloud Flows, you'll also see two other types:
Desktop flows bring automation to your local computer. They use a technique called Robotic Process Automation (RPA) to mimic your mouse clicks and keyboard entries. This is useful for automating older, legacy applications that don't have APIs for cloud services to connect to.
Business Process Flows guide users through a multi-step process within an application, like Microsoft Dynamics 365. They act like a wizard, ensuring everyone follows the same steps for complex tasks like a sales qualification process or customer service case.
Triggers and Actions
Every flow is built from two fundamental components: a trigger and one or more actions. It's a simple but powerful model: "When this happens, do that."
- A trigger is the starting event that kicks off your workflow. Every flow has exactly one trigger.
- An action is the task that the flow performs after it's triggered. A flow can have many actions, chained one after another.
| Component | Role | Example |
|---|---|---|
| Trigger | Starts the flow | A new file is created in SharePoint. |
| Action | Performs a task | Send an email. |
| Trigger | Starts the flow | A button is pressed in a Power App. |
| Action | Performs a task | Create a new row in an Excel file. |
Your First Automated Flow
Let's build a simple automated flow. The goal: when a new tweet is posted with a specific hashtag (e.g., #PowerAutomate), send an email notification.
-
Start from scratch. Go to Create and select Automated cloud flow. Give your flow a name, like "Hashtag Email Alert."
-
Choose your trigger. In the search box, type "Twitter" and select the trigger When a new tweet is posted. You'll be prompted to sign in to your Twitter account if you haven't already.
-
Configure the trigger. In the "Search text" field, enter the hashtag you want to monitor, like
#PowerAutomate. This tells the flow to only run when it sees a new tweet containing that exact text. -
Add an action. Click + New step. Search for "Office 365 Outlook" and select the action Send an email (V2).
-
Configure the action. Fill in the email fields. In the "To" field, enter your email address. For the "Subject," you could write "New Tweet with #PowerAutomate." For the "Body," you can use from the trigger. Click in the body and select "Tweet text" and "Tweeted by" from the dynamic content panel that appears. This will automatically pull the text of the tweet and the user's handle into the email.
-
Save and test. Click Save in the top right corner. After saving, it's a good idea to test it. You can use the Test feature to run it with recent data or by performing the trigger action yourself—in this case, by posting a tweet with your chosen hashtag.
With your first flow built, you've grasped the core mechanics of Power Automate. Now, it's time to test what you've learned.
You need to create a workflow that automatically performs a data cleanup task every day at midnight. What type of Cloud Flow is best for this purpose?
What is the term for the component in Power Automate that starts a workflow?
You've taken the first step in creating automated workflows. By understanding the different flow types and the relationship between triggers and actions, you have the foundation to start streamlining your own tasks.