Mastering Portrait Drawing
Drawing Tools
Choosing Your Tools
The right tools can make drawing feel more natural and intuitive. You don't need to buy out the art store, but understanding a few key items will help you create the effects you want. Think of these as your core toolkit for building a portrait from the ground up.
Pencils Are Key
The most fundamental drawing tool is the pencil. There are two main types you'll encounter for portrait drawing: graphite and charcoal.
Graphite pencils are the most common. You probably used one in school. What makes them special for art is their wide range of hardness. This is indicated by a code of letters and numbers on the side. 'H' stands for 'hard', and 'B' stands for 'black' or 'soft'. A 9H pencil has very hard graphite and makes light, crisp lines. A 9B pencil has very soft graphite and makes dark, rich marks.
For a good starting set, grab a few pencils like a 2H for light initial sketches, an HB for general lines, and a 4B for adding shadows.
| Pencil Grade | Hardness | Best For |
|---|---|---|
| 6H - 2H | Hard | Light initial sketches, fine details |
| H, F, HB, B | Medium | Outlines, general drawing |
| 2B - 9B | Soft | Shading, dark shadows, rich tones |
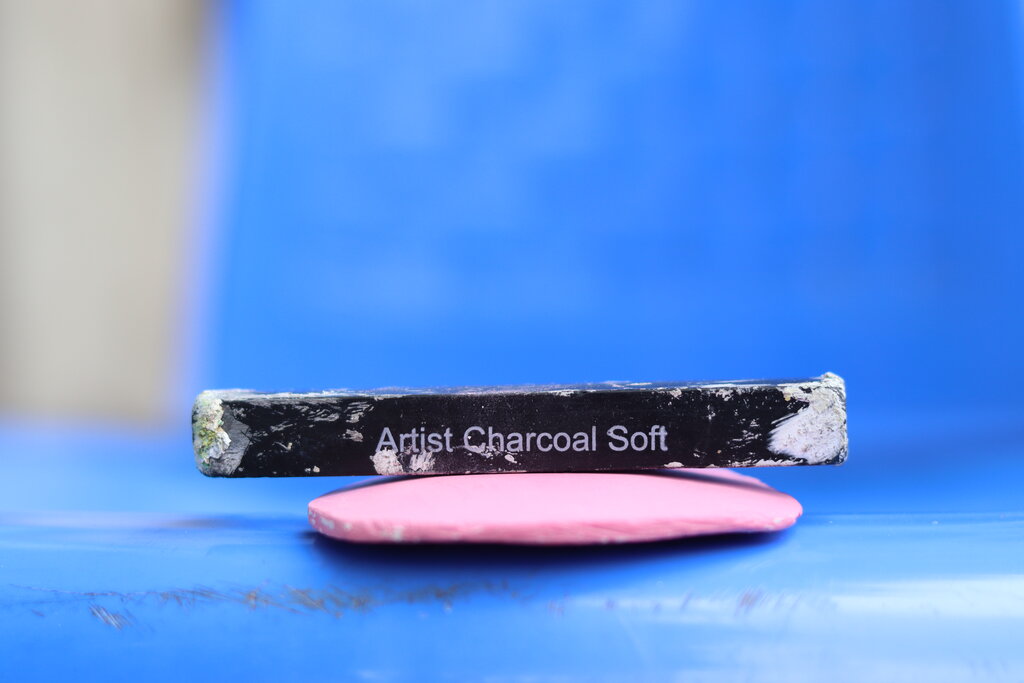
Charcoal pencils offer a different experience. They create much darker blacks than graphite ever could. The marks are often softer and easier to smudge, which is great for creating smooth shadows. Like graphite, charcoal comes in different hardnesses, usually labeled soft, medium, and hard.
Paper and Erasers
The surface you draw on matters just as much as the tool you use. Drawing paper comes in different textures, or 'tooth'. A paper with more tooth has a rougher surface that grabs onto pencil particles, which is excellent for charcoal and soft graphite. Smoother paper, like Bristol board, is great for fine, detailed work with hard pencils.
When it comes to erasers, think of them as drawing tools, not just mistake correctors. They can be used to lift away pigment and create highlights.
Kneaded eraser
noun
A soft, pliable eraser that can be molded into any shape. It lifts graphite and charcoal off the paper without leaving residue.
Vinyl or plastic erasers are another great option. They are firm and can erase areas completely, creating sharp, clean edges. Be gentle, as rubbing too hard with a vinyl eraser can damage the paper.
Blending and Care
To create smooth transitions between light and shadow, artists use blending tools. While you can use your finger, it's not ideal because the oils from your skin can smudge the drawing unevenly. Instead, try using blending stumps or tortillons. These are basically tightly rolled paper sticks with a pointed end.
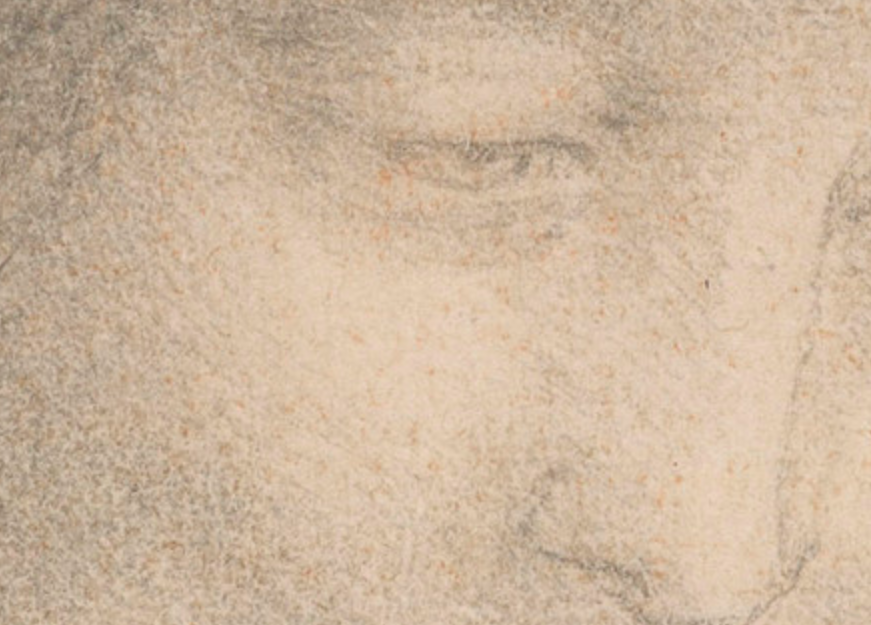
You use them to gently rub over your pencil marks, blurring them together. A larger stump is good for big areas like cheeks, while a fine-pointed tortillon is perfect for small details around the eyes or nose.
Finally, taking care of your tools ensures they last. Keep your pencils sharp with a good-quality sharpener. To clean a dirty blending stump, you can rub it on a piece of sandpaper. A kneaded eraser can be cleaned just by stretching and folding it into itself until the graphite disappears.
An artist wants to sketch the initial, very light outlines of a portrait. Which type of pencil would be the most suitable choice for this task?
What is the primary advantage of using a charcoal pencil over a graphite pencil for portrait drawing?
With these basic tools, you're ready to start putting pencil to paper.