Mastering Photo Editing Basics
Introduction to Photo Editing
What Is Photo Editing?
Think of a great photo like a well-cooked meal. The ingredients and the cooking process are essential, but the final seasoning can elevate it from good to amazing. Photo editing is that final seasoning. It's the process of adjusting and enhancing a digital image to improve its quality, express a creative vision, or prepare it for a specific use.
It's not just about fixing mistakes. While editing can correct issues like poor lighting or distracting elements, its true power lies in bringing out the best in a photo. Every camera has limitations. It can't capture the world exactly as our eyes see it. Editing helps bridge that gap, allowing you to adjust colors and light to better match your memory of the scene or to create a specific mood.
The goal of editing is to guide the viewer's eye, emphasize the subject, and tell a more compelling story.
Your Digital Darkroom
In the days of film photography, photographers spent hours in a darkroom, using chemicals and specialized equipment to develop their images. Today, that darkroom is a piece of software on your computer or phone. These applications give you incredible control over your photos.
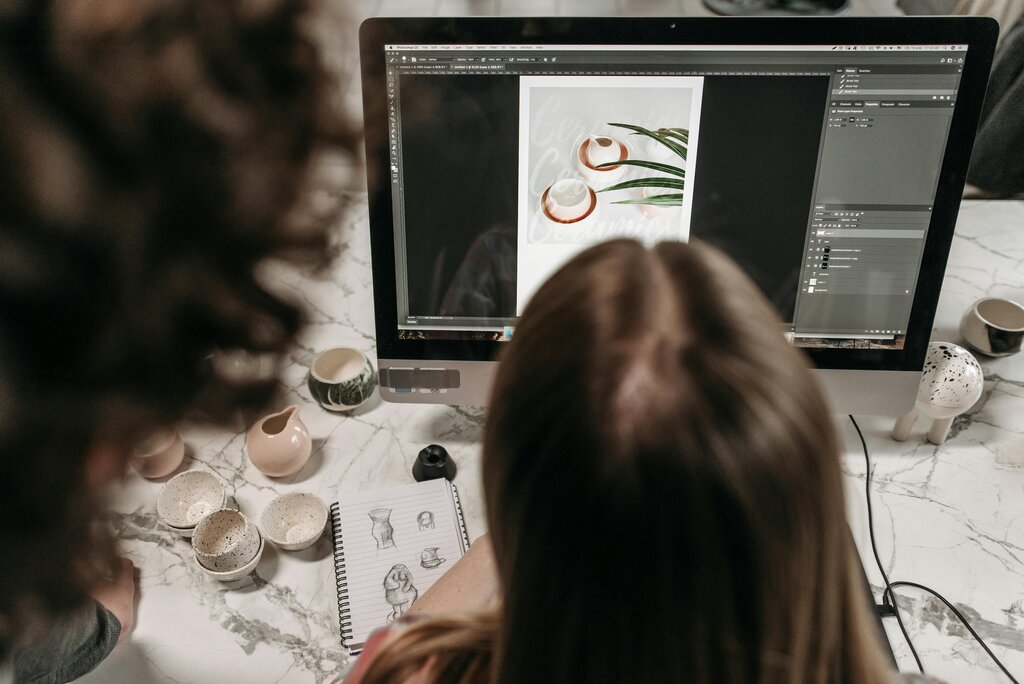
There are many options available, but most photographers use one of a few key programs. Each has its own strengths.
| Software | Key Feature | Best For... |
|---|---|---|
| Adobe Lightroom | All-in-one organizer and editor | Managing large photo libraries and making quick, powerful adjustments. |
| Adobe Photoshop | Pixel-level precision | Detailed retouching, creative composites, and graphic design. |
| GIMP | Free and open-source | A powerful, no-cost alternative to Photoshop for all kinds of edits. |
Many photographers use Lightroom for 90% of their work, only switching to Photoshop for more intensive tasks. GIMP offers a similar level of power to Photoshop without the subscription fee. There are also many excellent mobile apps, like Snapseed and VSCO, that are great for editing on the go.
The Basic Toolkit
While every program looks a little different, they all share a core set of tools for making fundamental adjustments. Learning these basics will allow you to improve almost any photo, regardless of the software you choose.
Exposure
noun
The overall brightness or darkness of an image.
This is often the first slider people reach for. Increasing exposure brightens the entire image, while decreasing it makes everything darker. It’s the most straightforward way to fix a photo that’s too dark or too bright.
Beyond exposure, you'll find tools for contrast, which adjusts the difference between the light and dark areas of your photo. Increasing contrast makes whites whiter and blacks blacker, adding 'punch' to an image. Lowering it creates a softer, more muted look.
You can also adjust specific tonal ranges:
- Highlights: The brightest parts of the image, like the sky or a reflection on water.
- Shadows: The darkest parts of the image.
- Whites & Blacks: These set the absolute brightest and darkest points in your photo.
Color is another key area of adjustment. The White Balance tool corrects unrealistic color casts, ensuring that white objects appear white in your photo. Saturation and Vibrance control the intensity of the colors. Saturation boosts all colors equally, while vibrance is a bit smarter, focusing on the more muted colors to avoid making skin tones look unnatural.
Finally, Cropping lets you trim the edges of your photo to improve composition or change its aspect ratio. It’s a powerful way to remove distractions and focus attention on your subject.
According to the provided text, what is the primary purpose of photo editing?
Which editing tool adjusts the brightest parts of an image, such as the sky or a reflection on water?
Getting comfortable with these foundational tools is the first step toward mastering photo editing. Experiment with them and see how they can transform your images.