Mastering Nikon D90 Performance
Optimizing Nikon D90 Metering
Taming the D90's Meter
Your Nikon D90 has a sophisticated light meter, but it doesn't read your mind. It makes an educated guess about the scene's brightness, aiming for a neutral middle gray. In most situations, its system does a fantastic job. It analyzes a database of thousands of photos to understand the color, brightness, and focus information, then chooses an exposure it thinks will work. It's smart, but it's not foolproof.
The trouble starts in high-contrast scenes. Think of a bright, sunlit window in an otherwise dark room, or a person in black clothing standing against a white wall. The meter can get confused. It might try to brighten the black clothes, blowing out the white wall, or darken the white wall, plunging the subject into shadow. This is where you, the photographer, need to take control.
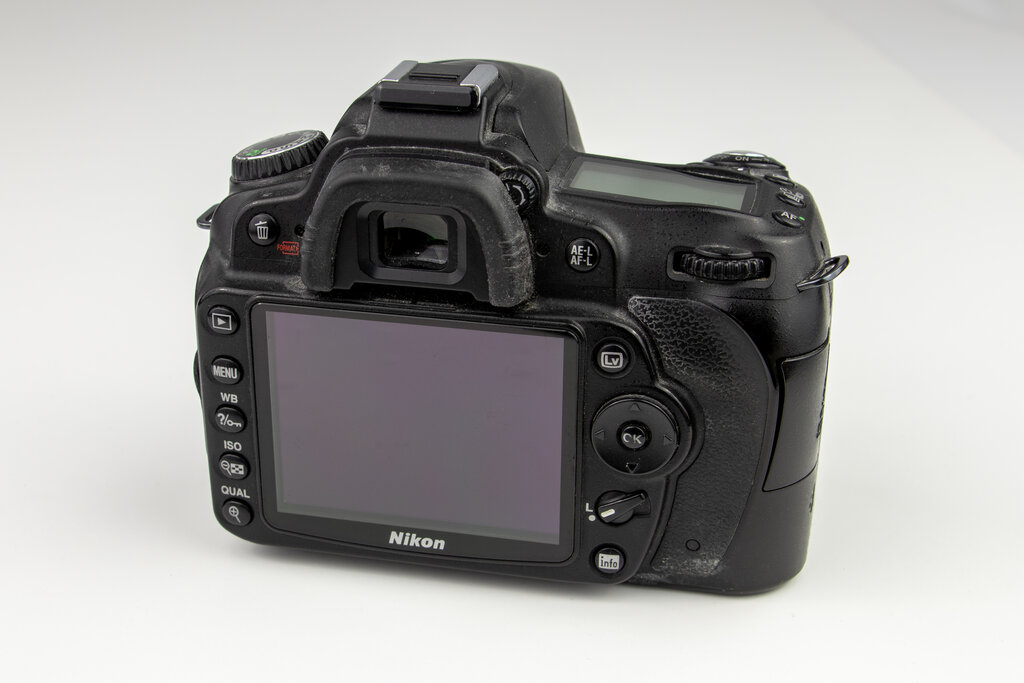
Choosing Your Metering Mode
The D90 gives you three primary metering modes to handle different lighting challenges. You can cycle through them by holding the metering mode button and turning the main command dial.
Matrix Metering: This is the default, all-purpose mode we just discussed. It evaluates the entire scene. Use it for evenly lit scenes or when you need to shoot quickly. For about 80% of your shots, this will be your go-to.
Center-Weighted Metering: This mode also looks at the whole frame, but it gives about 75% of its priority to a circle in the center. It's a classic choice for portraits, as it prioritizes the subject's face, assuming they are near the center. It's more predictable than Matrix but less precise than Spot.
Spot Metering: This is your precision tool. It measures light from a tiny circle (about 3.5mm, or 2.5% of the frame) that corresponds to your active autofocus point. This is the mode you use when you need to nail the exposure on a very specific part of the scene, ignoring everything else. It's perfect for backlit subjects or performers on a dark stage.
For a backlit portrait, switch to Spot metering. Measure the light on your subject's face, lock the exposure, and then recompose your shot. This ensures their face is perfectly lit, even if the background is much brighter.
Protecting Your Highlights
The 12.3MP CMOS sensor in the D90 is a classic, but like many sensors from its era, it is less forgiving with overexposure than modern cameras. Once a bright area of your photo is pushed to pure white, that information is gone forever. This is called , and it's something you want to avoid. It's often better to underexpose slightly and bring back details from the shadows in post-processing than it is to blow out your highlights.
This is where Exposure Compensation comes in. The button is marked with a +/- symbol and is located near the shutter release. By holding it down and turning the main command dial, you can tell the camera to intentionally make the image brighter or darker than its meter reading suggests.
In a high-contrast scene, like a snowy landscape, the meter will see all that white and try to darken it to middle gray, making your snow look dull and underexposed. Here, you'd dial in positive compensation (e.g., +1.0) to tell the camera, "No, this scene is supposed to be bright."
Conversely, if you're shooting a white wedding dress against a bright sky, the Matrix meter might overexpose the dress to properly expose the sky. In this case, you'd use negative compensation (e.g., -0.7 or -1.0) to protect the delicate details in the dress fabric. You're telling the camera, "It's okay if other parts are dark; this specific bright area is what matters most."
Get in the habit of checking your camera's rear screen after a tricky shot. Use the histogram display to check for highlight clipping. If you see a spike slammed against the right edge of the graph, dial in some negative exposure compensation and shoot again.
What is the primary goal of the Nikon D90's light meter in its default automatic mode?
You are photographing a performer on a dark stage, illuminated by a single, bright spotlight. To ensure the performer's face is correctly exposed without the meter being fooled by the dark background, which metering mode is the most suitable?
Mastering these metering modes and using exposure compensation proactively will elevate your photography. It's the key to moving beyond what the camera thinks the scene should look like and creating an image that reflects your own vision.