Mastering n8n Workflow Automation
Introduction to n8n
What is n8n?
Think of n8n as a digital middleman for your apps. It's a workflow automation tool that lets you connect different software and services to perform tasks automatically. Instead of manually copying data from a spreadsheet to a customer database, you can build an n8n workflow to do it for you.
This means you can chain together actions across multiple platforms without writing complex code. For example, when a new sale happens on your e-commerce site, n8n can automatically send a Slack message to your team, add the customer to a mailing list, and create an invoice. It handles the repetitive, manual work so you can focus on more important things.
The Building Blocks
Automation in n8n is built using three core concepts: workflows, nodes, and triggers. Understanding how they fit together is the key to getting started.
Workflow
noun
The entire automated process, from start to finish. It's the canvas where you connect all the individual steps.
A workflow is like a recipe. It contains all the instructions and ingredients needed to get from a starting point to a final result. Each workflow you create in n8n is designed to accomplish a specific, repeatable task.
Node
noun
An individual step or operation within a workflow. Nodes connect to each other to pass data and perform actions.
If a workflow is the recipe, nodes are the individual steps: "add flour," "mix ingredients," "preheat oven." In n8n, a node might be "Read from Google Sheet," "Send Email," or "Update CRM record." You connect these nodes to build your process. There are two main types of nodes.
Trigger Nodes: These always start a workflow. A trigger could be a set schedule (like every Monday at 9 AM) or an event (like receiving a new email). Every workflow must begin with exactly one trigger.
Regular Nodes: These perform all other actions, like manipulating data, making decisions, or interacting with third-party apps.
Setting Up n8n
Before you can build, you need to decide where your n8n instance will live. There are two main options, each with its own benefits.
| Option | Description | Best For... |
|---|---|---|
| n8n Cloud | A fully managed service hosted by the n8n team. | Beginners, users who want to get started quickly without worrying about server maintenance. |
| Self-Hosted | You install and run n8n on your own server or computer. | Users who need full control over their data, want to customize their setup, or have specific security requirements. |
The n8n Cloud is the simplest way to begin. It handles all the setup, updates, and maintenance for you. Self-hosting offers more flexibility and control but requires some technical knowledge to manage the server where n8n is running.
Navigating the Interface
Once you're in, you'll be greeted by the n8n interface, which is centered around a visual editor called the canvas. This is where you'll build and manage your workflows.
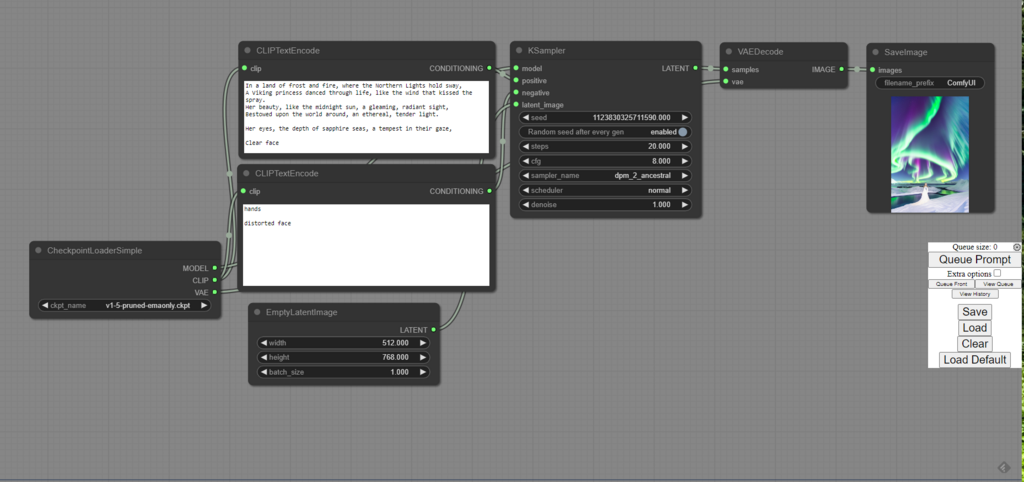
On the canvas, you can add nodes by clicking the + button. This opens a panel where you can search for the app or service you want to connect. Once you add a node, you can configure its settings in a panel that appears on the right. You then connect nodes by dragging from the output of one to the input of another, creating the flow of your automation.
Don't worry about memorizing everything at once. The best way to learn is by doing. In the next sections, we'll start building our first simple workflow.
What is the primary function of n8n?
In the analogy provided, if a workflow is a recipe, what are the individual steps?