Mastering MS Project Scheduling
Introduction to Microsoft Project
What Is Microsoft Project?
Microsoft Project is a tool designed to help you manage projects from start to finish. Think of it as a detailed map for your project. It helps you lay out all the necessary tasks, figure out who will do them, and set a timeline for everything. The main goal is to help you develop a schedule, assign resources to tasks, track your progress, and manage the budget.
Microsoft Project is a powerful project management program that helps you plan and manage your projects.
Whether you're building a house, launching a new software, or planning a marketing campaign, this software provides the structure needed to keep everything organized and on track.
Finding Your Way Around
When you first open Microsoft Project, the interface might look busy, but it's quite logical. It shares a similar look and feel with other Microsoft Office applications, like Word or Excel. At the top, you'll find the Ribbon, which contains all the main commands grouped into tabs like 'Task', 'Resource', 'Project', and 'View'. This is where you'll find the tools to add tasks, link them together, and change how your project is displayed.
The main screen is typically dominated by the Gantt Chart view. This view is split into two parts. On the left, you have a sheet that looks like a spreadsheet where you'll list all your project's tasks. On the right, you get a visual timeline, or bar chart, that shows when each task starts and ends. This visual representation makes it easy to see the project's schedule at a glance.
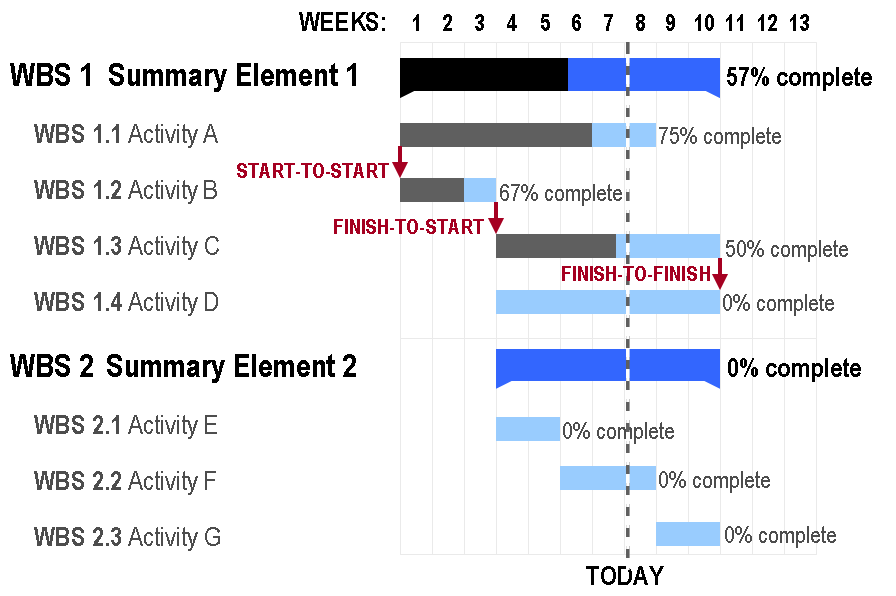
While the Gantt Chart is the default, there are many other views available from the 'View' tab. For example, the Task Sheet view shows just the list of tasks without the timeline, and the Calendar view displays tasks on a familiar monthly calendar. For now, we'll focus on the Gantt Chart as it's the most commonly used.
Starting a New Project
Setting up a new project is your first step. When you create a blank project, you need to give it some basic information. The most important piece of information is the project's start date. Microsoft Project will use this date to schedule all the tasks you add later.
To set this, go to the 'Project' tab and click on 'Project Information'. A dialog box will appear where you can set the 'Start date'. You can also set a 'Finish date' if your project has a hard deadline, but it's more common to let the software calculate the finish date for you based on the tasks and their durations.
It's a best practice to schedule from a start date. This gives you flexibility if some tasks take longer than expected, as the schedule will automatically adjust.
Configuring the Calendar
Not every day is a workday. Your team might work a standard Monday to Friday week, or they might have a different schedule. Microsoft Project needs to know this to schedule tasks accurately. This is handled through the project calendar.
To change the working time, go to the 'Project' tab and click 'Change Working Time'. Here, you can define your standard work week. For example, you can set the working hours from 9 AM to 5 PM, with an hour for lunch. You can also mark specific days as non-working days, such as public holidays or company-wide days off. Simply select the date on the calendar and give it a name, like 'New Year's Day'.
By setting up your calendar correctly from the start, you ensure that Microsoft Project creates a realistic schedule based on when your team is actually available to work. This simple step is fundamental to building a reliable project plan.