Mastering Mountain Biking Techniques
Bike Setup
Dialing In Your Fit
Before you hit the trails, spending a little time setting up your bike makes a huge difference. A proper fit isn't just about comfort; it's about control, efficiency, and safety. When your bike is adjusted to your body, you'll pedal more powerfully and handle rough terrain with greater confidence.
Let's start with the saddle. Your saddle height determines how efficiently you can pedal. Set it too low, and you'll waste energy and strain your knees. Set it too high, and you'll rock your hips, losing power and stability.
A simple way to find a good starting point is to sit on the bike (lean against a wall for support) and place your heel on the pedal. At the very bottom of the pedal stroke, your leg should be completely straight. When you move your foot to a normal riding position, with the ball of your foot on the pedal, you'll have the perfect slight bend in your knee.
A quick tip: Most modern mountain bikes have dropper posts, which let you lower the saddle with a lever on your handlebar for descents. The setup process above is for your full, optimal pedaling height.
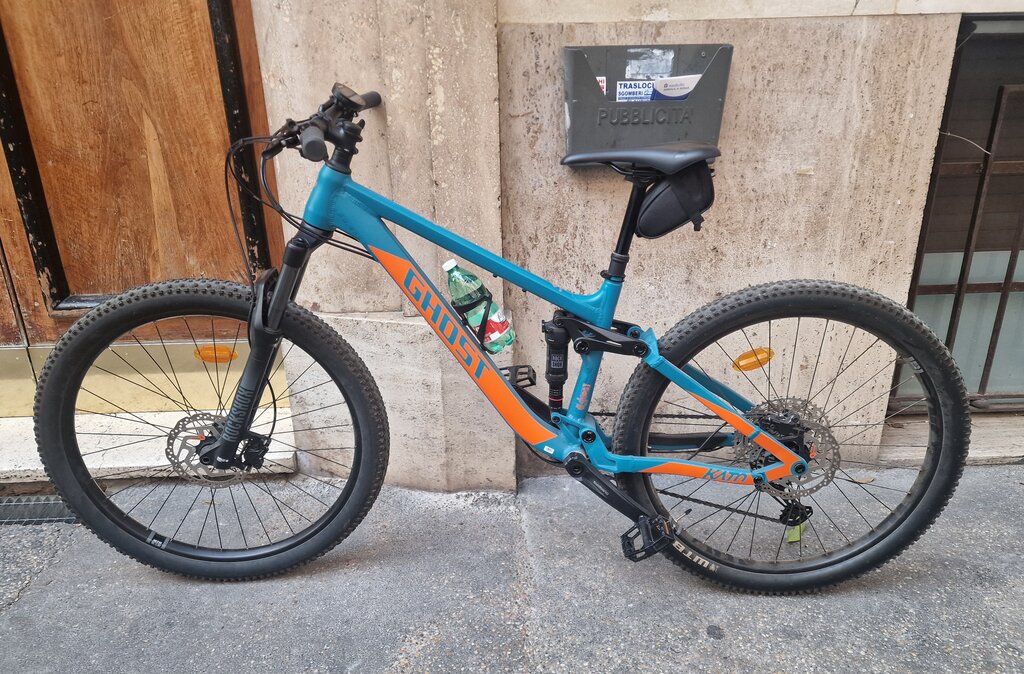
Next up are the handlebars. Their position affects your posture and weight distribution. Handlebar height is a balance. A lower position puts you in a more aggressive, aerodynamic stance that's great for climbing, while a higher position gives you a more upright, comfortable posture that offers better control on steep descents.
Most riders find a happy medium where the handlebars are roughly level with or slightly lower than the saddle. You can make small adjustments by moving spacers on your fork's steerer tube or by swapping out your bike's stem for one with a different length or angle. Experiment to see what feels most natural and balanced for your style of riding.
Suspension and Tires
Your bike's suspension and tires are what connect you to the trail. Tuning them correctly is crucial for a smooth and controlled ride.
Let's talk about suspension. The goal is to set the "sag," which is how much the suspension compresses under your body weight when you're just sitting on the bike in a riding position. Getting the sag right allows your wheels to follow the contours of the trail, maintaining traction.
Most air-sprung forks and rear shocks have a pressure chart printed right on them. Use a special shock pump to inflate the suspension to the recommended pressure for your weight. Then, gear up and carefully get on your bike. Slide the rubber O-ring on your fork or shock against the seal, then carefully get off. The distance the O-ring moved is your sag. Aim for about 20% sag for a cross-country bike and up to 30% for a longer-travel trail or enduro bike.
Tire pressure is a constant balancing act. Higher pressure means less rolling resistance, which makes pedaling easier on smooth surfaces. But on a chunky trail, lower pressure allows the tire to deform around rocks and roots, giving you much more grip and a smoother ride. The risk of going too low is getting a pinch flat or damaging your rim.
The right pressure depends on the trail, your weight, your tire width, and whether you're running a tubeless system (which can handle lower pressures). There’s no single magic number, so it’s best to experiment. Start with the manufacturer's recommendation and adjust from there.
| Setup | Rider Weight | Approx. Pressure (PSI) |
|---|---|---|
| Tubeless | 160 lbs (72 kg) | 22-25 |
| With Tubes | 160 lbs (72 kg) | 28-32 |
| Tubeless | 200 lbs (90 kg) | 26-30 |
| With Tubes | 200 lbs (90 kg) | 33-38 |
These are just starting points. If you feel your tires bouncing off rocks, let some air out. If the tire feels squirmy in corners or you hear the rim hitting the ground, add some air.
The Pre-Ride Check
Finally, get into the habit of doing a quick safety check before every ride. It only takes a minute and can prevent a mechanical issue from ruining your day or causing a crash. Think "ABCs": Air, Brakes, and Chain.
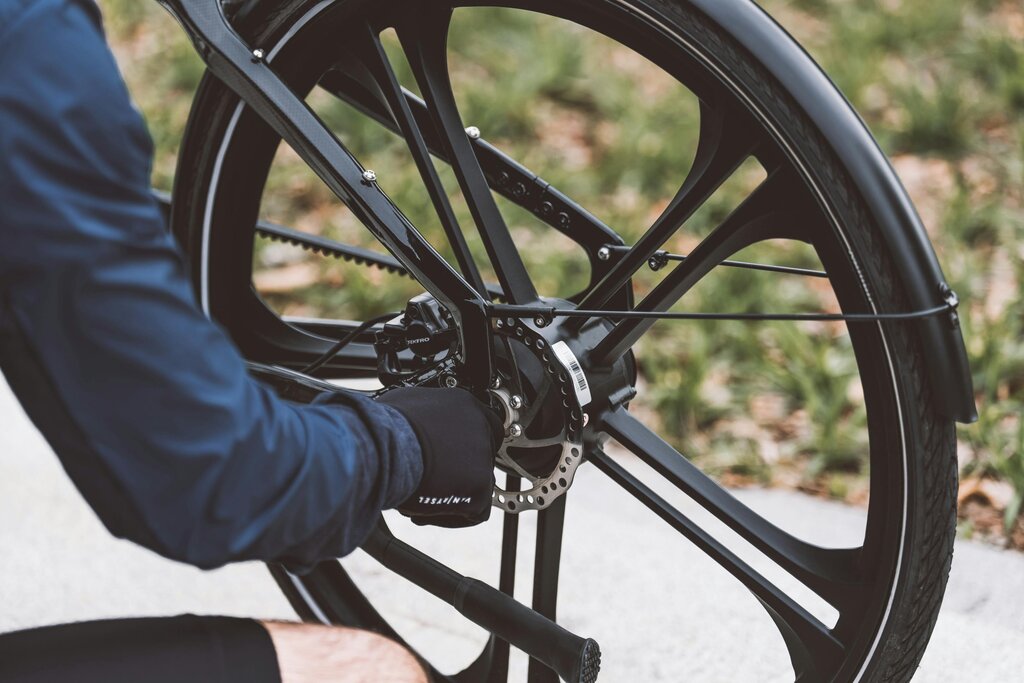
A is for Air: Squeeze your tires. Do they feel firm enough? A quick check with a pressure gauge is even better.
B is for Brakes: Squeeze your brake levers. They should feel firm, not spongy. Spin each wheel and apply the brake to make sure it engages properly and stops the wheel.
C is for Chain: Look at your chain. Is it clean and lubricated? A dry, gritty chain will wear out your drivetrain components quickly. Lift your rear wheel and turn the pedals to make sure your gears shift smoothly.
Also, give your bike a quick once-over. Wiggle the wheels to check for loose hubs and glance over the bolts on your stem, handlebars, and cranks to ensure nothing has rattled loose.
Time to review what we've covered.
Ready to test your knowledge?
What is the primary goal of setting suspension "sag"?
When setting your initial saddle height, you should place your heel on the pedal. At the bottom of the pedal stroke, your leg should be completely straight.
A well-setup bike is a reliable partner on the trail. Taking the time to dial in your fit and perform these simple checks will make every ride safer and more enjoyable.