Mastering Microsoft Project Software
Introduction to Microsoft Project
Getting Started with Microsoft Project
Microsoft Project is a powerful tool designed to help you manage projects from start to finish. Think of it as a central hub for planning schedules, assigning resources like people and equipment, and keeping an eye on your budget. It helps turn a complex plan into a clear, actionable roadmap.
Exploring the Interface
When you first open Microsoft Project, the interface might look busy, but it's organized logically. The main components you'll interact with are the Ribbon and the Backstage view.
The Ribbon is the collection of tabs and icons at the top of the screen, similar to other Microsoft Office applications. It contains all the commands and tools you need, grouped into tabs like 'Task', 'Resource', and 'View'. It's your primary toolbox for building and managing your project.
The Backstage view appears when you click the 'File' tab. This is your command center for administrative tasks. Here, you can open, save, and print your project files. It's also where you'll find the 'Options' menu to customize the software to your liking.
Your First Project Setup
Before you start adding tasks, a couple of setup steps will save you headaches later. The most important one is defining your project's start date. Microsoft Project uses this date as the default starting point for all new tasks you create.
Always set your project start date before doing anything else. This ensures your schedule calculates correctly from the very beginning.
To do this, go to the 'Project' tab and click 'Project Information'. A dialog box will appear where you can set the start date.
Next, you'll want to define the project calendar. This tells the software what your team's working hours are. Microsoft Project has default calendars, such as a standard 8-to-5 workday, a 24-hour schedule, and a night shift. You can also create a custom calendar to account for company holidays or unique team schedules. This ensures the software doesn't schedule work on non-working days.
A Tour of Key Views
Microsoft Project lets you look at your project information in different ways, called 'Views'. Each view highlights specific aspects of your plan. While there are many views available, you'll likely spend most of your time in three key ones.
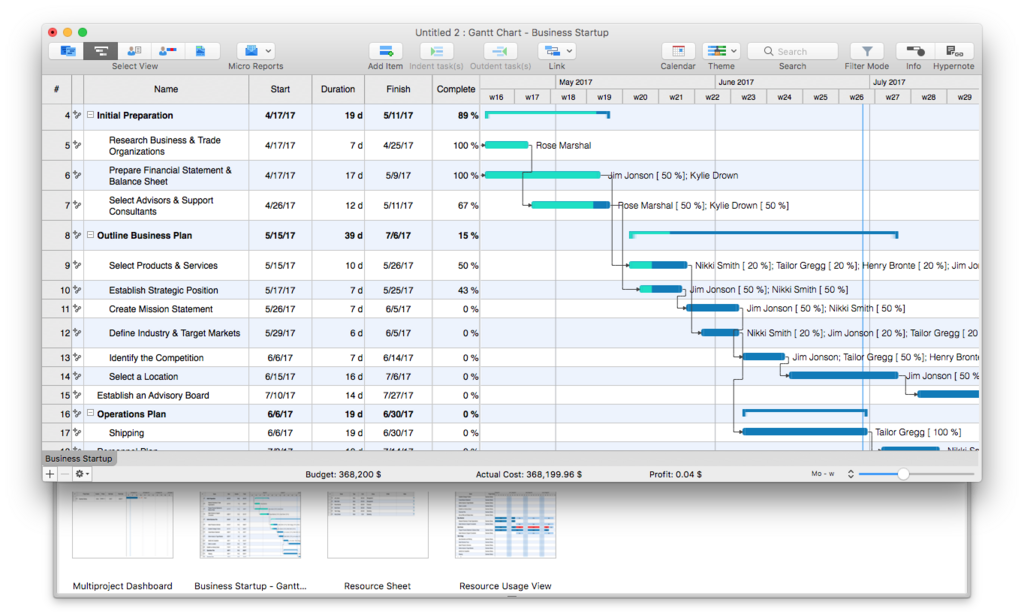
The Gantt Chart is the default and most famous view. It's split into two parts: a spreadsheet-like section on the left where you list your tasks, and a timeline on the right with bars representing each task's duration. It’s perfect for visualizing your project's schedule.
The Task Sheet view is simply the left-hand side of the Gantt Chart. It looks like a spreadsheet and is useful when you just want to enter or review a list of tasks and their details without the visual clutter of the timeline.
The Resource Sheet is where you'll list and manage all the resources for your project. This includes people, equipment, materials, and even costs. You can specify their availability, pay rates, and other details here.
| View | Purpose |
|---|---|
| Gantt Chart | Visualize the project timeline and task durations. |
| Task Sheet | Enter and view task details in a spreadsheet format. |
| Resource Sheet | List and manage all project resources (people, etc.). |
Now that you know the basics of the interface and how to set up a project, you're ready to start building your first plan.
In Microsoft Project, where would you find the commands for opening, saving, or printing a project file?
What is the primary purpose of defining a project calendar in Microsoft Project?