Mastering Microsoft Office Productivity
Advanced Document Architecture
The Blueprint of Your Document
Moving beyond basic text entry in Word is like graduating from a sketchpad to architectural software. While anyone can type out a report, professionals build documents with a solid structure. This structure, or document architecture, ensures consistency, makes editing easier, and unlocks powerful automated features. The cornerstone of this architecture is Styles.
Think of Styles as a set of rules for your text. Instead of manually making every heading bold, 20-point, and blue, you apply a "Heading 1" style. If you later decide all headings should be green, you just update the style, and every single one changes instantly.
There are two main types of styles:
- Paragraph Styles: These control the entire paragraph's appearance. This includes alignment, line spacing, indentation, and the font and size of the text within it. When you apply a Paragraph Style, it affects everything from one paragraph mark (¶) to the next.
- Character Styles: These apply to smaller selections of text within a paragraph. Use them for things like making a single word bold, italicising a book title, or applying a specific colour to a phrase, without changing the rest of the paragraph's formatting.
Mastering the use of styles is the single most important step toward creating professional, manageable documents. It moves formatting from a manual chore to a systematic process.
Seeing the Invisible Structure
Have you ever struggled with a document where a page mysteriously breaks in the wrong place, or two lines of text refuse to align? The cause is often invisible formatting. Word hides certain non-printing characters to keep the screen clean, but these characters control your document's layout. To become a document architect, you need to see this hidden framework.
The Show/Hide button, which looks like a paragraph symbol (¶), is your best friend for diagnosing layout problems. When you turn it on, your document reveals the codes behind the layout.
| Mark | Represents |
|---|---|
· (a dot) | A space |
→ (an arrow) | A tab |
¶ (a pilcrow) | A paragraph break (from pressing Enter) |
↵ (a bent arrow) | A line break (from pressing Shift + Enter) |
Seeing these marks instantly clarifies why your layout is behaving a certain way. For instance, you might find that what looks like a single large space is actually a tab, or that someone used multiple paragraph breaks instead of setting the correct spacing in the paragraph style. Cleaning up this invisible formatting is key to a stable document.
To truly control your document's flow, you need to understand breaks. A simple Page Break (Ctrl+Enter) pushes the following text to the next page. But for more complex documents, you need Section Breakss. These are far more powerful.
A Section Break divides your document into independent mini-documents, each with its own formatting rules. This allows you to:
- Change page orientation from Portrait to Landscape and back again, perfect for inserting a wide table or chart.
- Have different headers and footers for different parts of the document.
- Restart page numbering. For example, your introductory pages can use Roman numerals (i, ii, iii) and the main body can start from page 1.
Automation for Professionals
The real payoff for building a structured document comes from automation. By using Heading styles consistently, you empower Word to do the heavy lifting for you.
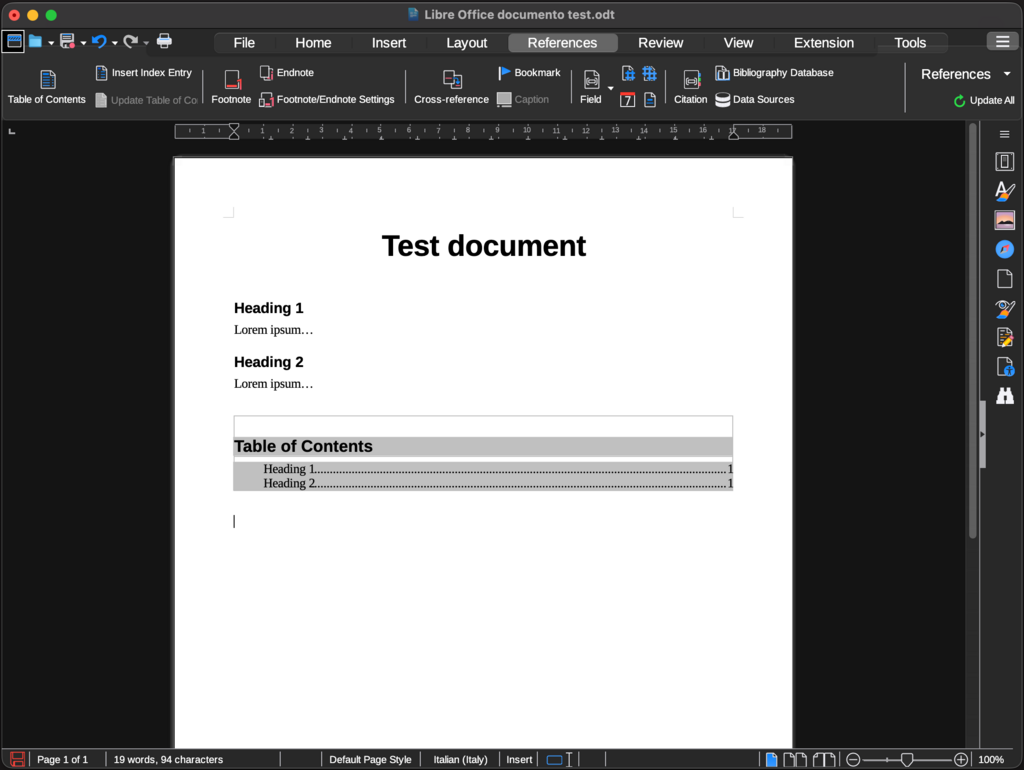
One of the most powerful features is the automated Table of Contents (ToC). Word can scan your document for anything formatted with Heading 1, Heading 2, Heading 3, and so on, and instantly generate a ToC complete with page numbers. If you add, remove, or move a section, you don't need to manually retype the ToC. You just right-click and update it. All changes are reflected automatically.
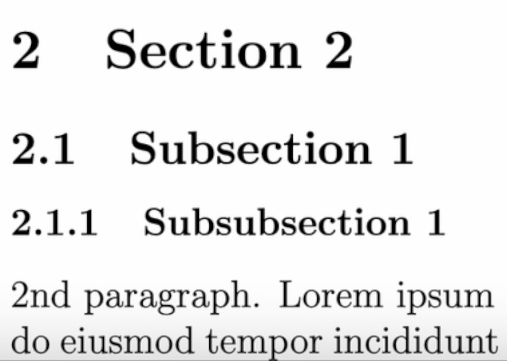
Similarly, can be linked directly to your Heading styles. This allows you to create automatically numbered sections (e.g., 1.0, 1.1, 1.2, 2.0). As you add or reorder headings, the numbering updates itself. This is essential for legal documents, technical manuals, and academic papers where precise section numbering is crucial.
Finally, to manage the overall look and feel, you can use Themes and Style Sets . A Theme is a combination of colours and fonts that applies globally to your document. You can switch from a professional blue-and-grey theme to a more creative orange-and-black one with a single click.
A Style Set is a collection of pre-designed Paragraph and Character styles. Word comes with several built-in sets like 'Formal', 'Modern', or 'Simple'. Applying a new Style Set instantly reformats all your styled text, allowing you to completely change the document's appearance while preserving its underlying structure.
What is the fundamental difference between a Paragraph Style and a Character Style in Word?
You are preparing a report and need to insert a single page with a wide chart that requires a Landscape orientation, while the rest of the document remains in Portrait. What is the most effective way to achieve this?
By combining these tools—Styles, Section Breaks, and automated features—you can build complex, professional documents that are robust, consistent, and easy to maintain.