Mastering Manual Mode Photography
Manual Exposure Workflow
Moving to Manual
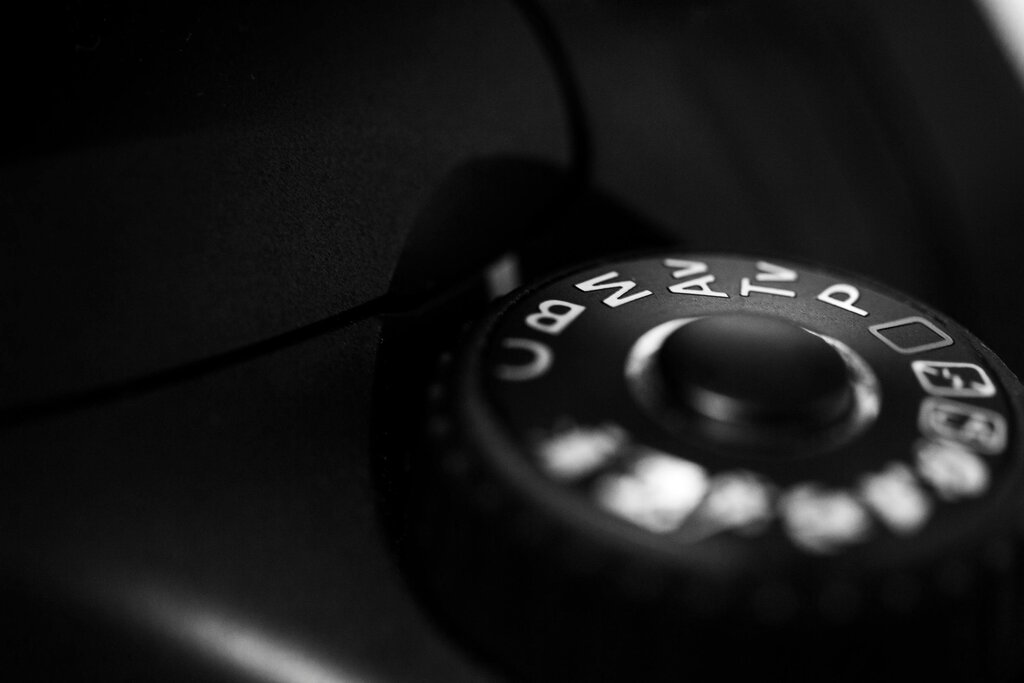
Switching your camera to Manual (M) mode gives you complete creative control. Instead of the camera making decisions for you, you're the one balancing aperture, shutter speed, and ISO to craft the exact image you want. The key to this process is your camera's built-in light meter.
Look through your viewfinder or on your camera’s LCD screen. You'll see a scale with a zero in the middle and markings on either side, usually from -3 to +3. This is your light meter. When you half-press the shutter button, an indicator will appear on this scale. Its job is to tell you how the camera thinks the exposure should look based on your current settings.
A 'correct' exposure according to the meter is one where the indicator is at zero. The camera aims for a neutral, middle-grey brightness across the scene.
If the indicator is to the left of zero (in the minus territory), the camera is telling you the image will be underexposed, or too dark. If it’s to the right (in the plus territory), it's predicting an overexposed, or too bright, image. In manual mode, you adjust your aperture, shutter speed, or ISO until that indicator lands where you want it. Often, that's at zero, but your creative vision might call for a slightly brighter or darker image.
Speaking in Stops
The numbers on your light meter (-1, 0, +1, etc.) represent 'stops' of light. A is the universal unit for measuring exposure in photography. It’s a simple concept: changing your exposure by one stop either doubles or halves the amount of light reaching the sensor.
Adding one stop of light (+1) doubles the exposure. Subtracting one stop (-1) halves it.
This applies to all three elements of the exposure triangle. For example, changing your shutter speed from 1/125s to 1/250s is a one-stop decrease; you've halved the time light can hit the sensor. Changing your ISO from 200 to 400 is a one-stop increase; you've doubled the sensor's sensitivity to light. Changing your aperture from f/4 to f/2.8 is also a one-stop increase, doubling the light entering the lens.
This system makes balancing your settings beautifully simple. It’s all about reciprocity.
The Exposure Trade-Off
Because stops are a universal measurement, they create a reciprocal relationship between your settings. If you change one setting, you can make an equal and opposite change to another setting to maintain the same overall exposure.
Let’s say your light meter is perfectly zeroed with these settings:
- Aperture: f/8
- Shutter Speed: 1/125s
- ISO: 200
Now, imagine you want a shallower depth of field, so you decide to open your aperture to f/4. That's a two-stop increase in light (from f/8 to f/5.6 is one stop, and from f/5.6 to f/4 is a second stop). To keep your exposure balanced at zero, you must compensate by decreasing light by two stops elsewhere. You could change your from 1/125s to 1/500s. That’s a two-stop decrease (1/125s -> 1/250s -> 1/500s), perfectly balancing the change you made to the aperture.
| Action (Aperture) | Compensation (Shutter Speed) | Result |
|---|---|---|
| Open up 1 stop (f/5.6 -> f/4) | Halve shutter speed (1/250s -> 1/500s) | Same Exposure |
| Close down 2 stops (f/8 -> f/16) | Quadruple shutter speed (1/60s -> 1/15s) | Same Exposure |
| Open up 1 stop (f/2.8 -> f/2) | Halve ISO (400 -> 200) | Same Exposure |
This give-and-take is the heart of shooting in manual mode. You are not just setting an exposure; you are making creative choices. Do you need a fast shutter speed to freeze motion? Fine, but you'll need to compensate with a wider aperture or higher ISO. Do you want deep focus for a landscape? You'll need a slower shutter speed or more light.
Exposure [or lightness and darkness in the picture] is a combination of the aperture, or “f-stop”, which is the size of the hole in the lens, and the shutter speed, which is the length of time that the shutter is open.
A Practical Workflow
When you're starting out, follow a simple sequence to avoid getting overwhelmed. Here’s a reliable workflow for setting your exposure manually:
-
Set ISO First: Start by setting your ISO based on the ambient light. For a bright sunny day, 100 or 200 is a good baseline. For overcast conditions or indoors, you might start at 400 or 800.
-
Choose Your Priority Setting: Decide which creative control is most important for your shot. For portraits where you want a blurry background, set your aperture first. For sports where you need to freeze action, set your shutter speed first.
-
Balance with the Third Setting: Use the last of the three settings to bring your light meter to zero (or wherever you want it). If you set your aperture first, adjust your shutter speed until the meter is balanced. If you set shutter speed first, adjust your aperture.
This simple order of operations removes the guesswork. You make one decision based on light, a second based on creative intent, and a third to simply balance the equation.
Now, test your understanding of how these settings interact.
When shooting in Manual mode, you look through your viewfinder and see the light meter's indicator is at -2. What is this telling you?
In photography, what does changing the exposure by one "stop" do?
Mastering this workflow takes practice. The goal is to make these adjustments second nature, allowing you to react quickly to changing light and capture the exact moment you envision.