Mastering Linux Administration
Linux Installation
Choosing Your Flavor of Linux
Unlike Windows or macOS, Linux isn't a single operating system. It's a kernel, the core of an OS, which different groups package with software to create unique versions called distributions, or "distros." Think of it like cars. Many companies use the same basic engine design, but they all build different cars around it with unique features, dashboards, and performance.
Choosing a distro depends on your needs. Are you new to Linux? A long-time developer? Do you want something that works right out of the box, or do you prefer to customize every detail? For beginners, distros like Ubuntu, Linux Mint, and Fedora are excellent choices because they are user-friendly and have large support communities.
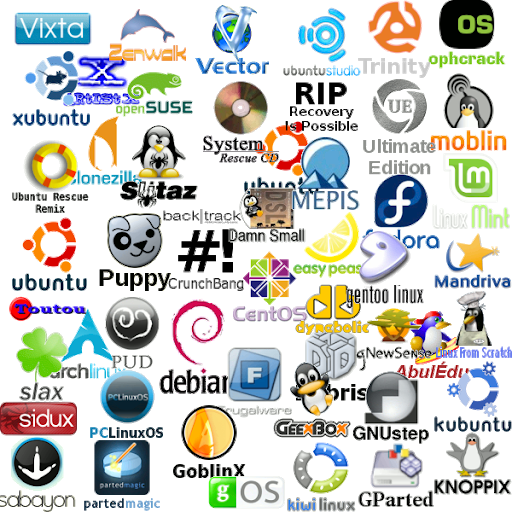
Here’s a quick comparison of a few popular options for newcomers:
| Distribution | Best For | Key Feature |
|---|---|---|
| Ubuntu | Beginners | Very easy to install and use, huge community support. |
| Linux Mint | A familiar feel | Offers a desktop that looks and feels similar to Windows. |
| Fedora | Latest software | Access to cutting-edge features, backed by Red Hat. |
For this guide, we'll focus on the general process that applies to most modern distros, especially those based on Debian, like Ubuntu.
Creating the Installation Media
Once you've chosen a distro, you need to download its installation file, which comes as an ISO image. This single file contains the entire operating system, ready to be installed. You'll find the download link on the official website for your chosen distribution (e.g., ubuntu.com, linuxmint.com).
Next, you need to write this ISO file to a USB flash drive, making it "bootable." This means your computer can start up from the USB drive instead of its internal hard drive. You'll need a USB drive with at least 8 GB of space and a free software tool to do this. Popular options include BalenaEtcher and Rufus. The process is straightforward: you select the ISO file, choose your USB drive, and the software handles the rest.
Always back up any important data on your USB drive before creating installation media, as the process will erase everything on it.
The Installation Process
With your bootable USB drive ready, plug it into the computer where you want to install Linux. You'll need to restart the computer and tell it to boot from the USB drive. This often involves pressing a specific key (like F2, F12, or DEL) during startup to enter the BIOS or boot menu.
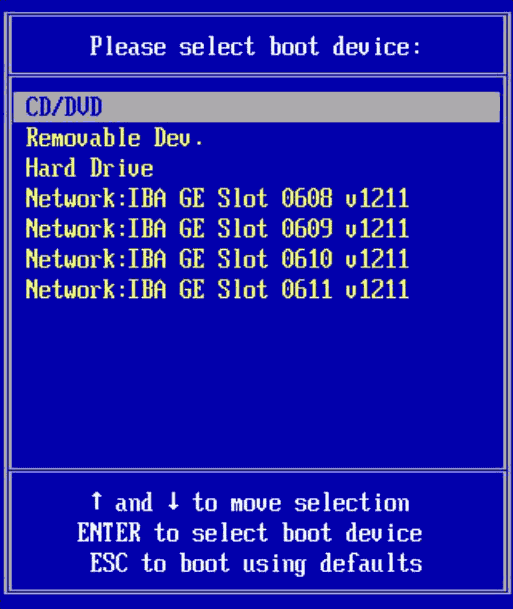
Once booted, you'll see the installer's welcome screen. Most distros give you the option to "Try" the operating system, which runs it directly from the USB without making changes to your computer, or to "Install" it permanently.
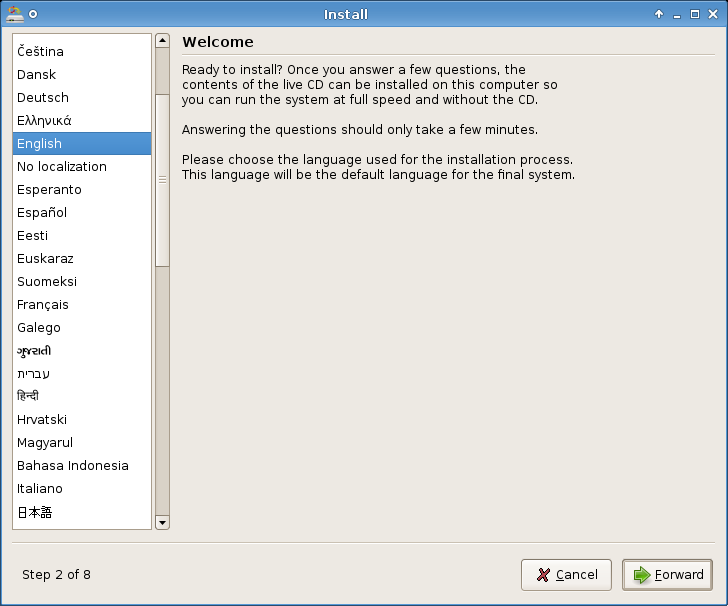
The installer will then guide you through a series of steps. You'll choose your language and keyboard layout first.
The next major step is disk partitioning. For beginners, the simplest option is to "Erase disk and install," which will wipe the entire hard drive and dedicate it to Linux. If you're installing alongside another OS (like Windows), choose that option, and the installer will guide you through resizing the existing partition to make space.
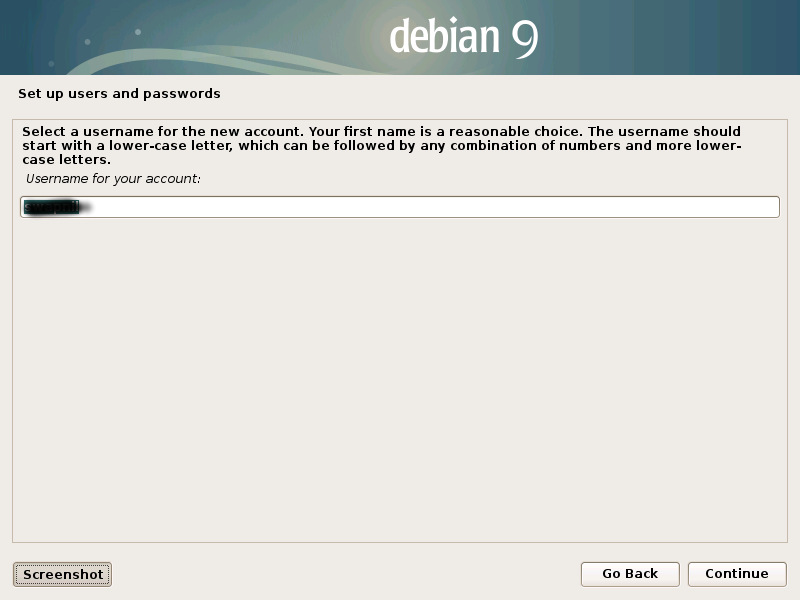
After partitioning, you'll set your time zone and create your user account. This involves entering your name, choosing a username, and setting a password. This will be the main administrative account for your new system.
With all the information gathered, the installer will begin copying files to the hard drive. This can take anywhere from a few minutes to half an hour. Once it's finished, you'll be prompted to restart your computer. Remember to remove the USB drive when it tells you to.
First Steps After Installation
Congratulations! You've successfully installed Linux. When your computer reboots, you'll be greeted by a login screen. Enter the password you created to access your new desktop.
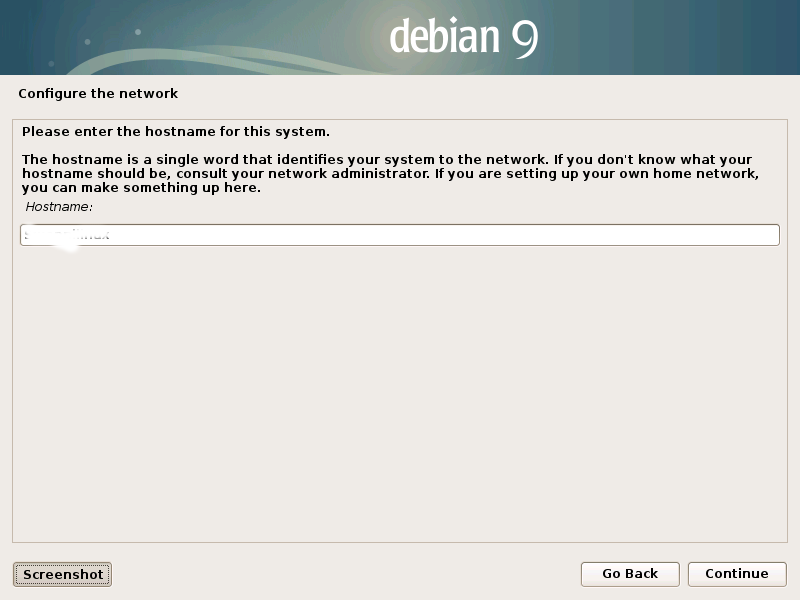
One of the first things you might be asked to configure is the system's hostname. This is simply the name your computer uses to identify itself on a network. It can be anything you like, but simple and descriptive is usually best.
The final, and most important, initial step is to update your system. The ISO file you downloaded might not have the very latest security patches and software updates. Running an update ensures your system is secure and all its software is current.
To do this, open the terminal (you can usually find it by searching for "Terminal" in your applications). Then, for Debian-based systems like Ubuntu, you'll run two commands. The first refreshes the list of available packages, and the second installs the updates.
# First, update the list of available packages
sudo apt update

# Then, upgrade the installed packages to their latest versions
sudo apt upgrade
The sudo command temporarily gives you administrative privileges to make system-wide changes. You'll be asked to enter your password. Don't be alarmed if you don't see any characters as you type; this is a security feature.
Let's review the key terms from the installation process.
Now, let's test your understanding of the installation process.
What is a Linux "distribution" or "distro"?
What is the purpose of the ISO file you download from a distribution's website?
With your system installed and updated, you're ready to start exploring the world of Linux.