Mastering LayOut for Design Projects
Introduction to LayOut
From 3D Model to 2D Presentation
You've built a detailed 3D model in SketchUp. Now what? How do you share your design with a client, a contractor, or a permitting office? You need to create clear, professional 2D documents like floor plans, elevations, and presentation boards. This is where LayOut comes in.
LayOut is a companion application to SketchUp Pro. Its entire purpose is to take your 3D models and turn them into compelling 2D presentations. Think of it this way: SketchUp is the workshop where you build your model, and LayOut is the studio where you photograph it, add labels, and arrange it into a professional portfolio or set of instructions.
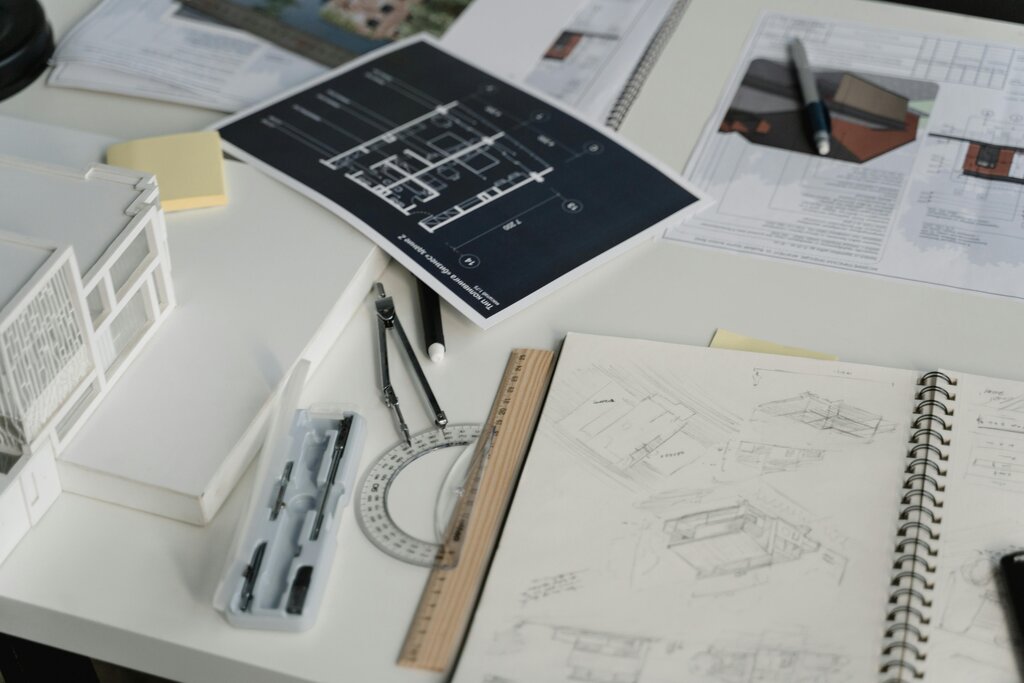
With LayOut, you create documents for printing or screen-sharing that are linked directly to your SketchUp model.
The LayOut Workspace
When you first open LayOut, the interface looks like a combination of a simple drawing program and a page layout tool. It's designed to be straightforward. The workspace is made up of a few key areas that you'll use constantly.
Here’s a quick rundown of these areas:
- Drawing Area: This is your canvas, representing a page in your document. You'll place your SketchUp model views here and add other elements.
- Menu Bar: Located at the very top, it contains standard menus like File, Edit, and View, giving you access to all of LayOut's commands.
- Toolbar: This is where you find your main tools for drawing, adding text, and dimensioning.
- Tray: On the right side of the screen, the tray holds various panels. These panels are essential for managing your document, like the Pages panel to add or navigate pages, the Layers panel to organize content, and the SketchUp Model panel to control your 3D views.
The SketchUp Connection
The most powerful feature of LayOut is its live link to your SketchUp model. When you insert a SketchUp model into a LayOut document, you aren't just pasting a static image. You are creating a live viewport into your 3D file.
What does this mean? If you go back to SketchUp and change your model, say, by moving a wall or changing a material, you can update the model in LayOut with a single click. All of your drawings will automatically reflect the changes. This dynamic link saves an enormous amount of time and helps prevent errors.
Change your SketchUp model once. Update everywhere in LayOut instantly.
Within LayOut, you can manipulate the view of your inserted model. You can orbit, pan, and zoom to frame the perfect shot. You can also switch between the standard views (top, front, side) and any custom scenes you saved in your SketchUp file. This allows you to create a complete set of drawings—a plan, a section, and a perspective view—all from a single SketchUp model.
Essential Tools
LayOut has its own set of 2D drawing tools that you use to add detail and annotations to your document. You don't need to master all of them at once, but you should get to know the basics.
| Tool | Icon | Purpose |
|---|---|---|
| Select | ↖️ | To move, resize, and modify items on the page. |
| Line | / | To draw straight lines. |
| Text | T | To add text labels and notes. |
| Label | 🏷️ | To create text with a leader line pointing to an object. |
| Dimension | ↔️ | To add measurements to your drawings. |
These tools work on top of your SketchUp model viewports, but they are separate LayOut elements. This means you can add dimensions, notes, title blocks, and logos without altering your original 3D model. It’s the perfect way to combine the precision of your 3D work with the clarity of 2D documentation.
What is the primary function of the LayOut application in the SketchUp Pro suite?
When you place a SketchUp model into a LayOut document, you are inserting a static image that cannot be updated if the original model changes.
Now that you have a basic grasp of what LayOut is and how it connects with SketchUp, you're ready to start creating your own presentations.