Mastering Intermediate Excel Techniques
Logical Function Mastery
Automating Decisions in Excel
You already know how to perform calculations in Excel. Now, let's make your spreadsheets smarter. Logical functions allow Excel to make decisions based on criteria you set. Instead of just adding or averaging numbers, you can tell a cell to react differently based on the data in other cells.
The foundation of this is the IF function. It checks if a condition is true or false and then returns a value you specify for each outcome. Think of it as a simple fork in the road for your data.
=IF(logical_test, [value_if_true], [value_if_false])
For instance, =IF(A2>50, "Pass", "Fail") checks if the value in cell A2 is greater than 50. If it is, the formula returns "Pass"; otherwise, it returns "Fail". This simple test is the building block for more complex logic.
Handling Multiple Outcomes
A single IF function works perfectly for two outcomes. But what if you have three, four, or more possibilities? You could write a messy series of separate formulas, or you can nest IF functions inside each other.
A nested IF statement places another IF function in the value_if_false argument (or sometimes the value_if_true argument) of the first one. This creates a chain of decisions. Excel evaluates the first condition. If it's true, it stops. If it's false, it moves to the next IF function and evaluates its condition, and so on.
Let's assign letter grades based on a score in cell A2:
=IF(A2>=90, "A", IF(A2>=80, "B", IF(A2>=70, "C", "F")))
Here’s how Excel processes this logic:
- Is the score in A2 90 or higher? If yes, return "A" and stop.
- If not, is the score 80 or higher? If yes, return "B" and stop.
- If not, is the score 70 or higher? If yes, return "C" and stop.
- If none of the above are true, return "F".
The order matters in nested IFs. Always start with the most restrictive condition. If we checked for scores
>=70first, a score of 95 would incorrectly be graded as a "C" because it meets that first condition.
Combining Criteria
Sometimes a decision depends on multiple factors at once, not just a sequence of checks. This is where the AND, OR, and NOT functions come in. You use them inside the logical_test part of an IF statement.
AND
The AND function checks if all conditions are true. Imagine a bonus program where an employee must achieve over $10,000 in sales (cell B2) and have a customer satisfaction score above 90% (cell C2).
=IF(AND(B2>10000, C2>0.9), "Bonus", "No Bonus")
Both conditions must be met to get the "Bonus" result. If either one is false, the formula returns "No Bonus".
OR
The OR function checks if at least one condition is true. Let's say a customer gets a discount if they are a new customer (cell D2 says "Yes") or they have a valid coupon code (cell E2 says "Yes").
=IF(OR(D2="Yes", E2="Yes"), "Discount", "No Discount")
As long as one of those conditions is true, the customer gets the discount.
NOT
The NOT function reverses the logical value of its argument. It's useful for checking for the absence of a condition. For example, flagging all sales that did not happen in the "North" region:
=IF(NOT(F2="North"), "Flag", "OK")
This formula will flag every sale except those from the North region.
Keeping Spreadsheets Clean
Formulas can sometimes produce errors like #DIV/0!, #N/A, or #VALUE!. These aren't just ugly; they can also break other formulas that depend on their results. The IFERROR function is a simple way to catch these errors and replace them with something more user-friendly.
It works by wrapping around your original formula. If the formula calculates normally, IFERROR shows the result. If the formula produces an error, IFERROR shows a value you specify instead.
Imagine you are calculating a sales commission percentage in C2 with the formula =A2/B2, but sometimes the total sales in B2 is zero, which causes a #DIV/0! error.
=IFERROR(A2/B2, 0)
With this formula, if B2 is zero, the cell will simply display 0 instead of the error. You could also replace the error with a text message, like "Data missing".
While
IFERRORis a great cleanup tool, it's not a substitute for fixing underlying problems. If your data is consistently causing errors, it's better to investigate the root cause.
Visualizing with Logic
The same logical tests you use in formulas can also drive Conditional Formatting. This allows you to automatically change a cell's appearance—its color, font, or style—based on its value or the value of another cell. This turns a wall of numbers into a clear visual summary.
For example, you could highlight all sales figures below a certain target. To do this:
- Select the cells you want to format (e.g., your sales data).
- Go to
Home > Conditional Formatting > New Rule. - Select "Use a formula to determine which cells to format".
- Enter a logical formula, just like in an
IFstatement. For example, to highlight any cell in column C that is below $5000, you would use the formula=$C1<5000. - Click "Format" and choose your desired styling, like a red fill or bold text.
Now, any cell in your selected range that meets the condition will automatically be formatted, providing an instant visual cue for data that needs attention.
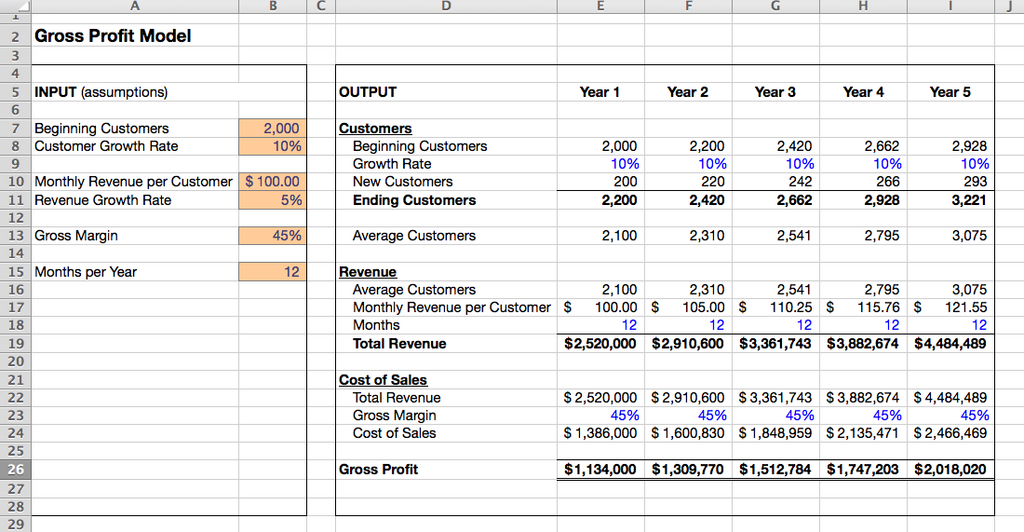
These logical tools transform Excel from a simple calculator into a powerful system for automating analysis and decisions. By mastering them, you can build more robust, error-resistant, and insightful spreadsheets.
Cell A1 contains the value 75. What will the formula =IF(A1>=60, "Pass", "Fail") display?
To receive a bonus, an employee must have sales over $10,000 (in cell B2) AND a customer satisfaction score above 90% (in cell C2). Which formula correctly determines if an employee gets a bonus?