Mastering Homemade Pizza
Dough Preparation
The Four Ingredients
Great pizza starts with simple ingredients: flour, water, salt, and yeast. Each one plays a critical role in creating the perfect crust.
Flour provides the structure. While all-purpose flour works, many pizza makers prefer '00' flour. This Italian-milled flour is very fine, which helps create a light, airy crust with a slight chew. It's the traditional choice for Neapolitan-style pizza.
Water brings everything together. The amount of water relative to the flour is called hydration, and it's key to the dough's texture. It's expressed as a percentage of the flour's weight.
A 65% hydration is a great starting point for beginners. This means for every 100 grams of flour, you'll use 65 grams of water. Higher hydration doughs can be lighter and more open, but they are also stickier and harder to handle.
Salt does more than add flavor. It tightens the gluten network, making the dough stronger. It also slows down the yeast, preventing the dough from over-fermenting and giving it a more complex taste.
Yeast is the leavening agent. It's a living organism that consumes sugars in the flour and releases carbon dioxide gas. These gas bubbles get trapped in the gluten network, causing the dough to rise.
| Ingredient | Primary Role |
|---|---|
| Flour | Structure and substance |
| Water | Hydrates flour, enables gluten |
| Salt | Flavor, gluten strength, yeast control |
| Yeast | Leavening (makes dough rise) |
Mixing and Kneading
Once your ingredients are measured, it's time to mix. The goal is simple: combine everything until no dry flour remains. This is the first step in creating gluten, the network of proteins that gives dough its stretchy, elastic quality. Think of it as the scaffolding for your crust.
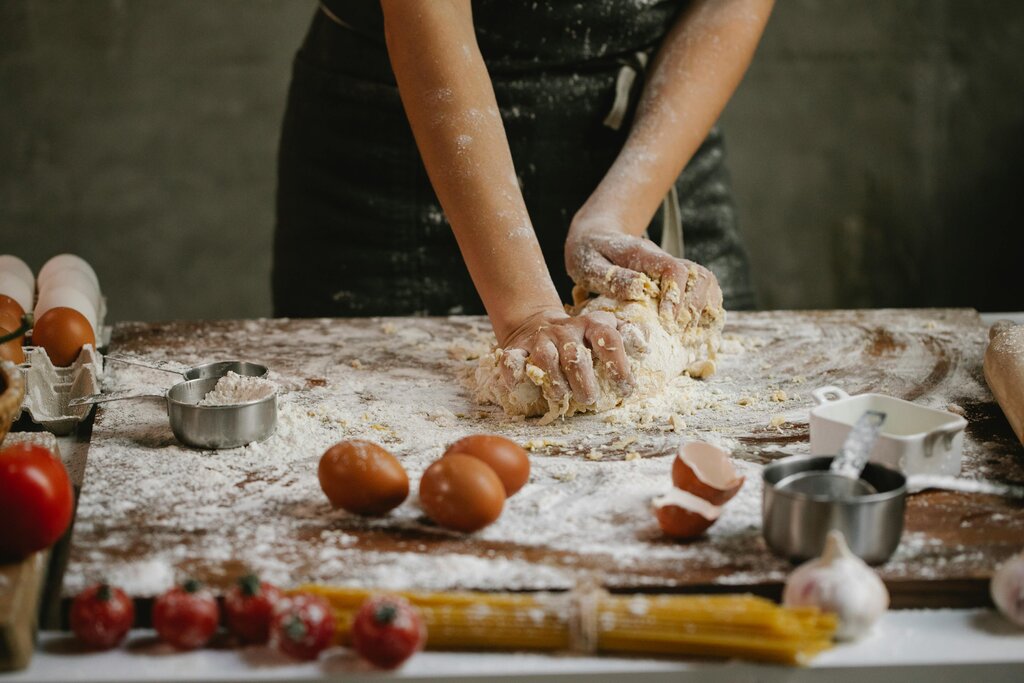
After mixing comes kneading. This is where you develop the gluten. Whether you're using a stand mixer or your hands, the process is about stretching and folding the dough repeatedly. At first, the dough will be shaggy and sticky. After 10-15 minutes of kneading, it should become smooth, elastic, and slightly tacky.
A good way to check if you've kneaded enough is the 'windowpane test.' Take a small piece of dough and gently stretch it between your fingers. If you can stretch it thin enough to see light through it without tearing, the gluten is well-developed. If it tears easily, it needs more kneading.
Fermentation and Proofing
Now, you let the dough rest and rise. This stage, called fermentation, is where the magic happens. The yeast gets to work, creating carbon dioxide bubbles that inflate the dough and developing complex flavors. The initial, longer rise is often called bulk fermentation.
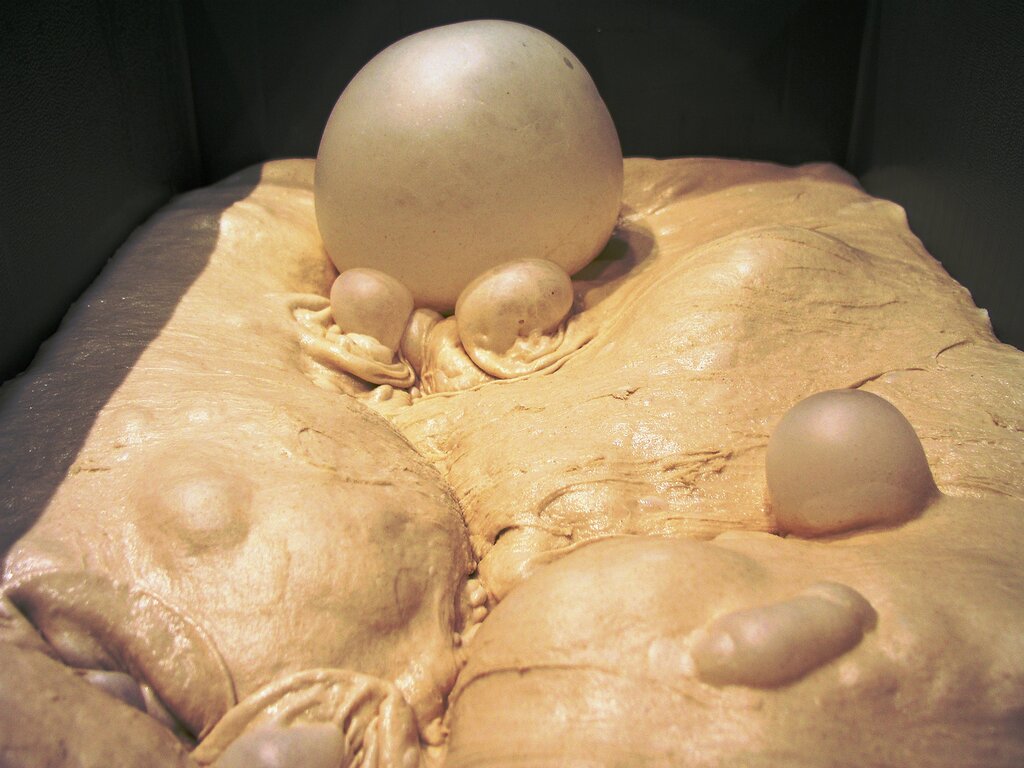
After the bulk fermentation, you'll divide the dough into individual pizza-sized balls. The second, shorter rise of these dough balls is called proofing. This lets the gluten relax, making the dough easier to stretch later, and gives the yeast one last chance to create texture.
Many pizzaiolos use a long, cold fermentation. By placing the dough in the refrigerator for 24 to 72 hours, they slow the yeast's activity. This extended time allows enzymes to break down starches and proteins, resulting in a crust that's more flavorful, digestible, and beautifully browned.
Slowing down fermentation by placing the dough in the refrigerator, allowing flavours to develop and making the dough easier to handle.
Shaping the Dough
When you're ready to make pizza, take a dough ball out of the fridge and let it sit at room temperature for an hour or two. It will be much easier to shape when it's not cold.
Start on a well-floured surface. The goal is to stretch the dough into a circle without destroying the bubbles created during fermentation. A rolling pin will crush these bubbles, resulting in a dense, flat crust. Use your hands instead.
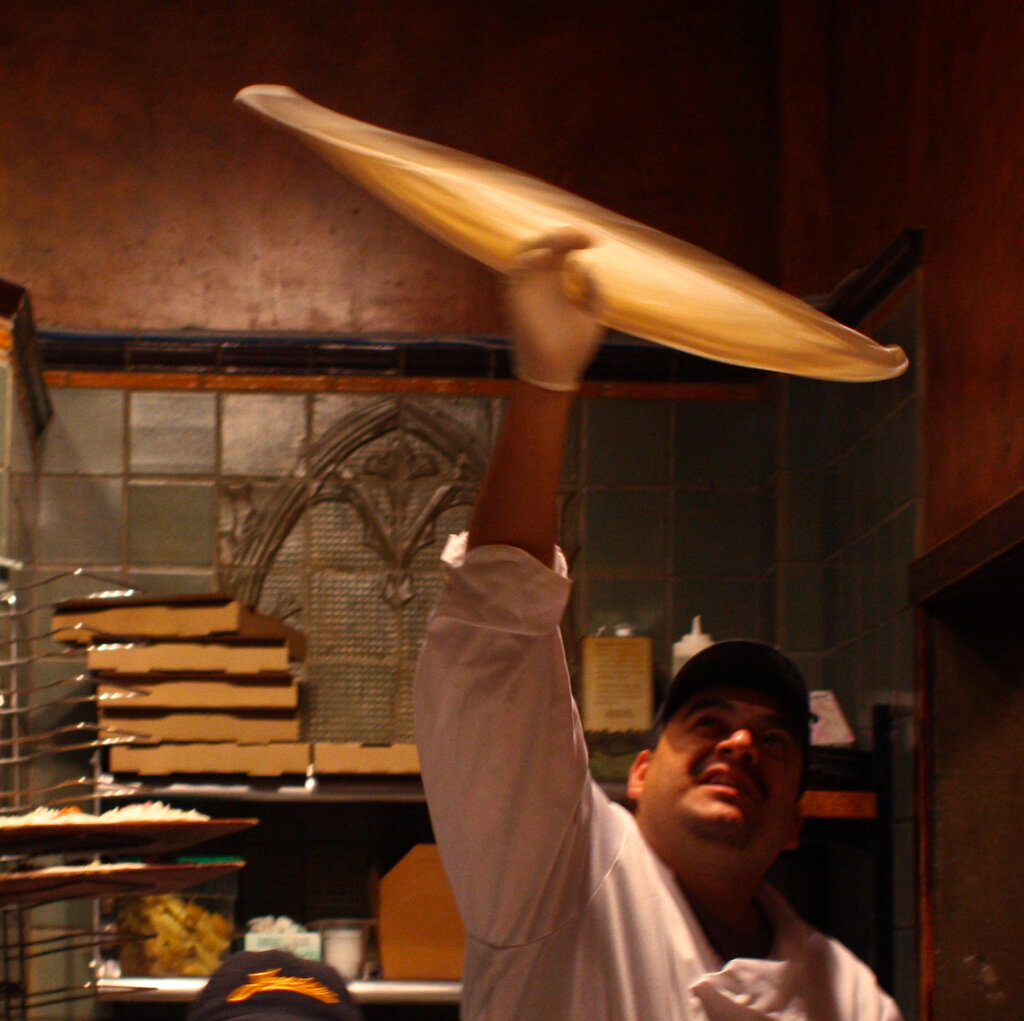
Here’s a simple technique:
- Place the dough ball on the floured surface and gently press down in the center with your fingertips. Leave a one-inch border untouched around the edge. This will become the cornicione, or the raised crust.
- Pick up the dough and drape it over your fists. Gently rotate and stretch the dough, letting gravity do most of the work.
- Continue until it reaches your desired size and thickness. Don't worry about making a perfect circle; a rustic shape has character.
Handle the dough with confidence but also with care. You've spent time developing flavor and texture, and this final step is about preserving that work before you add toppings.
Let's check what you've learned about getting your dough ready.
What is the primary function of yeast in pizza dough?
What does the 'windowpane test' help you determine?
Your dough is now ready for sauce and toppings. Mastering these fundamental steps is the key to creating exceptional pizza from scratch.