Mastering Git Worktrees
Introduction to Git
What is Version Control?
Imagine you're writing a long research paper. You save the first draft as paper_v1.doc. Then you make some edits and save it as paper_v2.doc. Before you know it, your folder is a mess of files like paper_final.doc and paper_REALLY_final_I_swear.doc.
This is a frustrating way to track changes. If you want to go back to an idea you had in v2, you have to dig through old files. If you're working with a partner, you end up emailing files back and forth, trying to merge your changes without overwriting each other's work.
Version control systems (VCS) solve this problem. They are tools that help you track changes to files over time. Instead of saving multiple copies of a file, a VCS records snapshots of your project. You can view any snapshot from the past, see who made what changes, and easily combine work from multiple people.
Git
noun
A distributed version control system for tracking changes in source code during software development. It's designed for coordinating work among programmers, but it can be used to track changes in any set of files.
Git is the most popular VCS in the world. It doesn't store multiple full copies of your project. Instead, it stores the changes between versions, which is much more efficient. It lets every developer have a full history of the project on their local machine, making it fast and flexible.
Your First Repository
A project managed by Git is called a repository, or "repo" for short. To start tracking a project, you first need to initialize a repository. This creates a hidden .git directory inside your project folder where Git will store all its tracking information.
Navigate to your project folder in the command line and run this command:
git init
That's it. Your project is now a Git repository. Now, let's track some files. The process of saving a snapshot of your work in Git involves two steps: adding and committing.
- Add: You tell Git which specific files you want to include in your next snapshot. This is called "staging" your changes.
- Commit: You take the snapshot of the staged files and save it permanently to the project history with a descriptive message.
Let's say you've created a file called index.html. To stage it for your first commit, you use the git add command.
git add index.html
Now the file is in the staging area. To commit it, you use git commit with the -m flag to include a message describing the change.
git commit -m "Create initial HTML file"
You've just saved your first snapshot! Every commit is a checkpoint you can return to. A good commit message is short but descriptive, explaining what changed and why.
Branching and Merging
One of Git's most powerful features is branching. By default, your main line of work is on a branch called main or master. A branch is like a separate timeline for your project. You can create a new branch to work on a new feature or experiment with an idea without affecting the stable code on the main branch.
Let's create a new branch called new-feature.
git branch new-feature
This creates the branch, but you're still on main. To switch to your new branch, you use git checkout.
git checkout new-feature

# Or, a shortcut to create and checkout a new branch at once:
# git checkout -b new-feature
Now, any commits you make will be on the new-feature branch. The main branch remains untouched. Once you're happy with your work on the new feature, you can merge it back into the main branch.
First, switch back to the main branch.
git checkout main
Then, use git merge to combine the history of the new-feature branch into your current branch (main).
git merge new-feature
Git will combine the changes. Now, all the work you did on new-feature is part of the main timeline.
Working with Remotes
So far, everything we've done has been on your local machine. But the real power of Git comes from collaboration. To work with a team, you use a remote repository, which is a version of your project hosted somewhere on the internet, like on GitHub or GitLab.
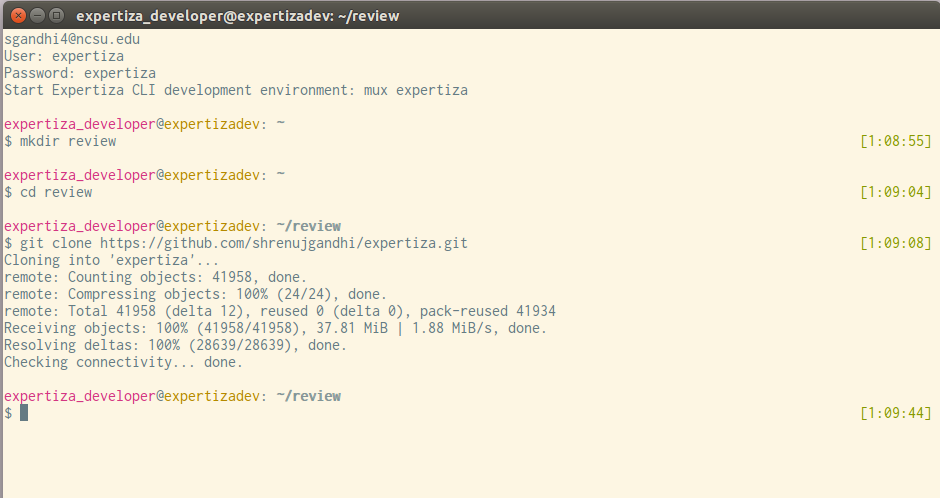
If a project already exists on a remote server, you can get a full copy of it on your machine using git clone.
git clone https://github.com/example/project.git
This downloads the entire project and its history. Now you have a local copy linked to the remote one. The remote is automatically named origin.
After you make and commit changes locally, you can share them with your team by "pushing" them to the remote repository. The git push command sends your committed changes to the remote.
# Pushes the 'main' branch to the 'origin' remote
git push origin main
Now your changes are available to everyone else on the team. They can then "pull" your changes down to their own local copies to stay up-to-date.
These are the fundamental building blocks of Git. Understanding how to initialize a repo, add and commit files, branch for new work, and push to a remote will equip you for almost any basic workflow.
What is the primary problem that a Version Control System (VCS) like Git is designed to solve?
What is the correct two-step process for saving a snapshot of your changes to the project's history in Git?