Mastering FL Studio Workflow
Advanced Sequencing Techniques
Beyond the Basic Loop
You've mastered the basics of creating patterns in the Channel Rack. You can lay down a solid four-on-the-floor beat and sketch out a simple melody. But your loops feel static, repetitive, and a bit robotic. To move from a simple sketch to a dynamic, professional-sounding track, you need to dig deeper into FL Studio's sequencing tools. It's time to add nuance, complexity, and life to your patterns.
Fine-Tuning with the Graph Editor
The most straightforward way to break out of a robotic-sounding loop is to add human variation. Real drummers don't hit every single note with the exact same force. The Graph Editor is your tool for mimicking this nuance. It’s a simple bar graph at the bottom of the Channel Rack that lets you adjust parameters for each step in your sequence.
By default, it controls velocity, which is how hard a note is played. Lowering the velocity on certain notes can create a more natural, less machine-like feel. For example, you can create a classic 'ghost note' rhythm on your hi-hats by slightly lowering the velocity of the off-beat notes. You can also adjust pitch, panning, and other parameters to add subtle or dramatic variation to your patterns.
This simple adjustment instantly adds groove and movement to what was once a flat, static pattern. Experimenting with the Graph Editor is key to developing a signature rhythmic feel.
Building Sounds with Layering
Sometimes a single sample just doesn't have the impact you need. You might want a kick drum with the deep sub of one sample and the sharp, punchy attack of another. This is where layering comes in. FL Studio has a dedicated Layer tool that lets you stack multiple channels together and trigger them all from a single pattern.
By loading a Layer channel, you can select other instruments in your Channel Rack to be its 'children'. Now, any note you program in the Layer's piano roll will trigger all the child instruments simultaneously. This is a powerful technique for sound design, allowing you to create unique, thick, and complex sounds by blending different samples and synths. You can create a massive snare by combining a crisp snare, a clap, and a short burst of white noise.
Layering techniques allow you to combine multiple sounds to create complex and captivating soundscapes.
Harmonizing with Ghost Notes
Writing a bassline that perfectly complements your chord progression can be tricky. You often find yourself flipping back and forth between the piano roll for your synth pad and the piano roll for your bass. This is where Ghost Notes become your best friend.
Ghost Notes show a faint, non-editable outline of the notes from other channels within your current piano roll view. This allows you to see your chord progression while writing your bassline, or see your kick and snare pattern while writing a melody. It’s an essential workflow feature that helps you ensure all your musical elements are locked in together harmonically and rhythmically. You can enable them by going to the Piano Roll's options menu, selecting 'Helpers', and choosing 'Ghost channels'.
Use ghost notes (View > Ghost Channels) as references when editing overlapping patterns.
Once enabled, you can write new melodies and harmonies that follow the existing structure of your track, saving you time and preventing musical clashes. It's like having a transparent blueprint of your song laid over your workspace.
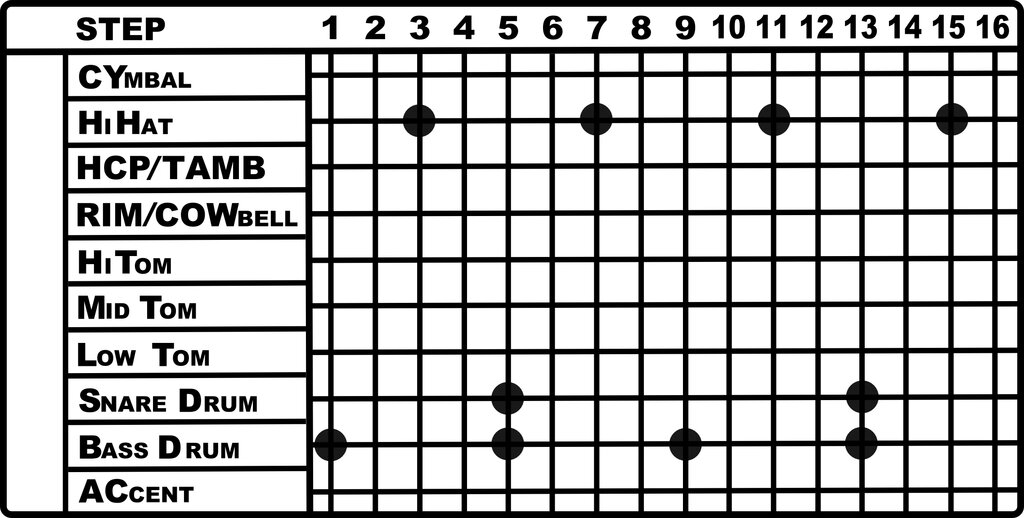
Another powerful technique is converting your step sequences into editable MIDI data. This is particularly useful when you've created a complex rhythmic pattern in the step sequencer but want to add more detailed articulations like flams, rolls, or subtle timing shifts.
Right-click on the channel in the Channel Rack and select ''. This will create a new pattern containing a MIDI clip in the Piano Roll, identical to your original step sequence. Now you can go into the Piano Roll and manually adjust the timing, length, and velocity of each note with surgical precision, unlocking a level of detail the step sequencer can't offer.
Ready to test your knowledge?
What is the primary function of the Graph Editor in FL Studio's Channel Rack?
The 'Layer' tool allows you to trigger multiple instruments from a single pattern, creating thicker, more complex sounds.
By combining these techniques, you can transform simple loops into intricate, dynamic, and professional-sounding musical phrases. They are the building blocks for creating a full and compelling arrangement.