Mastering FL Studio Mobile Production
Interface and Routing
Structuring for Success
You already know how to lay down patterns and create loops. Now, let's shift our focus to professional project structure. A clean, organised project is easier to mix and allows for more creative freedom. The key is understanding the relationship between the main Playlist view and the Channel Rack.
The Playlist is your canvas, where you arrange patterns and audio clips into a full song. Think of it as the timeline of your track. The Channel Rack, on the other hand, is where your instruments live. Each sound, whether it's a synth, a sampler, or a drum machine, has its own channel here. A common mistake is to treat these as the same thing. A professional workflow depends on separating the 'what' (the instruments in the Channel Rack) from the 'where' (the arrangement in the Playlist).
Controlling the Signal Flow
Every instrument in your Channel Rack sends its audio to the Master channel by default. This is like having every musician in an orchestra play through a single microphone. It works, but it offers no control. To properly mix a track, you need to route each instrument to its own dedicated Mixer track, also known as an FX channel.
By assigning each instrument to a unique Mixer track, you gain individual control over its volume, panning, and effects. This is the foundation of mixing. To do this, select an instrument in the Channel Rack and assign it to an empty Mixer track. Now, that instrument's audio signal flows from the Channel Rack, through its assigned Mixer track, and then to the Master output. This deliberate path is called signal flow and mastering it is crucial.
Now you have granular control. You can add a unique EQ to your kick drum, apply a specific compressor to your bass, and adjust the stereo position of your synth, all independently.
Shared Effects with AUX Tracks
What if you want to apply the same reverb to ten different tracks? Adding ten separate reverb plugins is inefficient and CPU-intensive. Instead, we use auxiliary (AUX) tracks, often called 'sends' or 'returns'. An AUX track is a special mixer channel dedicated to hosting an effect, like a reverb or delay.
You can then 'send' a portion of the signal from multiple instrument tracks to this one AUX track. This technique is known as parallel processing, because the 'dry' unprocessed signal and the 'wet' effects-only signal run side-by-side before being combined at the master output. This saves processing power and ensures all elements share the same acoustic space, making the mix sound more cohesive.
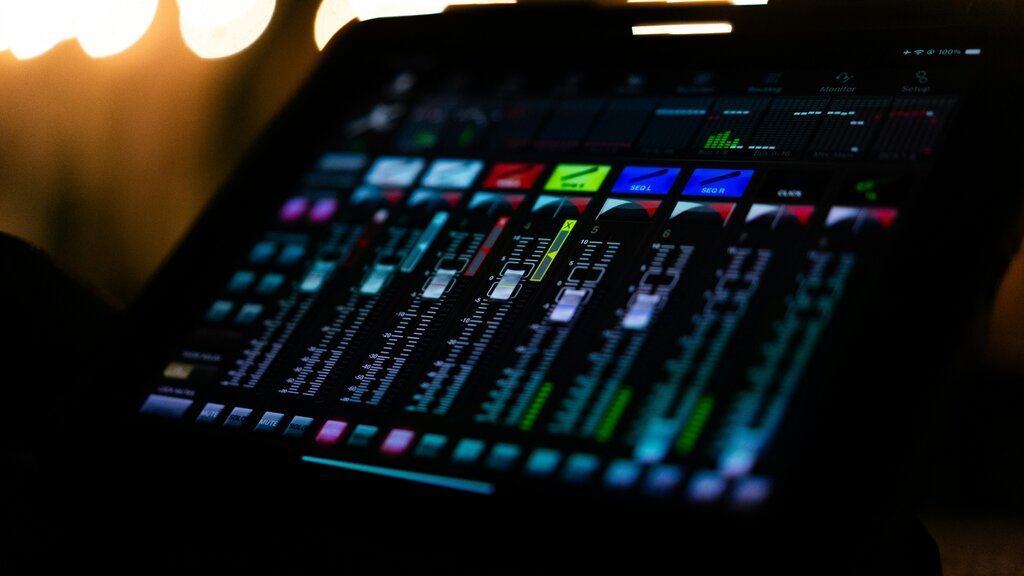
To set this up, designate an empty Mixer track as your AUX. Add a reverb plugin to it and set the effect's 'mix' or 'dry/wet' knob to 100% wet. Now, from your instrument tracks, use the 'FX Send' knob to dial in how much of that instrument's signal you want to send to the reverb track. A little for subtle depth, or a lot for a washed-out sound.
Grouping with Buses
As your projects grow, you'll have many related tracks. Managing eight different drum sounds, for example, can be tedious. This is where busing comes in. A bus is a mixer track used to group other tracks together. By routing all your drum tracks to a single Drum Bus, you create a submix.
This has two major benefits. First, you can control the volume of the entire drum kit with a single fader. Second, you can apply effects to the entire drum group at once. Want to add some light compression to glue the drums together? Add it to the Drum Bus. This makes your drums sound like a single, powerful unit rather than a collection of separate sounds.
Once you've perfected your routing setup with AUX tracks and buses, save the project as a template. This allows you to start new songs with your professional structure already in place, saving valuable time and letting you focus on creativity. An efficient mobile workflow is built on smart preparation.
Time to test your knowledge on setting up a professional mobile studio.
What is the primary function of the Playlist in a digital audio workstation?
The path an audio signal takes from an instrument, through its assigned Mixer track, and to the final output is known as...
By mastering these routing techniques, you elevate your mobile productions from simple sketches to fully mixable songs. A clean structure is the canvas for great music.