Mastering Final Cut Pro Video Editing
Introduction to Final Cut Pro
Getting to Know Final Cut Pro
Final Cut Pro is a powerful video editing application for Mac users. At first glance, its interface can look complex, but it’s organized into a few key areas that are easy to understand once you know their purpose. Let's break down the main workspace.
The Main Windows
The Final Cut Pro interface is split into four primary panes. Understanding what each one does is the first step to editing efficiently.
The Browser: This is usually in the top-left corner. Think of it as your media library. All the video clips, audio files, and images you import for a project will live here. You'll select clips from the Browser to work with them.
The Viewer: Located in the top-center, the Viewer is your video monitor. This is where you'll watch your individual clips from the Browser and also preview the edited sequence you're building in the Timeline.
The Inspector: To the top-right, the Inspector shows you detailed information and controls for whatever you have selected. If you select a clip in the Timeline, the Inspector will let you adjust things like its size, position, and other properties.
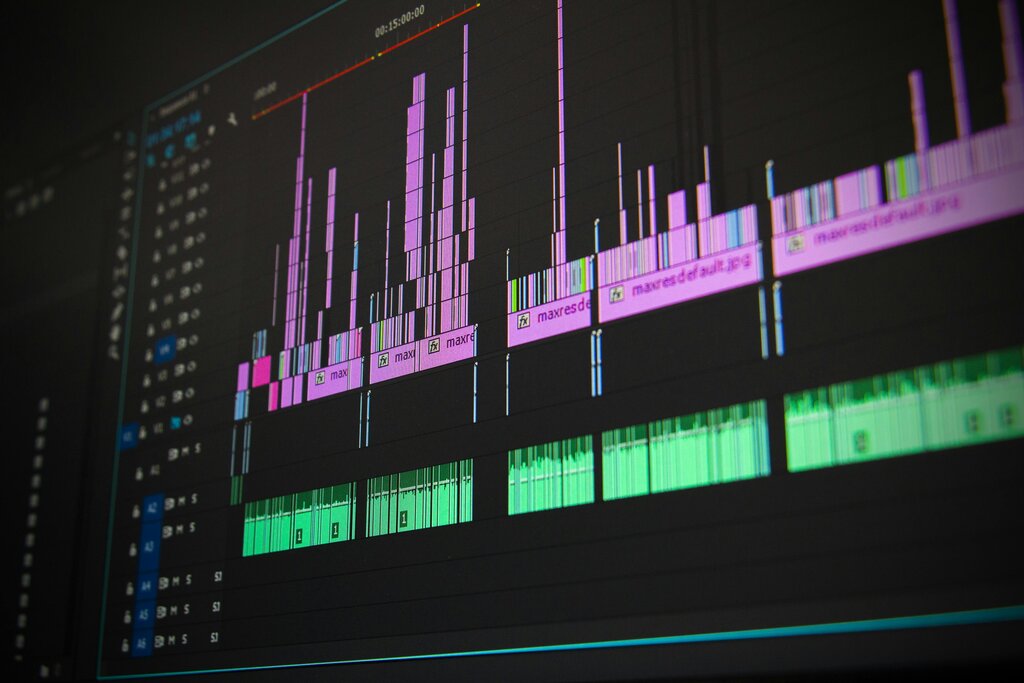
The Timeline: The Timeline is the long horizontal area at the bottom of the screen. This is the heart of your project. You'll drag clips from the Browser down to the Timeline to arrange them in the sequence you want, trimming them and layering them to build your final video.
Making It Your Own
This layout isn't set in stone. You can customize the workspace to fit your needs. The lines dividing the panes can be clicked and dragged to resize them. For example, you might want to make the Timeline taller to see more audio and video tracks, or make the Viewer bigger to get a better look at your footage.
You can also hide panes you're not using. If you’re focusing on arranging clips, you might hide the Browser and Inspector to give the Timeline and Viewer maximum screen space. Look for buttons around the interface or use the 'Window' menu at the top of the screen to show and hide different parts of the UI. A clean workspace helps you focus on the task at hand.
Importing Your Media
Before you can edit, you need to bring your media into Final Cut Pro. This process is called importing.
You can import files from your computer's hard drive, an external storage device, or directly from a connected camera. The main way to do this is by clicking the 'Import' button, which looks like a downward-pointing arrow, located near the top-left of the window.
This opens the Media Import window. From here, you can navigate through your devices and folders to find the video, audio, and image files you want to use. Select the clips you need and click the 'Import Selected' button. Final Cut Pro will then copy or link to these files, making them available in the Browser for you to start editing.
It's good practice to keep your media files organized in folders before importing. This makes it much easier to find what you need both on your hard drive and inside Final Cut Pro.
With your media imported and a basic understanding of the workspace, you're ready to start putting your story together.