Mastering Facial Artistry
Artistic Facial Proportions
From Anatomy to Art
You already know the names of the muscles and bones that make up the human head. Now, let's translate that anatomical knowledge into a practical guide for drawing. The goal isn't to memorise every scientific term, but to see the skull and muscles as a framework we can simplify into repeatable, reliable proportions.
Think of it as moving from a complex blueprint to a simple, elegant architectural sketch. We'll start by establishing the foundational landmarks and ratios that create a balanced, believable face. The most fundamental of these is a set of guidelines known as the Rule of Thirds in art.
This rule divides the face vertically into three equal sections:
- Top Third: From the hairline to the brow line.
- Middle Third: From the brow line to the bottom of the nose.
- Bottom Third: From the bottom of the nose to the bottom of the chin.
This simple division provides the primary scaffolding for placing the features. The brow line, as its name suggests, is where the eyebrows sit. The bottom of the nose rests on the next line down. But what about the other features? For that, we need to introduce some halves.
Placing the Features
With our main thirds established, we can use simple divisions to place the eyes, mouth, and ears with surprising accuracy. These are not rigid laws, but powerful starting points.
| Feature | Placement Guideline |
|---|---|
| Eyes | On the horizontal centreline of the entire head (from the top of the skull to the chin). The space between the two eyes is typically equal to the width of one eye. |
| Mouth | In the bottom third, about one-third of the way down from the base of the nose to the chin. The corners of the mouth often line up vertically with the pupils of the eyes. |
| Ears | The tops of the ears align with the brow line. The bottoms of the ears align with the base of the nose. They occupy the same vertical space as the middle third of the face. |
These ratios give you the classic, idealised proportions often seen in academic drawing. Remember the underlying anatomy: the eyes sit within the skull's orbits, and the base of the nose aligns with the nasal spine. The ears connect to the jaw right behind the mandibular ramus. Our artistic guidelines are just a simplified, artist-friendly way of mapping this complex structure.
Variations and Planes
Of course, no two faces are identical. These rules describe an average, but the beauty of a portrait comes from capturing an individual's unique variations. Someone might have a high forehead (a longer top third), a smaller chin (a shorter bottom third), or eyes that are closer together.
Start with the ideal proportions as your base. Then, observe your subject closely and adjust. Is their nose longer than their forehead is tall? Adjust your lines. This process of measuring and comparing is key. A common technique is to use your pencil as a measuring tool, holding it at arm's length to compare the relative sizes of different features.
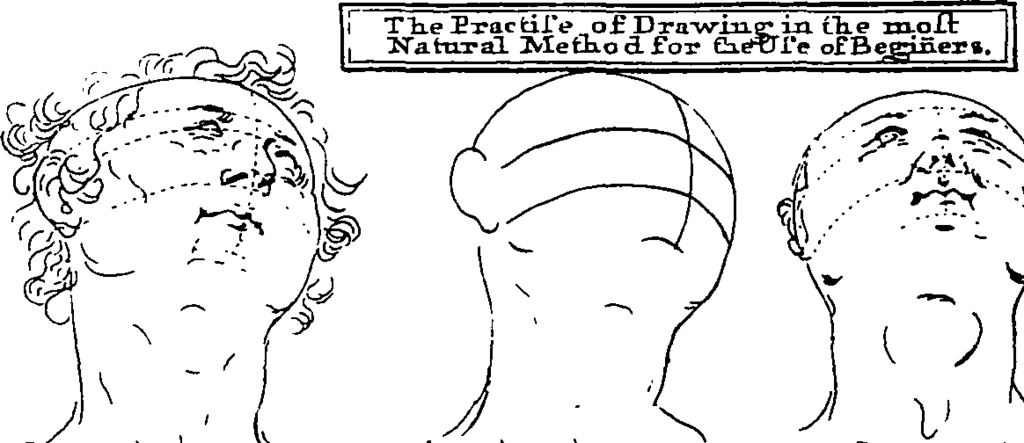
To give the head a three-dimensional feel, even in a sketch, it's helpful to think in planes. Instead of a smooth, curved oval, imagine the head as a sculpted block. This method, often associated with artist Andrew Loomis, helps you understand how light will fall on the face and how the features will wrap around the form.
Think of the front of the face as one plane, the sides of the head as others, and the jaw and cheekbones as smaller, angled planes connecting them. This simplifies the complex curves of the skull and muscles into something manageable that can be drawn from any angle.
By starting with these proportional guidelines and simplifying the head into planes, you create a robust foundation. This framework ensures that even before you draw a single eyelash, the underlying structure of your portrait is solid, balanced, and believable.