Mastering Digital Art with Procreate
Getting Started
Welcome to Procreate
Procreate is a powerful digital illustration app made for the iPad. Before you can start creating, you need to install it. Procreate isn't free, so you'll have to buy it from the App Store. Just open the App Store on your iPad, search for “Procreate,” and tap to purchase and download it. Once it's installed, you'll see its icon on your Home Screen. Tap it to open the app.
Combining traditional interface elements with iPad-enabled features, like hand gesture shortcuts, Procreate makes it start out in digital illustration without having to navigate a major software learning curve.
Finding Your Way Around
When you first launch Procreate, you land in the Gallery. This is your personal art library where all your creations are stored. You can organize your artwork, create new canvases, and import files from here. Think of it as your digital sketchbook's cover, where you can flip through all your past work.
To start drawing, you need a canvas. Tap the + icon in the top-right corner of the Gallery to create a new one. Procreate offers several preset canvas sizes, or you can create a custom one. For now, just pick 'Screen Size'. This opens a blank white canvas, which is your digital drawing space. Everything you create will happen here.
Your Core Toolkit
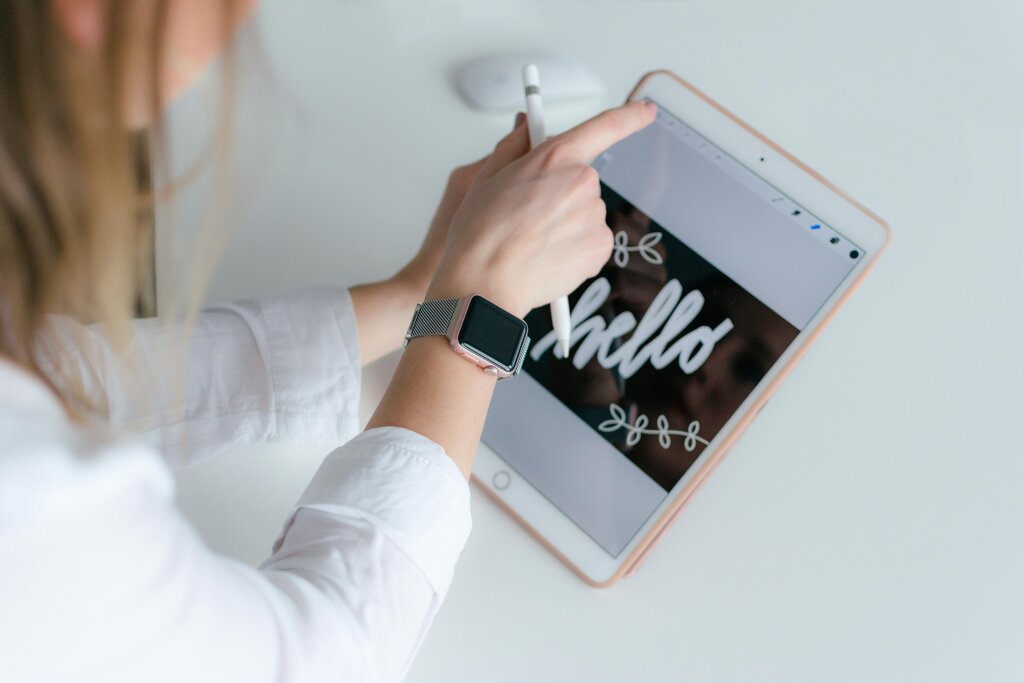
The Procreate interface is clean and simple to help you focus on drawing. The most important tools are in the toolbar at the top right of your screen. Let's look at the three essentials you'll use constantly.
Here's what these tools do:
-
Brush: This is your primary drawing tool. Tap the paintbrush icon to open the Brush Library. You’ll find hundreds of brushes, from pencils and inks to paints and textures. For now, just pick a simple pencil from the 'Sketching' category to doodle with.
-
Smudge: The smudging finger icon lets you blend colors and lines, much like you would with a real pencil or charcoal. It's great for softening edges and creating smooth gradients.
-
Eraser: The eraser icon does exactly what you'd expect. It removes pixels from your canvas. Tap it, and you can even choose a specific brush shape to erase with, giving you more creative control.
Essential Hand Gestures
Procreate was built for a touch interface, and its gesture controls make the creative process much faster. You don't need to hunt for buttons to perform common actions. Mastering a few simple gestures will make your workflow feel smooth and natural.
| Action | Gesture |
|---|---|
| Undo | Tap with two fingers |
| Redo | Tap with three fingers |
| Zoom | Pinch with two fingers |
| Rotate Canvas | Twist with two fingers |
| Fit to Screen | Quick-pinch with two fingers |
Try them out now on your canvas. Draw a line, then tap with two fingers to undo it. Tap with three to bring it back. Pinch and twist to see how you can manipulate your view of the canvas without affecting your artwork. These simple shortcuts are fundamental to working efficiently in Procreate.
How do you install Procreate on an iPad?
What is the primary purpose of the Gallery screen in Procreate?
That's it for the basics. You now know how to create a canvas, find your essential tools, and navigate with gestures. The best way to learn is by doing, so spend some time doodling and getting comfortable with the interface.