Mastering Design and Branding in Canva
Professional Branding Masterclass
Your Central Brand Hub
You’ve moved past making one-off designs. Now it’s about building a consistent, recognisable brand. The Brand Kit in Canva is your command centre for this work. Think of it less like a simple folder and more like a dynamic system that enforces brand rules across every design you create.
For professionals juggling multiple projects or clients, this is a game changer. Instead of constantly searching for the right hex code or logo file, you can set up a distinct Brand Kit for each brand. This allows you to switch between different visual identities with a single click, ensuring every flyer, social post, and presentation is perfectly on-brand.
Sure, setting up a Canva Brand Kit for each client takes time initially, but once it's done, I no longer have to waste time re-uploading logos or hunting down color codes.
Building a robust Brand Kit starts with its most critical asset: the logo. The format you choose has a big impact on how your brand looks across different media.
Logos That Scale
Your logo will appear everywhere, from a tiny favicon on a website tab to a massive trade show banner. It needs to look sharp at any size. This is where the file format really matters.
Most people use PNG files. They're fine for digital use and support transparent backgrounds, which is essential. However, when you enlarge a PNG, it can become pixelated and blurry because it's a raster image, made of a fixed grid of pixels.
For true scalability, you need an . Because SVGs are vector-based, they are defined by mathematical equations, not pixels. This means you can scale them infinitely without any loss of quality. They also have the bonus of being editable within Canva, allowing you to change colours directly in the editor. Always upload an SVG version of your logo to the Brand Kit if you have one.
Beyond the Logo
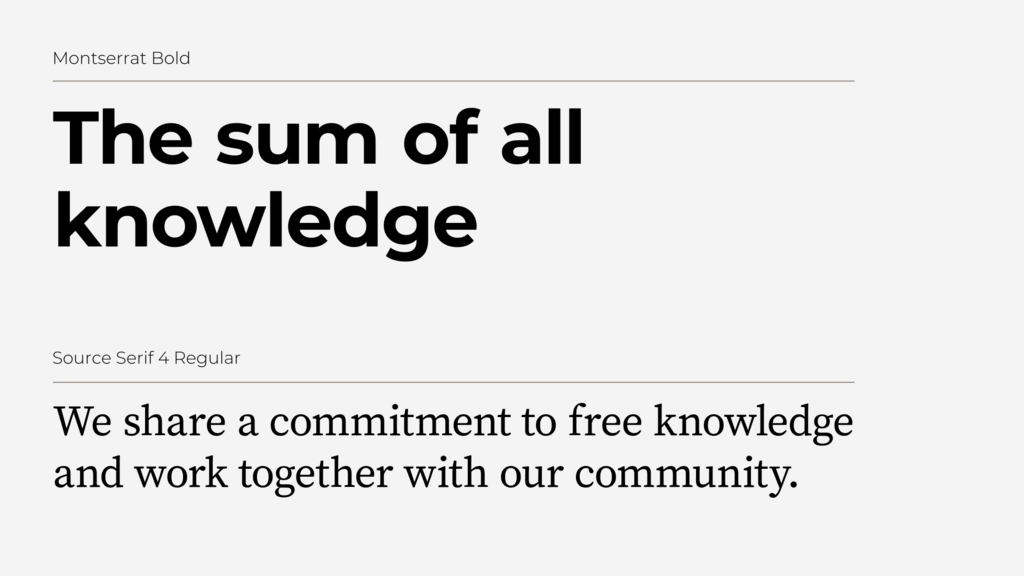
Once your logos are set, it's time to define your typography and colours. This isn't just about picking fonts you like; it's about creating a clear . Your Brand Kit allows you to set specific fonts and sizes for headings, subheadings, and body text. This ensures consistency and makes your text easy to read.
When uploading fonts, make sure you have the proper license for web or digital use. Canva supports OTF, TTF, and WOFF file formats. After uploading, you can assign them to their roles in your brand’s typographic structure. For colours, go beyond a single primary palette. Use Canva’s colour palette tools to add secondary or even tertiary palettes for different campaigns or product lines, all housed within the same Brand Kit.
A complete brand identity also includes specific imagery. You can create dedicated folders within your Brand Kit for approved photos, icons, and graphics. This saves you from wading through Canva's entire library and prevents off-brand visuals from creeping into your designs. It’s like creating a private, curated stock photo library just for your brand.
Giving AI Your Voice
Modern branding is also about the written word. Canva's AI tools, like Magic Write, can generate copy for your designs, but you need to ensure it sounds like your brand.
This is where the tool comes in. You can feed it examples of your existing copy, like text from your website or marketing emails. The tool analyses your tone, personality, and style and creates a voice profile. From then on, whenever you use Magic Write within that Brand Kit, it will generate text that aligns with your established persona, whether it's witty and playful or formal and authoritative.
Setting a Brand Voice ensures your AI-generated text is just as on-brand as your visuals.
Ready to test your knowledge of building a professional brand system in Canva?
What is the primary advantage of using the SVG file format for a logo in your Canva Brand Kit?
What is the main purpose of setting up a typography hierarchy (headings, subheadings, body) in a Brand Kit?