Mastering Claude Code for Product Management
WSL2 and Node Configuration
Optimizing Windows for AI Agents
Tools like Claude Code thrive in a Unix-like environment, which can be a challenge on Windows. Instead of settling for a limited experience, we can build a powerful, integrated Linux environment directly within Windows using the Windows Subsystem for Linux (WSL). Specifically, we'll use WSL2, its modern iteration.
Long term, your life will be easier if you install the Windows Subsystem for Linux (WSL) which will give you access to a Unix-style shell.
WSL2 isn't just an emulator; it runs a full Linux kernel in a lightweight virtual machine. This gives you near-native performance for file systems and system calls, which is critical for development tools that expect a Linux foundation. It's the best of both worlds: the robust Windows OS with a full-fledged Linux command line just a terminal away. Let's get it installed and configured.
Installing WSL2 and Ubuntu
First, ensure your Windows system is up to date, as WSL2 has specific version requirements. Then, you can install everything needed with a single command. Open PowerShell or Windows Command Prompt as an Administrator and run the following:
wsl --install
This command automatically enables the necessary Windows features, downloads the latest Linux kernel, and installs Ubuntu as the default Linux distribution. If you ever need to manually update the kernel later, you can run wsl --update in PowerShell. Once the process completes, you'll be prompted to restart your machine. After rebooting, an Ubuntu terminal window will open to finalize the installation, asking you to create a username and password for your new Linux environment.
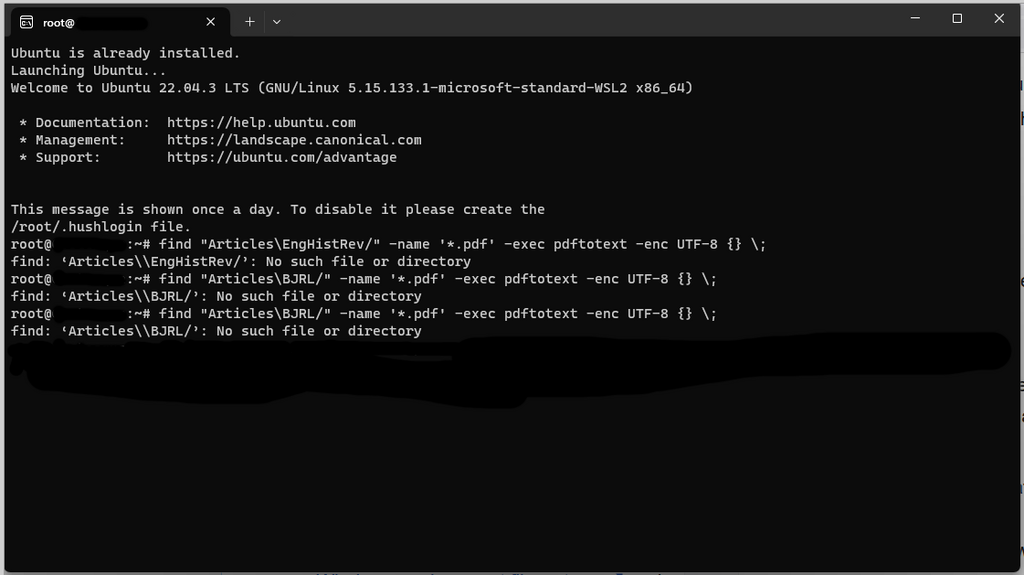
We recommend Ubuntu because it's stable, well-supported, and has a massive repository of software packages. It serves as a reliable default for most development needs.
Managing Node.js with NVM
Claude Code and many other modern development tools are built on Node.js. While you could install Node.js directly, a much better approach is to use Node Version Manager (NVM). Different projects often require different versions of Node.js, and NVM allows you to install multiple versions and switch between them effortlessly. First, install the necessary dependencies for building Node.js from source:
sudo apt update
sudo apt install build-essential libssl-dev curl
With the dependencies in place, you can install NVM using its official install script. This command downloads and executes the script from curl:
curl -o- https://raw.githubusercontent.com/nvm-sh/nvm/v0.39.7/install.sh | bash
After the script runs, you'll need to close and reopen your terminal or run source ~/.bashrc to load NVM into your shell's path. Now you can install the latest Long-Term Support (LTS) version of Node.js.
nvm install --lts
This command installs the most stable version of Node.js and sets it as the default. You can verify the installation by checking the version numbers:
node -v
npm -v
Configuring Your Environment
One of the biggest strengths of WSL is the seamless interoperability between Windows and Linux. Your Windows file system is automatically mounted within your Linux environment, typically under /mnt/c. This means you can keep your project files on your Windows drive and access them from the Linux terminal to run commands.
To make your development workflow smoother, you can configure your shell's environment variables. These are dynamic values that affect how processes run. For example, the PATH variable tells your shell where to look for executable programs. NVM automatically manages the PATH for your Node.js installations.
You can customize your shell by editing its configuration file, which is ~/.bashrc for the default Bash shell or ~/.zshrc if you've switched to Zsh. This is where you can define aliases, set environment variables, and customize your command prompt for a more productive setup.
Now your environment is ready. You have a powerful Linux subsystem, a flexible way to manage Node.js versions, and a clear path for Windows and Linux to work together.
What is the primary advantage of using WSL2 for development on Windows?
Which command, when run in an administrative PowerShell, installs WSL and the default Ubuntu distribution?