Mastering Canva for Design
Canva Interface
Your Canva Dashboard
When you log into Canva, the first thing you see is your dashboard. Think of it as your creative command center. At the top, a prominent search bar lets you look for specific templates or design types, like "Instagram post" or "business card." Next to it, the "Create a design" button is your starting point for projects with custom dimensions.
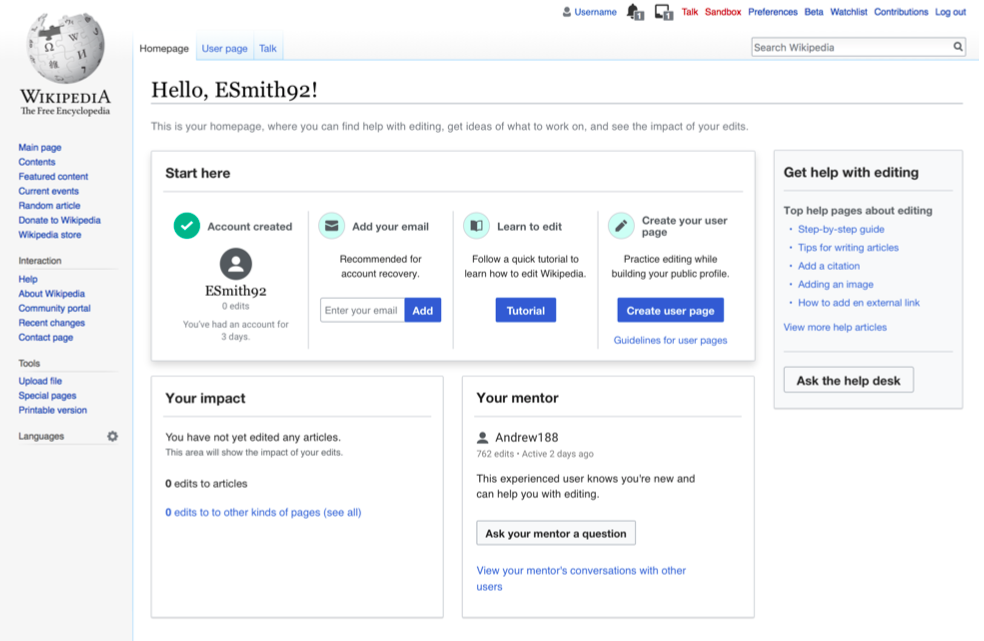
On the left side, a navigation panel organizes everything you need. "Home" brings you back to this main dashboard. "Projects" is where all your saved designs live, neatly organized for easy access. You can find all of Canva's pre-made layouts under "Templates."
Your most recent work is always displayed in the main area of the dashboard, allowing you to jump right back into a project without having to search for it.
Starting a New Project
There are two main ways to begin a new design in Canva. The quickest way is often to use a template. You can browse through categories like "Social Media," "Presentations," or "Marketing" to find a layout that fits your needs. Templates give you a professional starting point with balanced layouts and complementary fonts, which you can then customize.
Using a template saves time and ensures your design is properly sized for its intended platform, like a Facebook cover photo or an A4 document.
Alternatively, you can start with a blank slate by clicking "Create a design" and selecting a popular size or entering your own custom dimensions. This gives you complete control from the very beginning.
The Design Editor
Once you've chosen a template or a blank canvas, you'll enter the Canva editor. This is where the magic happens. The interface is broken down into three main areas.
1. The Tool Panel: This is the vertical menu on the left side. It's your creative toolbox. Here you’ll find everything you need to build your design. You can search for new templates, add elements like shapes and photos, upload your own images, and add text boxes.
2. The Main Canvas: This large central area is your workspace. Everything you select from the tool panel will appear here. You can click on any object on the canvas to move it, resize it, or change its properties using the context-sensitive menu that appears at the top.
3. The Top Menu: This horizontal bar at the very top of the screen contains administrative functions. You can rename your file, share your design with others, and download it in various formats like JPG, PNG, or PDF. If you're using a Pro account, you'll also find the "Resize" option here.
Customization and Editing
Customizing elements is straightforward. When you click on any object on your canvas—whether it's text, a shape, or an image—a toolbar appears directly above the canvas. This toolbar is dynamic and shows you all the available options for that specific element.
For a text box, you'll see options to change the font, size, color, and spacing. For an image, you'll find tools to crop, flip, or apply filters. This context-aware menu keeps the interface clean and ensures you only see the tools you need at any given moment.
To change the background of your entire design, simply click on the canvas itself, outside of any elements. The color picker and other background options will then appear on the top-left of the editor toolbar.
Getting comfortable with the dashboard and editor layout is the first step to designing efficiently. Take some time to click around and explore the different panels. Before you know it, navigating the interface will feel like second nature.
When you first log into Canva, what is the main area you see that acts as your 'creative command center'?
If you want to start a design with complete control over the layout from the very beginning, what is the best option to choose?