Mastering ArtCAM Pro for 3D Design and Manufacturing
Introduction to ArtCAM Pro
What is ArtCAM Pro?
ArtCAM Pro is a unique type of software that bridges the gap between artistic design and manufacturing. It's primarily used for creating detailed 3D reliefs from 2D drawings. Think of it as a digital workshop for artists, sign makers, and woodworkers. You can sketch an idea, turn it into a three-dimensional model, and then prepare it for a computer-controlled machine to physically create.
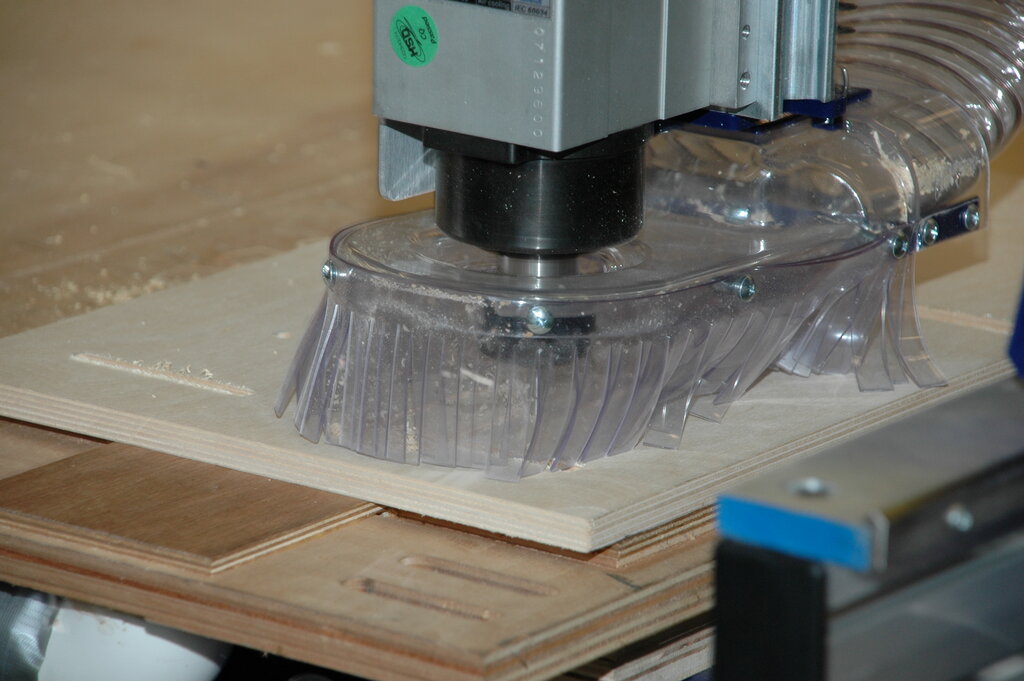
Unlike standard 3D modeling programs that often build objects from complex geometric shapes, ArtCAM excels at creating organic, sculpted surfaces. This makes it ideal for projects with intricate details like engravings, decorative panels, and custom jewelry. At its core, ArtCAM helps you translate a creative vision into a tangible object by generating the instructions, or toolpaths, that guide a CNC (Computer Numerical Control) machine.
Exploring the Workspace
When you first open ArtCAM, the interface might seem busy, but it's logically organized. The workspace is split into several key areas, each with a specific purpose. Understanding this layout is the first step to using the software effectively.
Let's break down these areas:
-
2D View: This is your digital canvas. It's where you'll draw and edit vectors, which are the basic lines and shapes that form the foundation of your design.
-
3D View: This window shows you a three-dimensional representation of your project. As you work on your 2D vectors and apply effects, you can see the 3D relief model take shape here. You can rotate, pan, and zoom to inspect your work from every angle.
-
Project Panel: Located on the left, this panel acts like a table of contents for your file. It organizes all the elements of your design, including vectors, reliefs, and later, the toolpaths for your CNC machine.
-
Tool Palettes: On the right, you'll find various palettes that contain the tools you need for drawing, modeling, and editing. The contents of these palettes change depending on what you're currently working on.
Creating Your First Project
Starting a new project in ArtCAM begins with defining the digital 'block' of material you'll be working with. This step is crucial because it ensures your design is scaled correctly for the real-world material you plan to use.
When you create a new model (File > New > Model), you'll be prompted to set the dimensions and resolution.
Here’s what you need to define:
-
Dimensions (Height and Width): These are the physical measurements of your project. It's important to choose your units first, whether millimeters or inches, and then enter the size of the material you will be carving.
-
Resolution: This setting determines the level of detail your 3D model can have. A higher resolution means more pixels across your defined area, allowing for finer details, but it also creates larger file sizes and requires more computing power. A good starting point is around 1000 x 1000 pixels. You can adjust this based on the complexity of your design.
-
Origin: This sets the zero point () for your model. It's the reference point from which the CNC machine will begin its work. You can typically set it to the center or one of the four corners of your material.
Once you've set up your model, it's a good habit to save your project immediately. ArtCAM saves files in its proprietary .art format. This file contains everything: your 2D vectors, your 3D relief, and any other project settings. Use 'File > Save As' to create your project file, and remember to save frequently as you work.