Mastering Android Development
Setup Android Studio
Setting Up Your Workshop
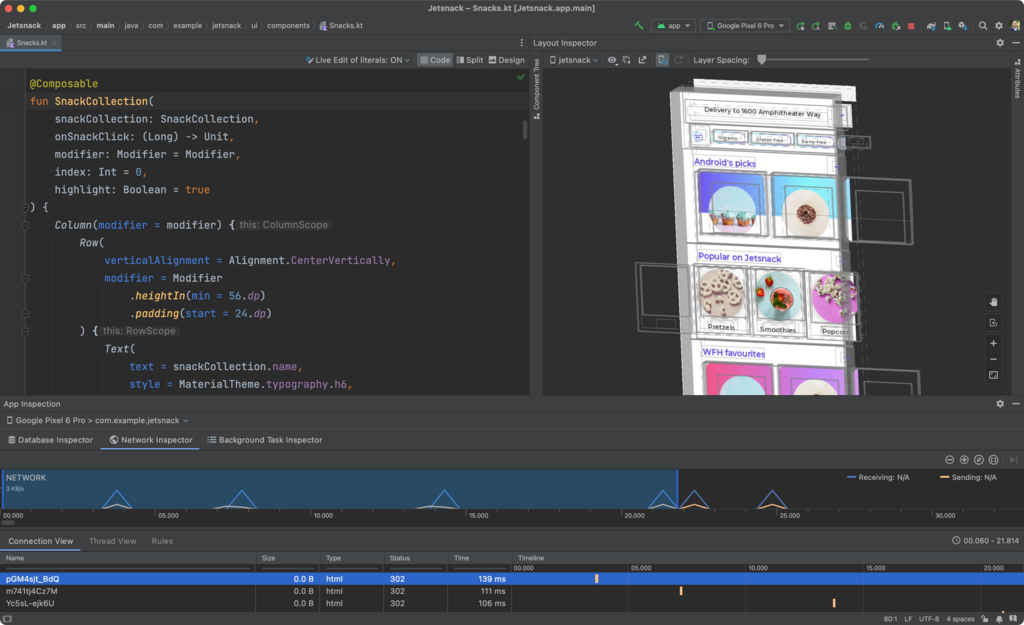
Android Studio is the official integrated development environment (IDE) for Android app development. It's a specialized workbench that bundles everything you need: a code editor, debugging tools, performance monitors, and an emulator.
First, download and install Android Studio from the official Android developer website. The installation is straightforward and includes the Android SDK, which is a collection of software development tools and libraries crucial for building and testing your apps. Think of Android Studio as the workshop, and the SDK as the set of power tools inside it.
Your First Virtual Device
You need a place to run and test your app. While you can use a physical Android phone, it's often faster and more convenient to use an emulator. Android Studio comes with the Android Virtual Device (AVD) Manager, which lets you create emulators that simulate various Android devices.
To create one, go to Tools > AVD Manager. From there, you'll click "Create Virtual Device," choose a hardware profile (like a Pixel model), and then select a system image. The system image is a specific version of the Android OS, like Android 13 (Tiramisu). Once configured, you can launch this virtual device anytime to test your app.
Creating Your First Project
With the environment set up, it's time to create a new project. Launch Android Studio and select "New Project." You'll be presented with a variety of templates. For now, choose "Empty Activity" to start with a minimal setup.
The next screen asks for some configuration details:
- Name: The user-facing name of your app (e.g., "My First App").
- Package name: A unique identifier for your app in the Google Play Store. It follows a reverse domain name convention (e.g.,
com.example.myfirstapp). - Save location: Where the project files will be stored on your computer.
- Language: Choose between Kotlin and Java. Kotlin is now the recommended language for Android development.
- Minimum SDK: The earliest version of Android your app will support. This choice is a trade-off: a lower API level reaches more devices, but may prevent you from using newer platform features.
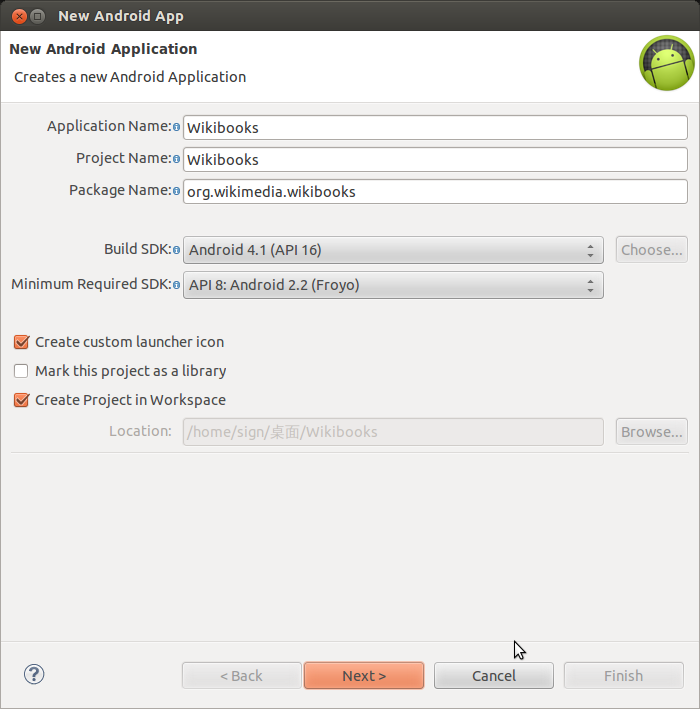
Once you fill this out and click "Finish," Android Studio will generate the project structure and perform an initial build using Gradle an automated build system. This can take a minute or two the first time.
The Project Structure
After the build finishes, you'll see the project files in the "Project" window on the left. By default, it uses the "Android" view, which organizes files in a way that's helpful for development. Here are the key directories you'll work with:
- app > java: This is where your application's source code lives. You'll find your main activity file here, typically named
MainActivity.kt(for Kotlin) orMainActivity.java. - app > res: This directory contains all non-code resources. It's further divided into subdirectories like
drawablefor images,layoutfor UI designs (XML files),mipmapfor app icons, andvaluesfor things like colors, strings, and styles. - app > manifests: This folder contains the AndroidManifest.xml file. This is your app's control panel. It declares the app's components, permissions it needs, and other essential information that the Android operating system must know before it can run any of the app's code.
Running Your App
Now for the exciting part: running the app. At the top of the Android Studio window, you'll see a dropdown menu that lists available devices. Select the AVD you created earlier. If it's not already running, Android Studio will launch it for you.
Once the emulator has booted up, click the green "Run" button (it looks like a play symbol) next to the device dropdown. Android Studio will now:
- Invoke to build your project.
- Compile your source code and resources into an Android Package ().
- Install the APK on the running emulator.
- Launch the main activity of your app.
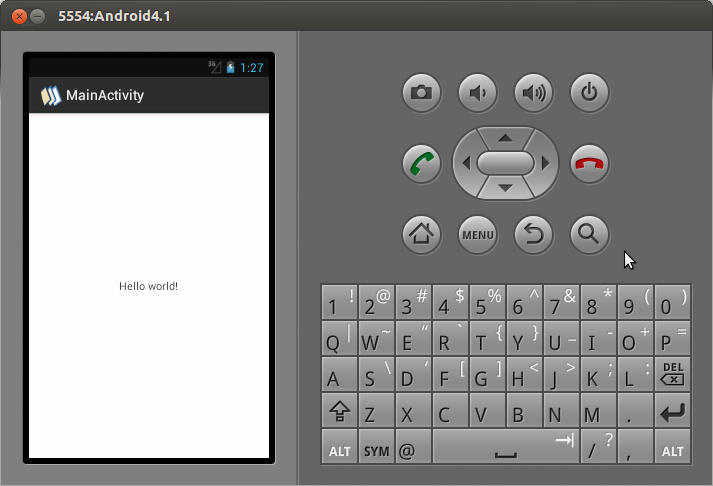
You should see a simple "Hello World!" application appear on your virtual device's screen. Congratulations, you've just built and run your first Android app.
You now have a fully functional development environment. You know how to create projects, configure virtual devices, and run your code. This foundation is the launchpad for building anything you can imagine.