Mastering Android Development
Install Android Studio
Setting Up Your Workshop
Your journey into Android development begins with setting up the right tools. The primary tool is Android Studio, the official Integrated Development Environment (IDE) for Android. It bundles everything you need to start building, from a code editor and compiler to testing tools and emulators.
First, download Android Studio from the official Android developer website. The installation is straightforward; run the installer and follow the on-screen prompts of the setup wizard. It will install the IDE and the latest Android SDK by default. The SDK, or Software Development Kit, is a collection of libraries and tools essential for building and testing Android apps.
IDE
noun
Stands for Integrated Development Environment. It's a software application that provides comprehensive facilities to computer programmers for software development. An IDE normally consists of at least a source code editor, build automation tools, and a debugger.
Once the installation is complete, launch Android Studio. The first launch might take a few minutes as it downloads additional components and sets itself up. You'll be prompted to import settings if you have a previous version installed; otherwise, select the default option.
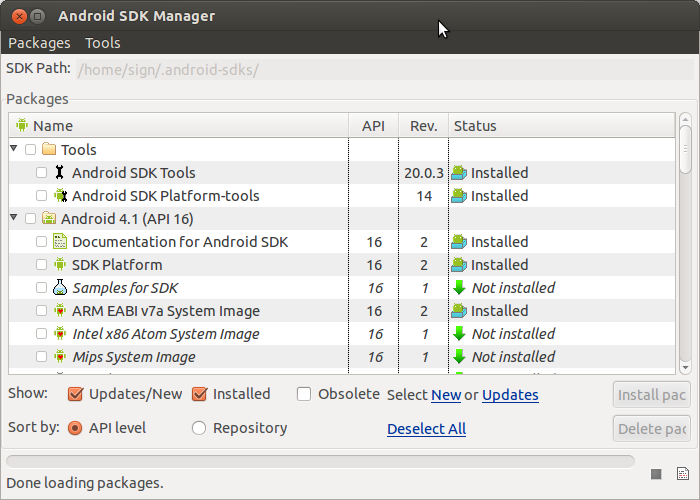
Next, the SDK Manager becomes important. You can access it via 'Tools > SDK Manager' from the welcome screen or main menu. This tool lets you download different Android API versions, tools, and third-party libraries. While the installer grabs the latest stable version, you might need older SDKs to test your app's compatibility with different Android releases.
Creating a Virtual Device
Before you can run an app, you need a device. While using a physical Android phone is an option, it's often faster and more convenient to use a virtual one. Android Studio provides the AVD Manager for this purpose.
AVD stands for Android Virtual Device. It’s an emulator that lets you simulate different Android devices, from phones and tablets to wearables and TVs, right on your computer. This is crucial for testing how your app behaves on various screen sizes, resolutions, and Android versions without needing a room full of physical hardware.
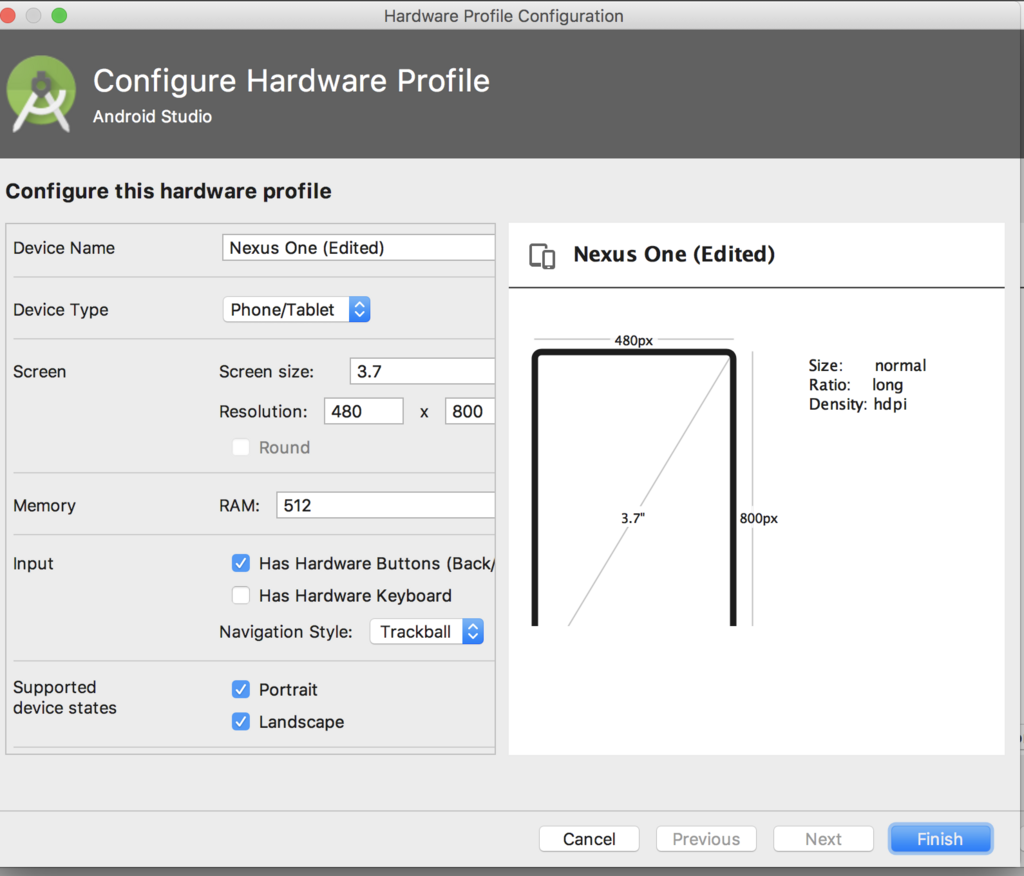
To open the AVD Manager, navigate to 'Tools > AVD Manager'. Click 'Create Virtual Device', then choose a hardware profile (like a Pixel model), select a system image (the Android OS version), and give it a name. The first time, you'll need to download the system image you want.
Your First Project
With the environment set up, it's time to create your first project. From the Android Studio welcome screen, select 'New Project'. You'll be presented with a list of templates. For now, choose 'Empty Views Activity' and click 'Next'.
On the next screen, configure your project:
- Name: The name of your application (e.g., 'HelloWorld').
- Package name: A unique identifier for your app in the Google Play Store. It follows a reverse domain name convention (e.g., 'com.example.helloworld').
- Save location: Where the project files will be stored on your computer.
- Language: Choose between Kotlin and Java. We'll use Kotlin, as it's Google's recommended language for modern Android development.
- Minimum SDK: The lowest Android version your app will support. This choice impacts which devices can run your app.
Click 'Finish', and Android Studio will build your project. This involves a process called Gradle sync, where the build system downloads dependencies and sets everything up. It can take a moment the first time.
Once the project is ready, you'll see several files and folders. Don't feel overwhelmed. For a basic app, you only need to know about a few key places.
The project view on the left shows the file structure. The most important files for a beginner are typically located in the app module:
java/com.example.helloworld/MainActivity.kt: This is your main activity file. It contains the Kotlin code that controls the app's logic and behaviour.res/layout/activity_main.xml: This XML file defines the user interface (UI) for your main activity. You can edit it using a visual designer or by writing XML code directly.AndroidManifest.xml: This file is the app's manifest. It describes essential information about your app to the Android build tools and the operating system, such as its package name, components (activities, services), and required permissions.
Run and Debug
Now, let's run the app. Near the top of the Android Studio window, you'll see a dropdown menu that lists your available devices (both physical and virtual) and a green 'Run' button (a triangle icon).
On an Emulator: Select the AVD you created from the dropdown menu and click the 'Run' button. Android Studio will launch the emulator, install your app, and run it. The 'Hello World!' text from the template should appear on the screen.
On a Physical Device: To use a physical device, you first need to enable and USB debugging on it. Go to 'Settings > About phone' and tap 'Build number' seven times. This unlocks the 'Developer options' menu. In this new menu, enable 'USB debugging'.
Connect your device to your computer via USB. You may see a prompt on the device asking you to authorise the connection. Once connected, your device will appear in the dropdown menu in Android Studio. Select it and click 'Run'.
Finally, let's touch on debugging. If your app crashes or behaves unexpectedly, the debugger is your best friend. The 'Logcat' window at the bottom of Android Studio is a live log of events from your device or emulator. It shows system messages and any errors your app produces.
To start a debugging session, simply click the 'Debug' button (the bug icon next to 'Run'). This runs your app in debug mode. You can set breakpoints in your code by clicking in the gutter next to a line number. When the app's execution reaches a breakpoint, it will pause, allowing you to inspect the state of variables and step through your code line by line. This is a fundamental skill for finding and fixing bugs.
Android Studio is the official Integrated Development Environment (IDE) for Android app development.
Now that your environment is ready, you can start exploring and building more complex applications.
Time to check your understanding of the setup process.
What is the primary role of the Android SDK (Software Development Kit)?
In a new Android project, which file is primarily responsible for defining the app's user interface (UI) layout?
You've successfully set up your development environment. This foundation is the launchpad for everything else you'll build in Android.