Mastering Adobe Premiere Pro Video Editing
Introduction to Premiere Pro
What is Premiere Pro?
Adobe Premiere Pro is a professional video editing application. It's what's known as a Non-Linear Editor, or NLE. This fancy term just means you can jump around and edit any part of your video at any time, without having to work in a straight line from start to finish. Think of it like writing a document in a word processor versus typing on a typewriter.
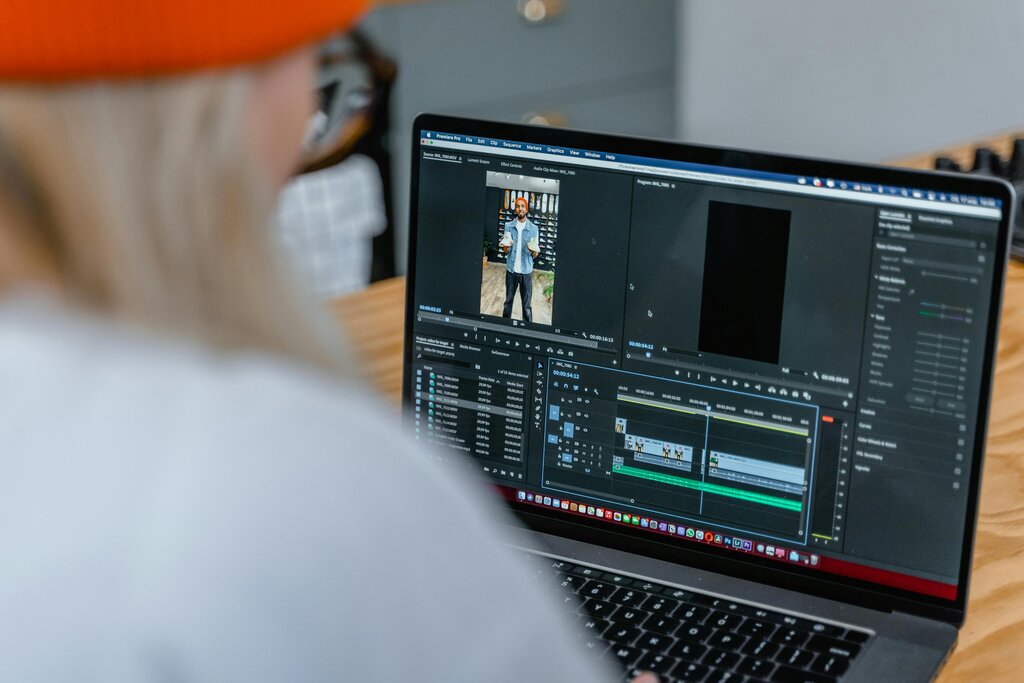
It’s the tool behind many of the movies, TV shows, and YouTube videos you watch every day. It’s powerful enough for complex films but simple enough to get started with your own video projects. The key is understanding its basic building blocks.
Starting Your First Project
Every edit begins with a project file. This file doesn't hold your actual video clips, audio, or images. Instead, it's a small file that simply keeps track of all your edits and points to where your media files are stored on your computer.
When you first open Premiere Pro, you'll see a welcome screen. To get started, click the 'New Project' button.
This opens the New Project window. The two most important things to set here are the 'Project Name' and 'Project Location'. Give your project a clear name and choose a specific folder to save it in. Good organization now will save you headaches later.
A great habit is to create a main folder for your entire video project. Inside that folder, create subfolders like 'Video,' 'Audio,' 'Graphics,' and 'Project Files.' Save your new Premiere Pro project file in the 'Project Files' folder. This keeps everything tidy and easy to find.
The Workspace Explained
Once your project is created, you'll see the main interface. It might look intimidating, but it’s just a collection of panels, each with a specific job. Think of it as a workshop. All the tools are laid out, and you just need to learn what each one does.
The default layout is called the 'Editing' workspace. It generally consists of four main panels that you'll use constantly.
Here’s a quick breakdown of what each panel does:
- Project Panel: This is your media library. All the video clips, audio files, and images you import will appear here. It’s where you organize your assets before you start editing.
- Source Monitor: This is your preview window. Double-click any clip in the Project Panel, and it will show up here. You can watch it and select the specific parts you want to use without affecting the original file.
- Timeline Panel: This is where the magic happens. You’ll drag clips from the Project Panel or Source Monitor into the timeline to build your video. Here you can trim clips, arrange them in order, and add multiple layers of video and audio.
- Program Monitor: This window shows you what’s on your timeline. It plays the sequence you are actively building, so you can see your edit come to life in real-time.
Bringing in Your Footage
You can't edit a video without any clips. The process of getting your files into Premiere Pro is called importing. There are a few easy ways to do this.
The most direct method is to go to the top menu and select File > Import. This opens a file browser, allowing you to navigate to your media and select the files you want to add. Another way is to simply drag and drop files from a folder on your computer directly into the Project Panel.
Once imported, your files will be listed in the Project Panel, ready for you to preview in the Source Monitor and add to your timeline. You've now taken the first crucial steps in the video editing process.
What does the term "Non-Linear Editor" (NLE) mean in the context of video editing?
A Premiere Pro project file (.prproj) contains which of the following?