Mastering 3D Printer G-Code
Introduction to G-code
The Printer's Playbook
When you send a 3D model to your printer, you aren't sending the visual file itself. Instead, you're sending a detailed script, a set of step-by-step instructions that tells the machine exactly what to do. This script is written in a language called G-code.
G-code is a numerical control programming language that tells the machine what actions to take and in what order to take them.
Think of it like a recipe for a robot. Each line of G-code is a specific command: move here, heat up to this temperature, push out this much filament, move there. The printer executes these commands one by one to build your object, layer by painstaking layer. Without G-code, the 3D printer is just a box of parts; with it, it's a precise manufacturing tool.
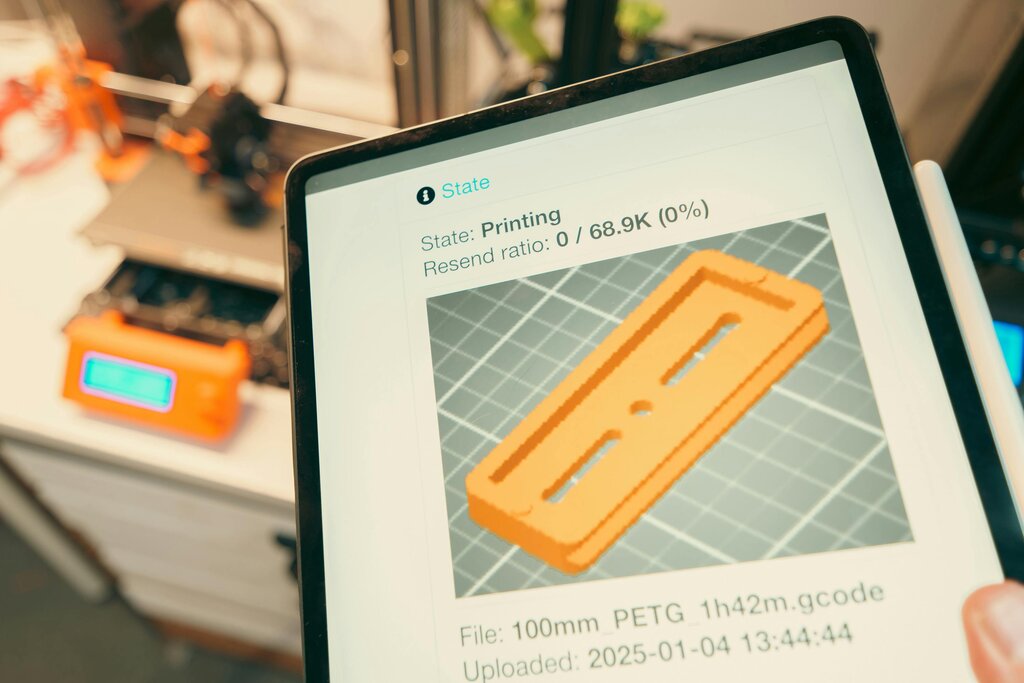
The entire 3D printing process hinges on translating your digital design into this machine-readable format. Your 3D model file (like an STL or OBJ) describes the shape of an object. A separate program, called a slicer, takes that shape and “slices” it into hundreds or thousands of flat layers. The slicer then generates the G-code file, which maps out the exact path the printer's nozzle must follow to trace each of those layers.
Decoding the Commands
At first glance, a G-code file looks like a cryptic wall of text. But once you understand the basic structure, it's surprisingly straightforward. Each line contains one or more commands that tell the printer what to do.
Most commands start with a letter followed by a number. The two most common types are G commands, which control movement, and M commands, which control other machine functions.
Gcommands are for going. They handle the printer's movements along the X, Y, and Z axes.Mcommands are for miscellaneous functions, like setting temperatures, turning fans on or off, and starting or stopping the print.
Let's look at a typical line of G-code:
G1 X50.5 Y25.2 E0.5 F1800
This single line contains a complete instruction for the printer. Here’s how it breaks down:
| Command | Meaning |
|---|---|
G1 | Perform a linear move. Move in a straight line from the current position to a new one. |
X50.5 | Move to the X-coordinate of 50.5 mm. |
Y25.2 | Move to the Y-coordinate of 25.2 mm. |
E0.5 | Extrude 0.5 mm of filament during the move. |
F1800 | Set the feed rate (speed) to 1800 mm per minute. |
So, that one line tells the printer: "Move in a straight line to the point (50.5, 25.2) at a speed of 1800 mm/min, and while you're moving, push out 0.5 mm of filament."
A full G-code file is just thousands of these lines, one after another, creating a complete blueprint for your print.
A Brief History
G-code isn't new. It was developed back in the 1950s at MIT as a standard way to control automated machine tools. This technology, called Computer Numerical Control (CNC), revolutionized manufacturing by allowing machines to be programmed to cut, mill, and shape materials with incredible precision.
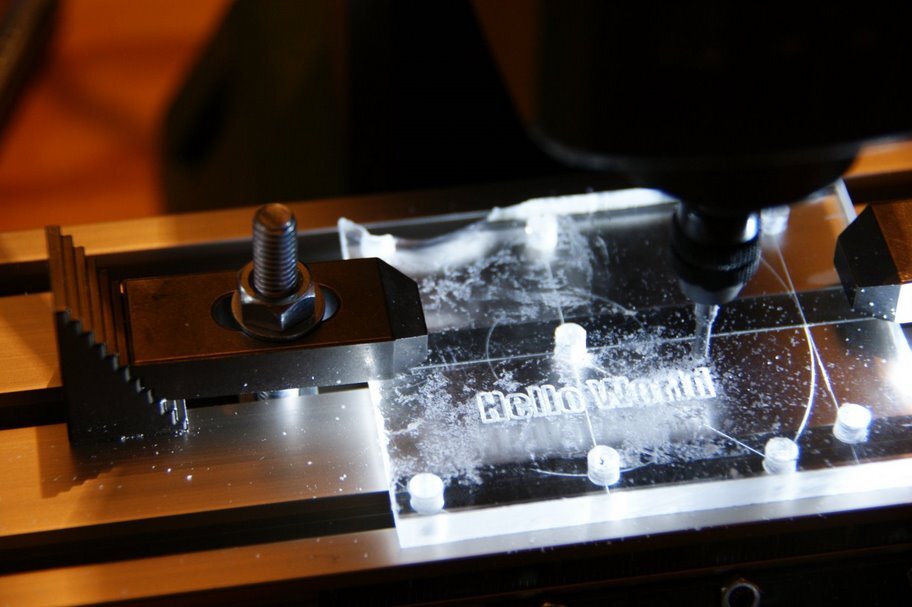
When 3D printing emerged, G-code was the natural choice for a control language. It already had a well-established syntax for telling a machine head how to move through three-dimensional space. While the G-code for a 3D printer includes commands specific to extruding plastic (like E for extrude), the core principles of movement and machine control are the same as those used in CNC milling machines for over half a century.
You'll rarely need to write G-code by hand, as slicer software handles that complex job for you. But understanding what it is and how it works gives you a much deeper appreciation for the 3D printing process. It's the hidden language that turns your digital ideas into physical reality.