Mastering 3D Animation Avoiding Common Pitfalls
Introduction to 3D Animation
From Flat to Form
For decades, animation meant drawing. Artists created characters frame by frame, giving the illusion of movement on a flat, two-dimensional plane. Think of classic cartoons where characters are essentially paper cutouts moving across a painted background. This is 2D animation.
3D animation adds another dimension: depth. Instead of drawing a character from every angle, a 3D artist builds a digital model, much like a sculptor carves a statue from clay. This model exists in a virtual space and can be viewed from any direction. It has volume, it can cast shadows, and it interacts with its environment in a much more realistic way.
The key difference is this: in 2D, you draw the character in each pose. In 3D, you build a character once and then pose it.
The 3D Production Pipeline
Creating a 3D animation isn't a single action, but a series of steps called a pipeline. Think of it like a factory assembly line, where each stage adds another layer of detail until the final product is complete.
Let's break down what happens at each station:
-
Modeling: This is where artists create the 3D objects. Using specialized software, they build everything that will appear on screen, from characters and props to entire environments. It's the digital equivalent of sculpting.
-
Texturing: A 3D model is just a gray, lifeless shape until it's textured. In this stage, artists paint the models, applying colors, patterns, and materials. This is what makes a model look like it's made of wood, metal, skin, or fabric.
-
Rigging: To make a character move, it needs a skeleton. Rigging is the process of building this digital skeleton and attaching it to the 3D model. This skeleton allows animators to pose the character, much like a puppeteer controls a marionette.
-
Animation: This is where the performance happens. Animators manipulate the rig frame by frame to bring the characters to life. They define key poses and let the computer calculate the frames in between, creating smooth and believable motion.
-
Lighting: Just like in filmmaking or photography, lighting sets the mood. Artists place virtual lights in the 3D scene to illuminate the characters and environment, create shadows, and guide the viewer's eye.
-
Rendering: This is the final, and often most time-consuming, step. The computer takes all the information—models, textures, animation, and lighting—and calculates the final image for each frame. When you string all these rendered frames together, you get the finished animation.
Tools of the Trade
The entire 3D pipeline happens inside powerful software. While many programs exist, a few have become industry standards. You don't need to know how to use them yet, but it's good to know their names.
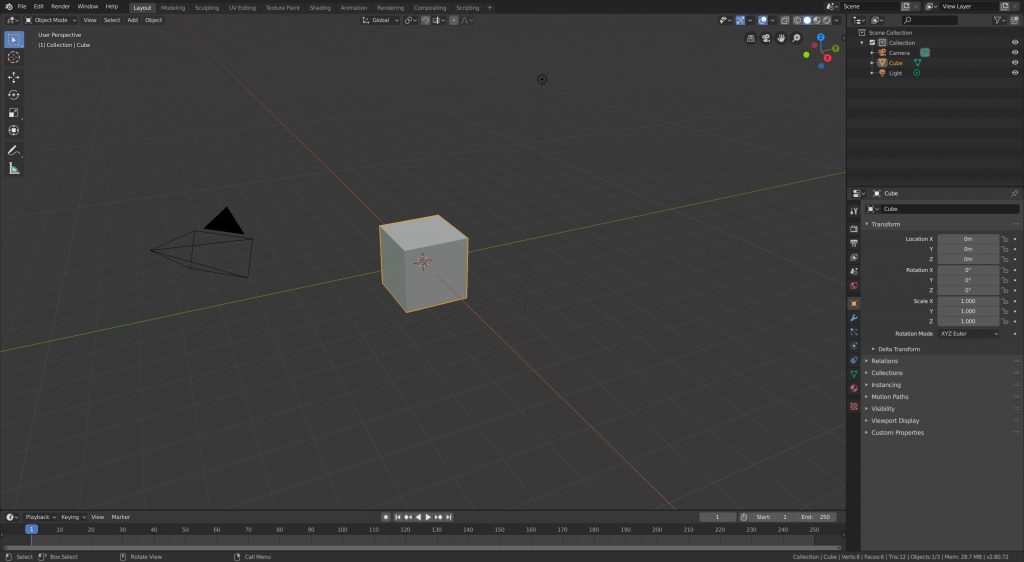
Blender is a hugely popular choice because it's completely free and open-source. It can handle every step of the pipeline, making it a great tool for beginners and independent artists.
Autodesk Maya is often called the industry standard for character animation, used by many major film and game studios. It's known for its powerful rigging and animation toolsets.
SideFX Houdini is the go-to for complex visual effects, like fire, water, and explosions. Its procedural, node-based workflow gives artists incredible control over complex simulations.
Now that you know the basic concepts and workflow, you have a solid map for the road ahead.
What is the primary characteristic that distinguishes 3D animation from 2D animation?
An artist has finished creating a detailed 3D model of a character but finds they cannot pose its arms or legs. Which step of the 3D pipeline was likely missed?