Mastering 135 Degree Angle Construction
Tool Calibration
Precision Starts Before You Draw
Constructing an accurate angle depends entirely on the accuracy of your tools. Before you even draw a line, take a moment to inspect your equipment. A tiny flaw in a tool can lead to a significant error in the final drawing.
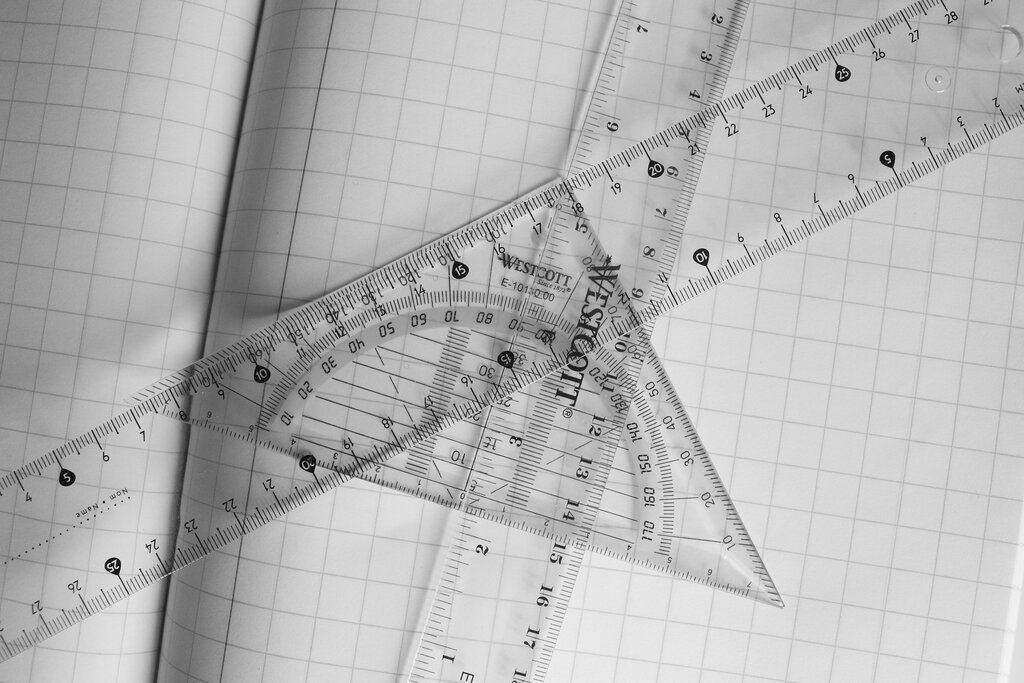
First, check your ruler or straightedge. Lay it on a flat surface and look along its drawing edge at eye level. Does it bow or curve even slightly? Now, draw a fine line on a piece of paper. Flip the ruler over to its other side and draw another line directly against the first. If the two lines are perfectly matched, your edge is straight. If you see any gap or overlap, the ruler is warped and shouldn't be used for precision work.
Next, examine your protractor. The most critical parts are the origin point and the baseline. The origin, often a small hole or crosshair, must be clear and distinct. This is the point you will align with the angle's vertex. The baseline, or the 0°–180° line, must be sharp and perfectly aligned with the bottom edge of the tool. Any fading or printing errors here will compromise every angle you measure.
A tiny nick in a ruler's edge can catch your pencil tip, creating an almost invisible but measurable deviation in your line.
The Enemy of Accuracy
Once your tools are verified, the next challenge is using them correctly. The biggest obstacle to precise marking is an optical illusion known as s. This occurs when your eye's position changes the apparent location of an object relative to its background.
To mark the vertex point for your 135-degree angle, first draw a clean, sharp baseline. Choose the location for your vertex. To mark it without parallax, position your head so your dominant eye is directly above the desired point on the line. Look straight down. Use a very sharp pencil or a scribe to make a tiny, precise dot. Don't press hard; a small indentation is all you need.
This 'eye-directly-overhead' technique applies to reading the protractor as well. When you align the protractor's origin with your vertex and its baseline with your drawn line, look straight down through the plastic to find the 135-degree mark. Viewing it from an angle will cause you to mark the wrong spot every time.
Mechanical Precision
The final step is the physical placement of your tools. This is where s, the science of measurement, meets practice. Don't rush this part. When placing the protractor, carefully lower it onto the paper. Align its origin hole directly over the vertex point you marked. Then, pivot the tool until the baseline on the protractor perfectly eclipses the baseline you drew. You should see only one line, not two.
Hold the protractor firmly in place with one hand so it doesn't slip. With your other hand, use your sharp pencil to make a small, crisp mark at the 135-degree indication. Again, view from directly overhead to avoid parallax. Once the mark is made, you can lift the protractor. Finally, align your straightedge with the vertex point and your new 135-degree mark. Draw the connecting line, and you'll have a highly accurate angle.
Precision is Key
Let's review these critical calibration and marking steps.
What is the most reliable method described to verify if a ruler's edge is perfectly straight?
What is parallax error when constructing an angle?
By focusing on the integrity of your tools and the precision of your technique, you ensure that your geometric constructions are as accurate as possible.