MacBook Air Essentials
Unboxing and Setup
Unboxing Your New MacBook
Your new MacBook Air comes in a compact, white box. To open it, just lift the lid straight up. Apple designs its packaging for a smooth unboxing experience, so you won't need any tools.
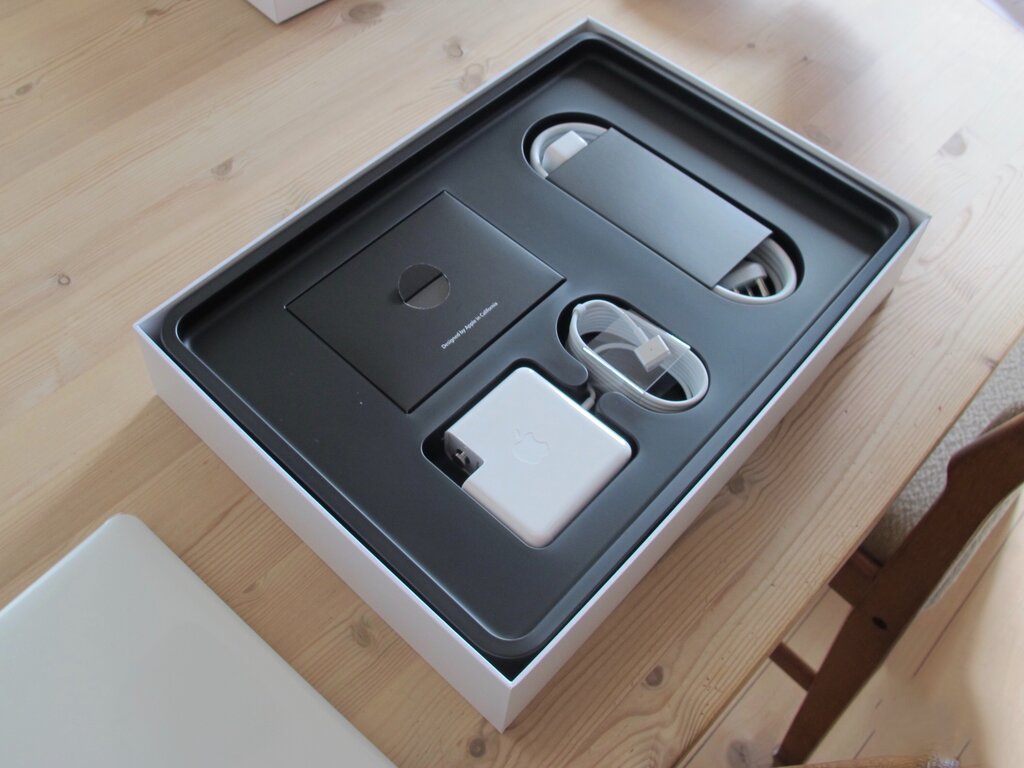
Set the laptop aside for a moment and look at what else is included:
- USB-C Power Adapter: This is the block that plugs into the wall.
- USB-C to MagSafe 3 Cable: This cable connects the power adapter to your MacBook. It attaches magnetically for a quick, secure connection.
Connect the cable to the power adapter, plug it into a wall outlet, and then connect the MagSafe end to the charging port on the left side of your MacBook Air. A light on the connector will turn on to show it's charging.
First Boot and Setup
To turn on your MacBook Air, simply open the lid. If it doesn't start automatically, press the power button located at the top right corner of the keyboard. This button is also the Touch ID sensor.
You'll hear the classic startup chime and see an Apple logo, followed by a welcome screen. This is the beginning of the Setup Assistant, which will guide you through the rest of the process.
First, you'll select your country or region, which sets the language, time, and date. Next, the assistant will ask you to connect to a Wi-Fi network. Choose your home network from the list and enter the password.
After connecting to the internet, you'll be prompted to transfer data from another Mac or PC. For a fresh start, you can choose to set this up later.
Personalizing Your Mac
The next step is to sign in with your Apple ID. If you have an iPhone or iPad, you already have one. Use the same email and password to sign in. This links your new Mac to your existing accounts and purchases.
Apple ID
noun
The account you use to access all Apple services like the App Store, iCloud, iMessage, and FaceTime. It consists of an email address and a password.
Signing in will automatically enable iCloud, which keeps your photos, documents, and other data synced across all your Apple devices. You'll be asked to agree to the terms and conditions.
Next up is Touch ID. The Setup Assistant will ask you to place your finger on the power button multiple times to register your fingerprint. This allows you to securely unlock your Mac, make purchases, and sign into apps with a simple touch.
Finally, you can set up Siri, Apple's voice assistant. You'll be asked to say a few phrases so Siri can learn your voice. Once configured, you can activate it by saying "Hey Siri" or pressing and holding the Touch ID button.
You can always change these settings later in the System Settings app.
After these steps, your Mac will finish setting up, and you'll see your desktop for the first time. Let's review what you've learned.
What is the primary way to turn on your new MacBook Air for the first time?
Which cable is included in the box to charge your MacBook Air?