Logic Pro X Professional Mixing Techniques
Mixing Fundamentals
Meet the Mixer
Think of mixing as cooking. You’ve gathered all your ingredients—the recorded tracks of drums, bass, guitars, and vocals. Now it's time to combine them into a finished meal. The mixer is your kitchen. It's where you balance all these separate audio tracks, making sure they work together to create a single, cohesive song.
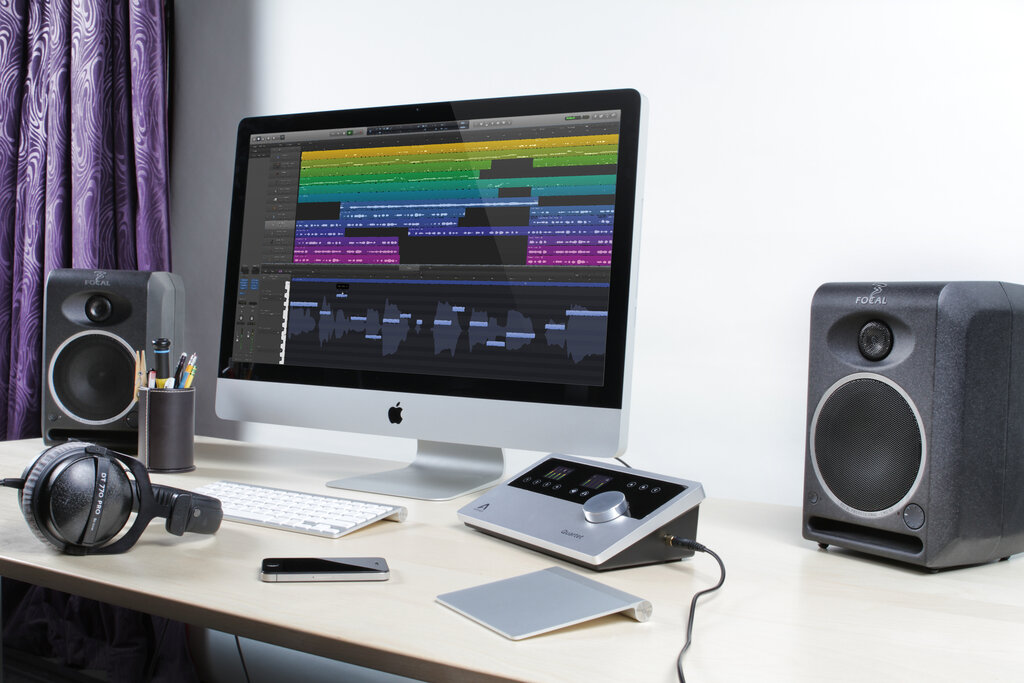
In Logic Pro X, you can open the mixer by pressing the 'X' key on your keyboard or clicking the mixer icon in the control bar. At first, it might look complex, like the cockpit of an airplane. But every professional mixer, whether it's a massive physical console or a window on your screen, is built from the same basic component: the channel strip.
The Channel Strip
Each track in your project has its own corresponding channel strip in the mixer. This vertical strip contains all the controls for that specific track. Audio signal flows through it from top to bottom, like water down a waterfall. Each control along the way affects the sound before passing it on to the next stage.
Channel Strip
noun
A vertical column of controls in a mixer that corresponds to a single audio track, allowing you to adjust its volume, panning, effects, and routing.
Let's look at the typical path an audio signal takes down a channel strip.
First, the signal passes through the Input Gain control, which sets the initial level. Then it goes through Audio FX slots (or inserts), where you can add effects like EQ or compression. After that, Sends allow you to route a copy of the signal elsewhere, often to shared effects like reverb. The Pan knob positions the sound in the stereo field (left or right), and finally, the Volume Fader sets its overall level in the mix before it goes to the master Output.
Setting Proper Levels
Before you start moving faders, you need to set your initial track levels correctly. This process is called gain staging. The goal is to make sure the audio signal coming into each channel strip is at an optimal level—not so quiet that it's lost in noise, and not so loud that it distorts.
Clipping
noun
A form of waveform distortion that occurs when an amplifier is overdriven and attempts to deliver an output voltage or current beyond its maximum capability. In digital audio, it happens when the signal exceeds the maximum level of 0 dBFS (decibels relative to full scale).
Clipping creates a harsh, unpleasant sound and is something to avoid at all costs. To prevent it, adjust the gain on each track so that its meter peaks somewhere around -12 dBFS. This leaves plenty of "headroom" for adding effects and making other adjustments later without risking distortion.
Good gain staging is the foundation of a clean mix. Aim for average levels around -18 dBFS and peaks no higher than -10 to -12 dBFS.
Creating a Static Mix
Once your gain staging is done, the first real step of mixing is to create a static mix. This is a basic balance of all your tracks using only the volume faders and pan knobs. The goal isn't to make it perfect, but to get all the elements audible and sitting in a good preliminary space.
Start by bringing all your faders down. Then, bring up the most important elements one by one. Maybe you start with the drums and bass to establish the rhythmic foundation, then add the main vocals, followed by other instruments. Adjust the volume of each track until you can hear everything clearly. Don't be afraid to make bold moves. If something is too loud, turn it down. If it's getting lost, turn it up. Use the pan knobs to give each instrument its own space in the stereo field, which helps create clarity.
The goal of the mixing stage is to create a balanced arrangement where each musical component has its own space in the mix and sounds defined within that mix of musical elements.
This initial balance is your starting point. It's the raw skeleton of your mix that you'll build upon with more advanced tools later.
What is the primary function of the mixer in digital audio workstations like Logic Pro X?
The process of setting optimal initial levels for each track to avoid distortion and noise is called _______.
With these fundamentals in place, you have a solid foundation for building a professional-sounding mix in Logic Pro X.