Launch Your Photography Career
Photography Fundamentals
Choosing Your Tools
Before you can take a picture, you need a camera. While the best camera is the one you have with you, understanding the main types can help you decide what's right for your goals.
DSLR (Digital Single-Lens Reflex): These are the classic 'big' cameras. They use a mirror to reflect light up to the viewfinder, so you see exactly what the lens sees. They offer a huge range of interchangeable lenses and great image quality.
Mirrorless: These are newer and more compact than DSLRs because they don't have that internal mirror. Instead, they show you the image on a digital screen or through an electronic viewfinder. They also use interchangeable lenses and are quickly becoming the standard for professionals and hobbyists alike.
Point-and-Shoot: Simple, compact, and easy to use. The lens is built-in and doesn't come off. While they offer less manual control, modern ones can still take fantastic photos. Your smartphone camera is a highly advanced type of point-and-shoot camera.
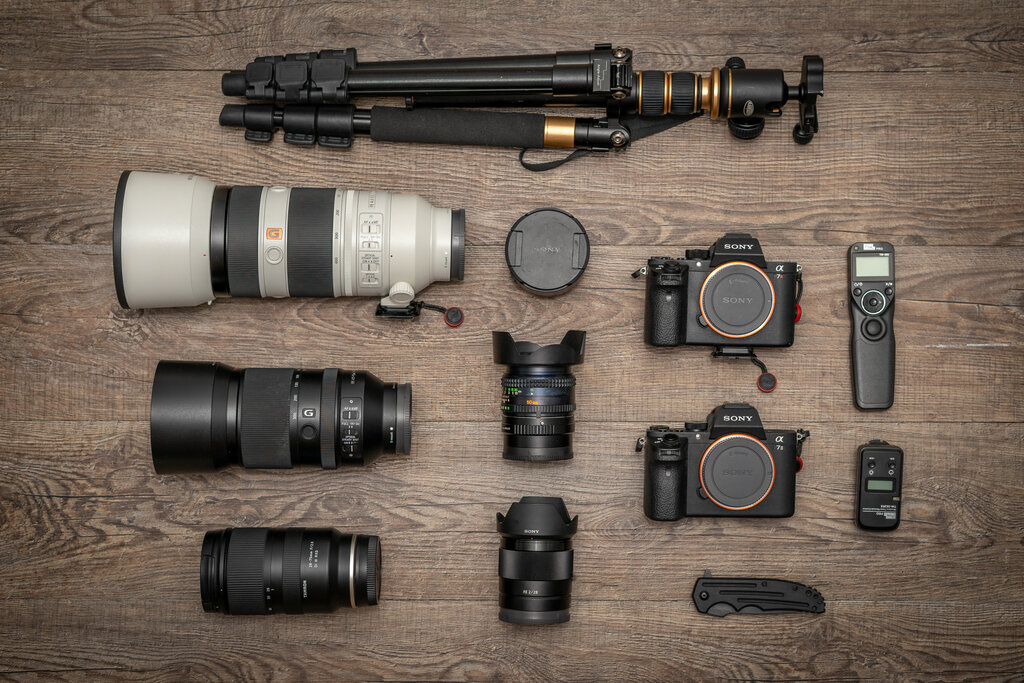
Just as important as the camera body is the lens. Lenses determine how much of a scene you can capture and how sharp your image will be. They generally fall into two categories: zoom and prime.
- Zoom lenses offer a range of focal lengths. For example, a 24-70mm lens lets you shoot a wide landscape at 24mm and then zoom in for a tighter shot at 70mm, all without moving your feet.
- Prime lenses have a fixed focal length, like 50mm. You can't zoom in or out. This might seem limiting, but prime lenses are often sharper and can let in more light than zoom lenses, making them great for low-light situations and creating that blurry background effect known as bokeh.
Controlling the Light
Photography is all about capturing light. To get a good photo, you need to let in just the right amount. Too much light and your photo is washed out (overexposed). Too little, and it's too dark (underexposed). You control this light with three settings that work together. This relationship is called the exposure triangle.
Let's break down each component of the triangle.
Aperture
noun
The opening in a lens through which light travels to the camera sensor. It's like the pupil of your eye—it can get bigger or smaller to let in more or less light.
Aperture is measured in "f-stops," written as f/ followed by a number (e.g., f/1.8, f/4, f/11). Here's the tricky part: a smaller f-number means a wider opening, which lets in more light. A larger f-number means a narrower opening, which lets in less light.
Aperture also controls depth of field, which is how much of your photo is in focus from front to back. A wide aperture (like f/1.8) creates a shallow depth of field, where your subject is sharp but the background is blurry. A narrow aperture (like f/16) creates a deep depth of field, keeping everything from the foreground to the background sharp.
Next up is shutter speed.
Shutter speed
noun
The length of time the camera's shutter is open, exposing the sensor to light. It determines how motion is captured in a photograph.
Shutter speed is measured in seconds or fractions of a second (e.g., 1/1000s, 1/60s, 2s).
- Fast shutter speeds (like 1/1000s) let in very little light and are used to freeze fast-moving subjects, like a bird in flight or a splashing wave. The result is a sharp, crisp image with no motion blur.
- Slow shutter speeds (like 1/2s or longer) let in a lot of light and will blur anything that moves while the shutter is open. This can be used creatively to show motion, like the silky look of a waterfall or the light trails of cars at night.
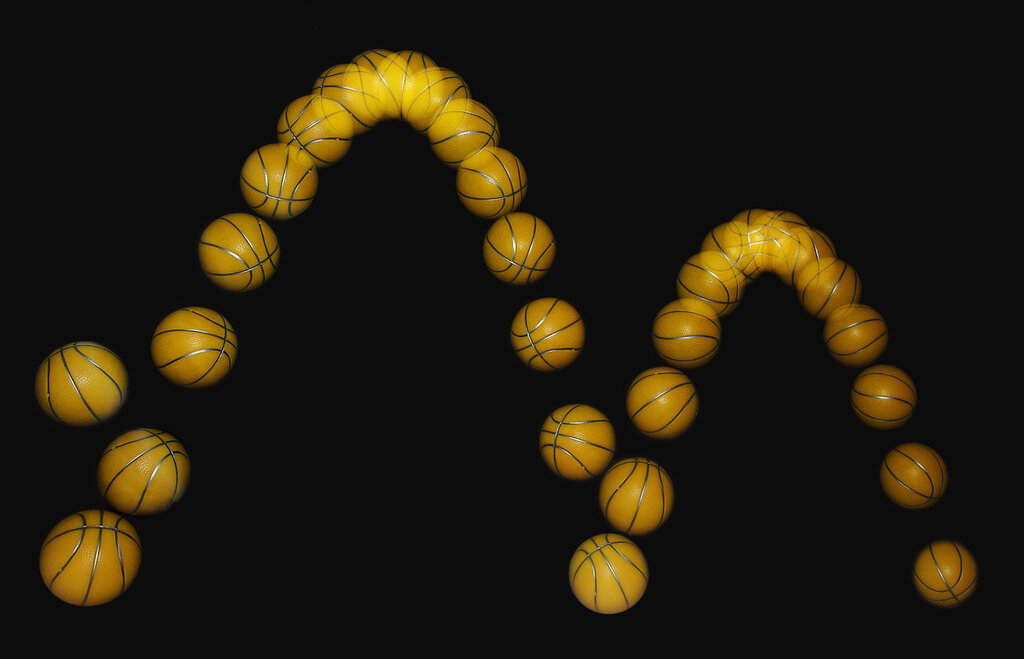
The final piece of the puzzle is ISO.
ISO
noun
A camera setting that brightens a photo in-camera. It measures the sensitivity of the image sensor to light.
ISO is written in numbers, like 100, 400, 1600, etc. A low ISO (like 100 or 200) means the sensor is less sensitive to light. This is best for bright, sunny days and produces the highest quality image with the least amount of grain, or "noise."
A high ISO (like 3200 or 6400) makes the sensor much more sensitive, allowing you to shoot in very dark conditions without a flash or a tripod. The trade-off is that high ISO settings introduce digital noise, which can make a photo look grainy or speckled.
Aperture, shutter speed, and ISO are always in a balancing act. If you change one, you must adjust at least one of the others to maintain the same level of exposure.
Composing a Great Shot
Once you know how to control exposure, the next step is learning how to arrange the elements within your frame. Good composition is what separates a quick snapshot from a memorable photograph. It's about guiding the viewer's eye and creating a sense of balance and interest.
Understanding how to compose images beyond basic rules like thirds is vital for elevating your photography.
Let's explore a few foundational techniques.
The Rule of Thirds: This is the most well-known composition guideline. Imagine your frame is divided into a 3x3 grid, like a tic-tac-toe board. The rule suggests placing your most important subjects along these lines or at the points where they intersect. This often creates a more balanced and dynamic image than simply centering the subject.
Leading Lines: Use natural lines in the environment to guide the viewer's eye toward your subject. These can be roads, fences, rivers, or even the edge of a shadow. Leading lines add depth to a photo and create a clear path for the viewer to follow.
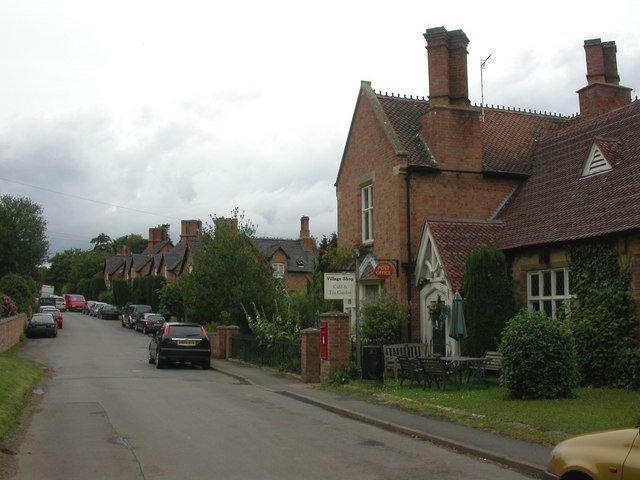
Framing: Look for elements in the foreground that can create a natural frame around your subject. This could be a doorway, a window, or overhanging tree branches. Framing adds context and depth, and it helps to isolate your subject, making it the clear point of interest in the photograph.
With these basics of gear, exposure, and composition, you're ready to start shooting with more intention and control. Now, let's review what you've learned.
Time to test your knowledge.
Which type of camera is known for being more compact than a DSLR because it does not use an internal mirror to reflect light to the viewfinder?
To capture the motion blur of a waterfall, making the water look silky smooth, you would need to use a _______ shutter speed.
Mastering these fundamentals is the first step. The next is to practice. Grab your camera and start experimenting with these settings and techniques to see how they affect your images.